 Pin It
 These Valentine Red Velvet Cupcakes combine a moist, tender crumb with a subtle cocoa flavor and stunning red color. The batter incorporates buttermilk and vinegar for tenderness, while the luxurious cream cheese frosting provides the perfect tangy-sweet finish.
Ready in just 40 minutes, these easy cupcakes make an impressive dessert for Valentine's Day or any celebration. The recipe yields 12 perfectly portioned treats that pair beautifully with sparkling wine.
The smell of vanilla and cocoa mingling in my kitchen always takes me right back to my first Valentine's Day living on my own. My tiny apartment became a red velvet wonderland when I decided making these cupcakes would lift my spirits during a particularly cold February. The vibrant red batter transforming in the oven felt like magic, and that first bite of tangy cream cheese frosting convinced me some traditions are worth keeping.
Last Valentine's Day, I brought these to the office potluck, stacking them carefully in my vintage cake carrier. Walking in, I noticed everyone gravitating toward the bright red treats before they were even on the table. My usually stoic boss took a bite and closed his eyes in appreciation, asking if I would share the recipe with his wife.
Ingredients
- Buttermilk: This tangy ingredient creates the signature tender crumb in red velvet and reacts with the vinegar and baking soda to give the perfect rise.
- Cream Cheese: Philadelphia works best for me, but any full-fat cream cheese at proper room temperature will create that silky frosting texture we all crave.
- Red Food Coloring: I once tried making these with beet powder instead of food coloring, and while the color was more subtle, the earthiness added a fascinating depth.
Instructions
- Prep your workspace:
- Gather all ingredients at room temperature before starting, especially the eggs and buttermilk. This simple step makes all the difference in how evenly your batter comes together.
- Mix with intention:
- When combining wet and dry ingredients, use gentle folding motions just until you see the flour disappear. You can literally watch the batter transform into that gorgeous ruby color.
- The toothpick test:
- Around the 18-minute mark, the kitchen fills with a sweet, vanilla-cocoa aroma that signals the cupcakes are nearly done. Insert a toothpick in the center of a middle cupcake and look for a few moist crumbs, not wet batter.
- Frost with patience:
- Wait until the cupcakes are completely cool before frosting, or youll end up with a melty situation. I like using a piping bag with a star tip for those classic swirls, but a butter knife works beautifully for a more rustic look.
 Pin It
 My neighbor Sarah knocked on my door last February after she smelled these baking through our shared wall. I invited her in for coffee and a cupcake, which turned into hours of conversation. Now our Valentine's Day baking session is a tradition, with both our families gathering to frost cupcakes together while sharing stories from the year.
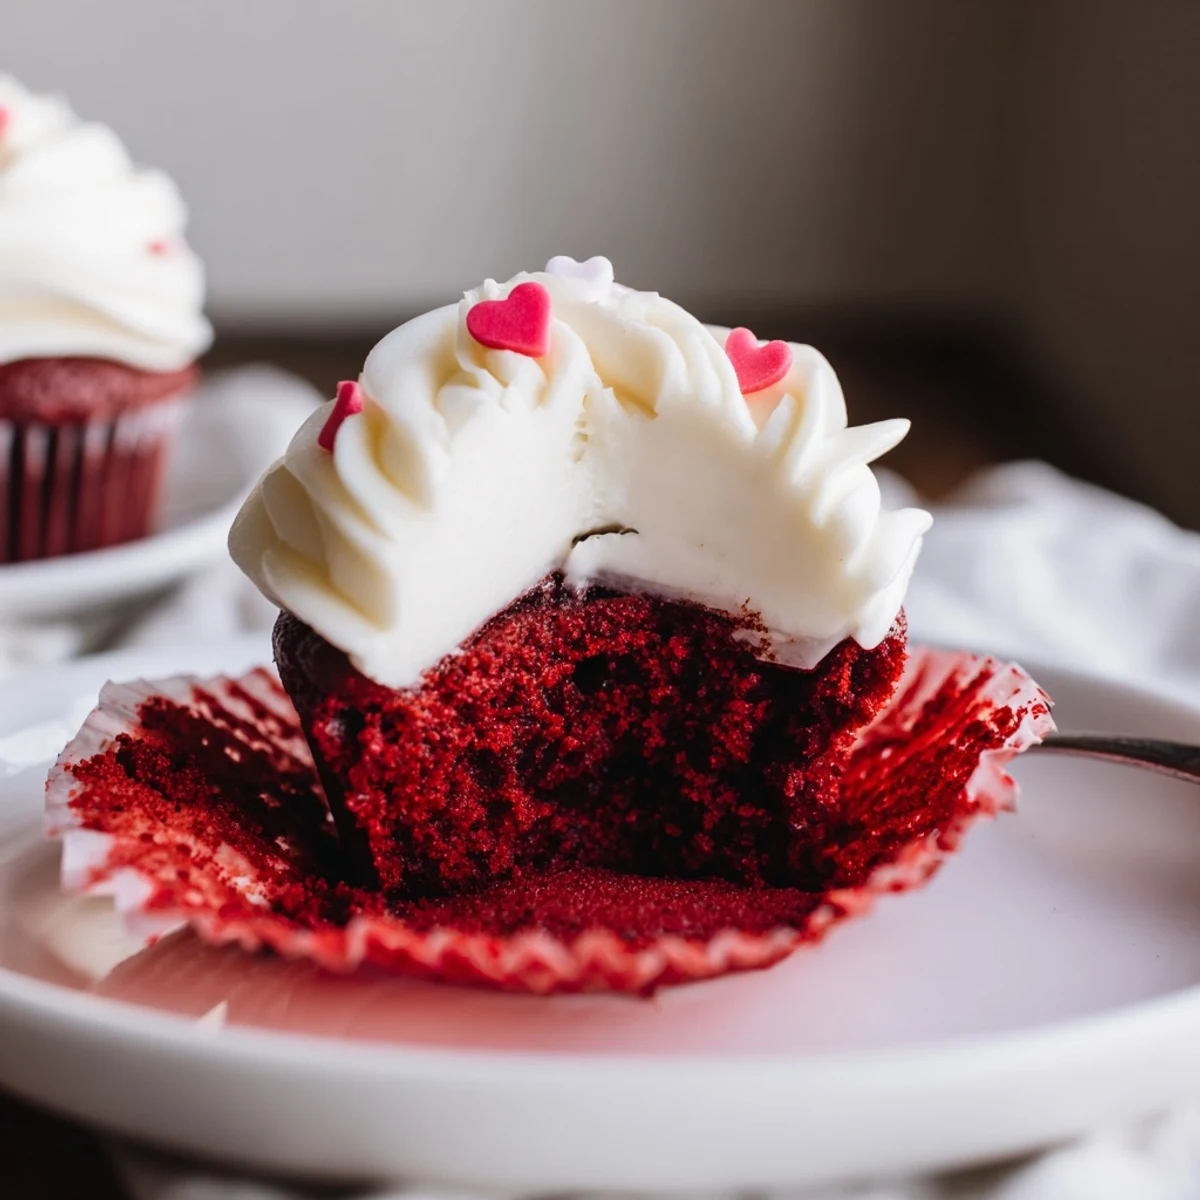
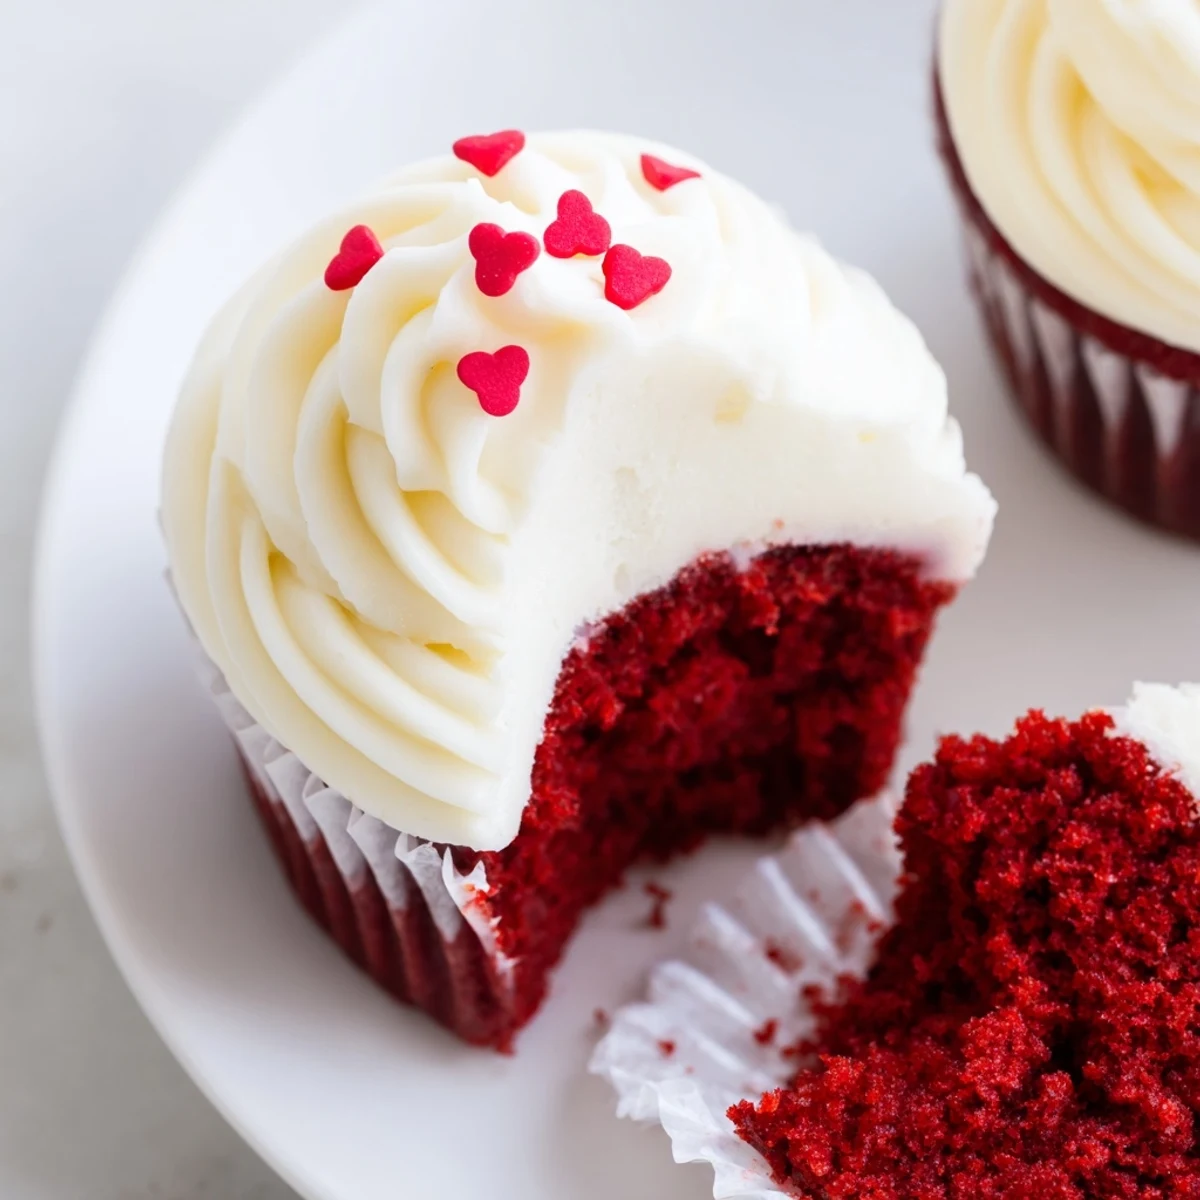
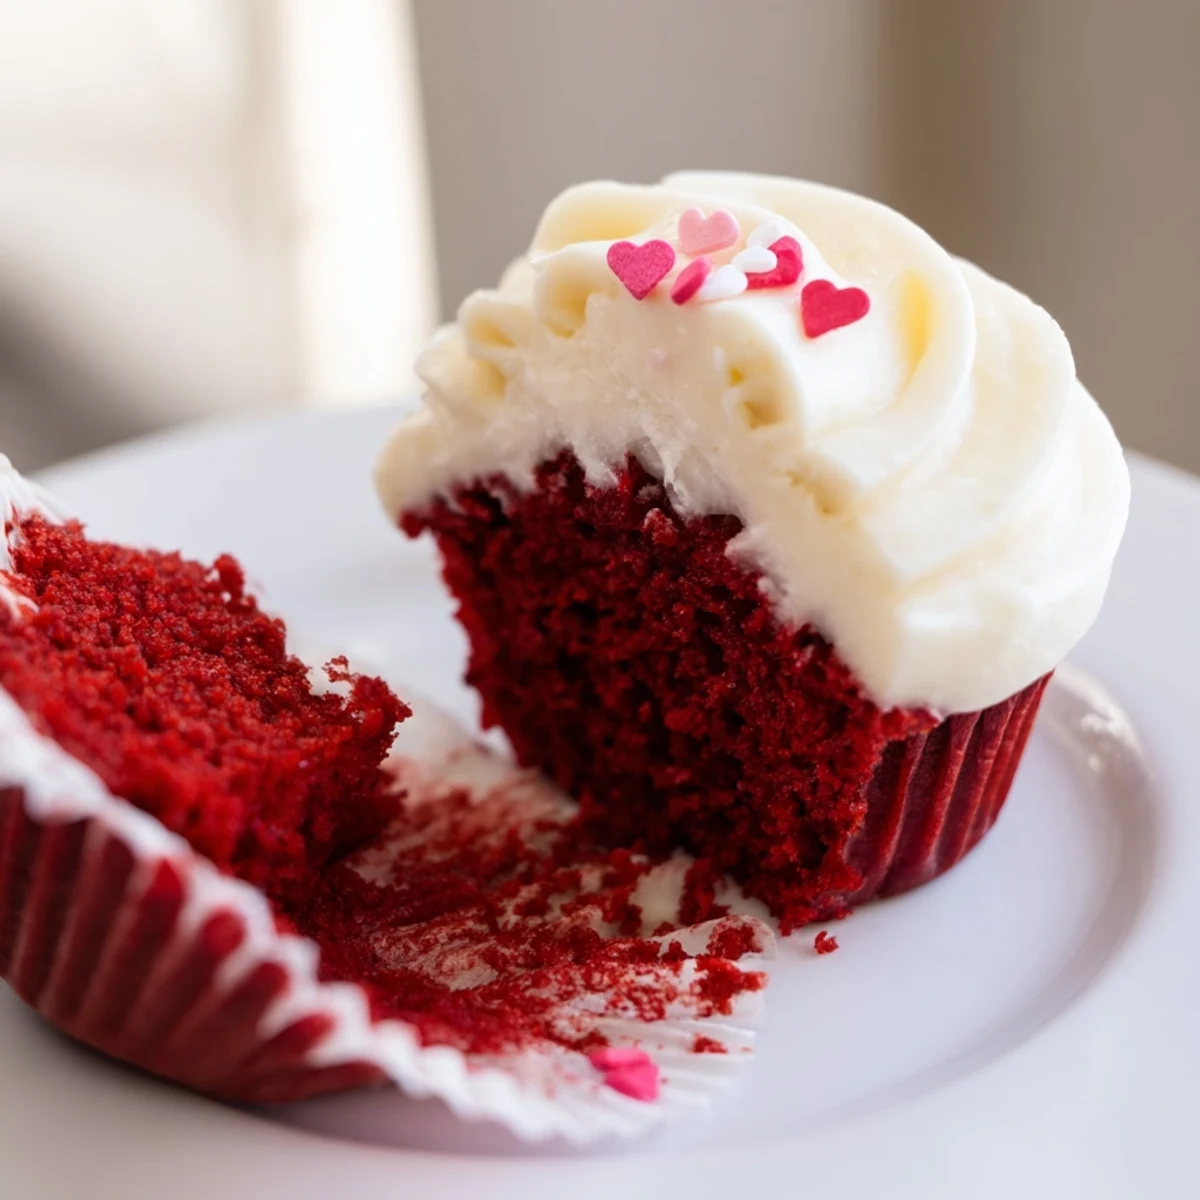
The Perfect Red Velvet Color
The first time I made these, I timidly added just a few drops of food coloring and ended up with brownish cupcakes that tasted right but looked wrong. Now I embrace the full amount, watching as the batter transforms from pale brown to that signature deep crimson that makes everyone say wow when they take their first bite.
Make-Ahead Options
For my sister's engagement party, I baked the cupcakes two days ahead and stored them in an airtight container at room temperature. I made the frosting the night before and refrigerated it separately, bringing it to room temperature while we all got ready. Assembling them just before guests arrived meant they looked and tasted absolutely fresh.
Decorating Ideas
The stark contrast between the deep red cake and bright white frosting is already stunning, but small touches make these truly special. I keep a jar of gold sugar pearls in my pantry for instant glamour, and during berry season, a single fresh raspberry pressed into the frosting adds both color and flavor.
- For a professional look, dust the sides with cake crumbs made from trimming one cupcake top.
- White chocolate shavings melt slightly on contact with the frosting, creating a marbled effect thats impossible to replicate with sprinkles.
- If youre feeling ambitious, tiny fondant hearts take only minutes to make but look incredibly thoughtful.
 Pin It
 These cupcakes have become my signature bring-along for celebrations of all kinds, not just Valentine's Day. Every time I make them, I remember all the smiles, compliments, and moments shared around a simple red cupcake with perfect white swirls.
Recipe FAQs
- → Can I make these cupcakes without red food coloring?
-
Yes! You can use natural alternatives like beet powder (2-3 tablespoons) or reduce the amount of artificial coloring for a more subtle hue. The flavor will remain delicious even without the vibrant red color.
- → How far in advance can I make these cupcakes?
-
The unfrosted cupcakes can be made 1-2 days ahead and stored in an airtight container at room temperature. Once frosted, they should be refrigerated and are best enjoyed within 3-4 days.
- → Can I freeze these red velvet cupcakes?
-
Absolutely! Freeze unfrosted cupcakes in an airtight container for up to 2 months. The frosting can also be frozen separately. Thaw both overnight in the refrigerator before frosting and serving.
- → What makes red velvet different from chocolate cake?
-
Red velvet has a milder chocolate flavor (using just a small amount of cocoa powder), a distinctive reddish color, and typically includes buttermilk and vinegar which react with the cocoa to create a tender texture and subtle tanginess.
- → Why do you add vinegar to the batter?
-
The vinegar reacts with the baking soda and cocoa powder to help the cupcakes rise and create a tender crumb. It also enhances the red color and adds a subtle depth of flavor that's characteristic of red velvet.
- → Can I make this into a cake instead of cupcakes?
-
Yes! This batter works well as an 8-inch or 9-inch round cake. Bake at the same temperature (350°F/175°C) for approximately 25-30 minutes, or until a toothpick inserted in the center comes out clean.
