 Pin It
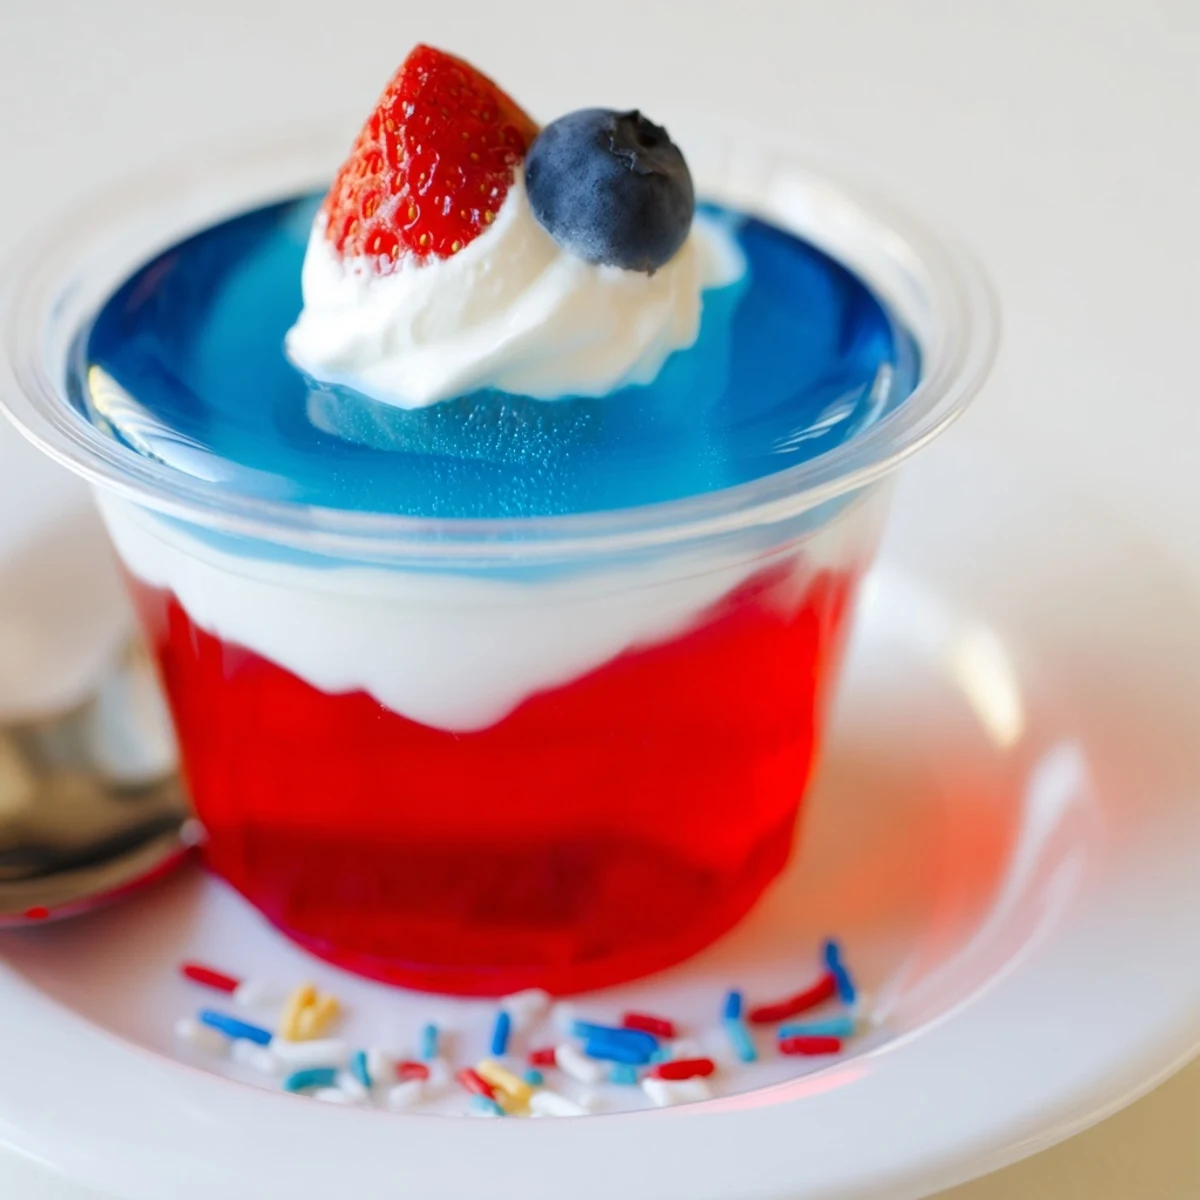
 Quick layers of red and blue gelatin surround a creamy vanilla pudding center folded with whipped topping. Dissolve gelatin in boiling water, chill each layer until set, then add the creamy middle and top with the final gelatin. Total chill time about 4-4.5 hours. Make ahead up to 1 day, use clear cups for best presentation, and swap dairy for plant-based alternatives if needed.
The whirring of the refrigerator on a hot July evening always brings to mind the time I first made these Red White And Blue Jello Cups. The curious fizz of dissolving gelatin and the gentle hush as I poured each liquid layer felt oddly meditative, like tiny kitchen fireworks before the real ones outside. I remember balancing the cups on every available shelf, hopeful that the layers would settle straight. There's a quiet thrill in peeking through the glass and seeing that ribbon of colors for the first time.
One year, I tried this recipe during an impromptu backyard gathering when someone announced they forgot dessert. As I scrambled to chill each layer in record time, my cousin peered over my shoulder, already plotting to eat the wobbliest cup. The laughter and anticipation somehow made each layer taste just a little sweeter.
Ingredients
- Red Gelatin (strawberry or cherry): Pick your favorite red flavor; keep stirring until it's completely dissolved so you get a clear, jewel-like layer.
- Boiling Water: Pour it over the powdered gelatin with care, watching for splashes and avoiding any wasted mix.
- Cold Water: Tempting as it is to rush, measure carefully to get just the right jiggle.
- Instant Vanilla Pudding Mix: This creates the white layer that's extra creamy — whisk well to prevent lumps.
- Cold Milk: Something I learned: use really cold milk for a firm, fluffy middle.
- Whipped Topping: Folding it gently into the pudding mix lends an airy softness that holds its shape.
- Blue Gelatin (berry blue): The blue is all about the visual punch — dissolve it thoroughly for vibrant contrast.
- Fresh Berries: Optional, but they add a burst of real flavor and a fresh bite on top.
- Additional Whipped Topping & Sprinkles: Just for garnishing — the finishing touch gets more smiles than you'd think.
Instructions
- The Red Base:
- Pour the strawberry or cherry gelatin powder into a bowl, then add the boiling water and stir until every last swirl disappears. Gently stir in the cold water, taking care not to splash, and divide the glowing mixture evenly among your clear serving cups.
- Setting the Foundation:
- Place the cups in the fridge — try not to jostle them — and let them chill for about an hour until firm when touched.
- Mixing the White Middle:
- In a fresh bowl, whisk together the instant pudding and cold milk until it thickens, about two minutes of steady stirring. Carefully fold in the whipped topping so the mixture turns airy and smooth.
- Layering the Cream:
- Once the red layer is firm, spoon dollops of the white pudding on top, smoothing the surface. Chill again for thirty minutes; use this break for a little kitchen daydreaming.
- Blue on Top:
- Dissolve the blue gelatin just as before, making sure it's luxuriously smooth. Pour or gently spoon it over the set white layer for that perfect last band of color.
- Chill and Garnish:
- Refrigerate the cups at least two hours until set to a light wobble. Before serving, crown with whipped topping, a few fresh berries, and a scatter of sprinkles — as playful or simple as you like.
 Pin It
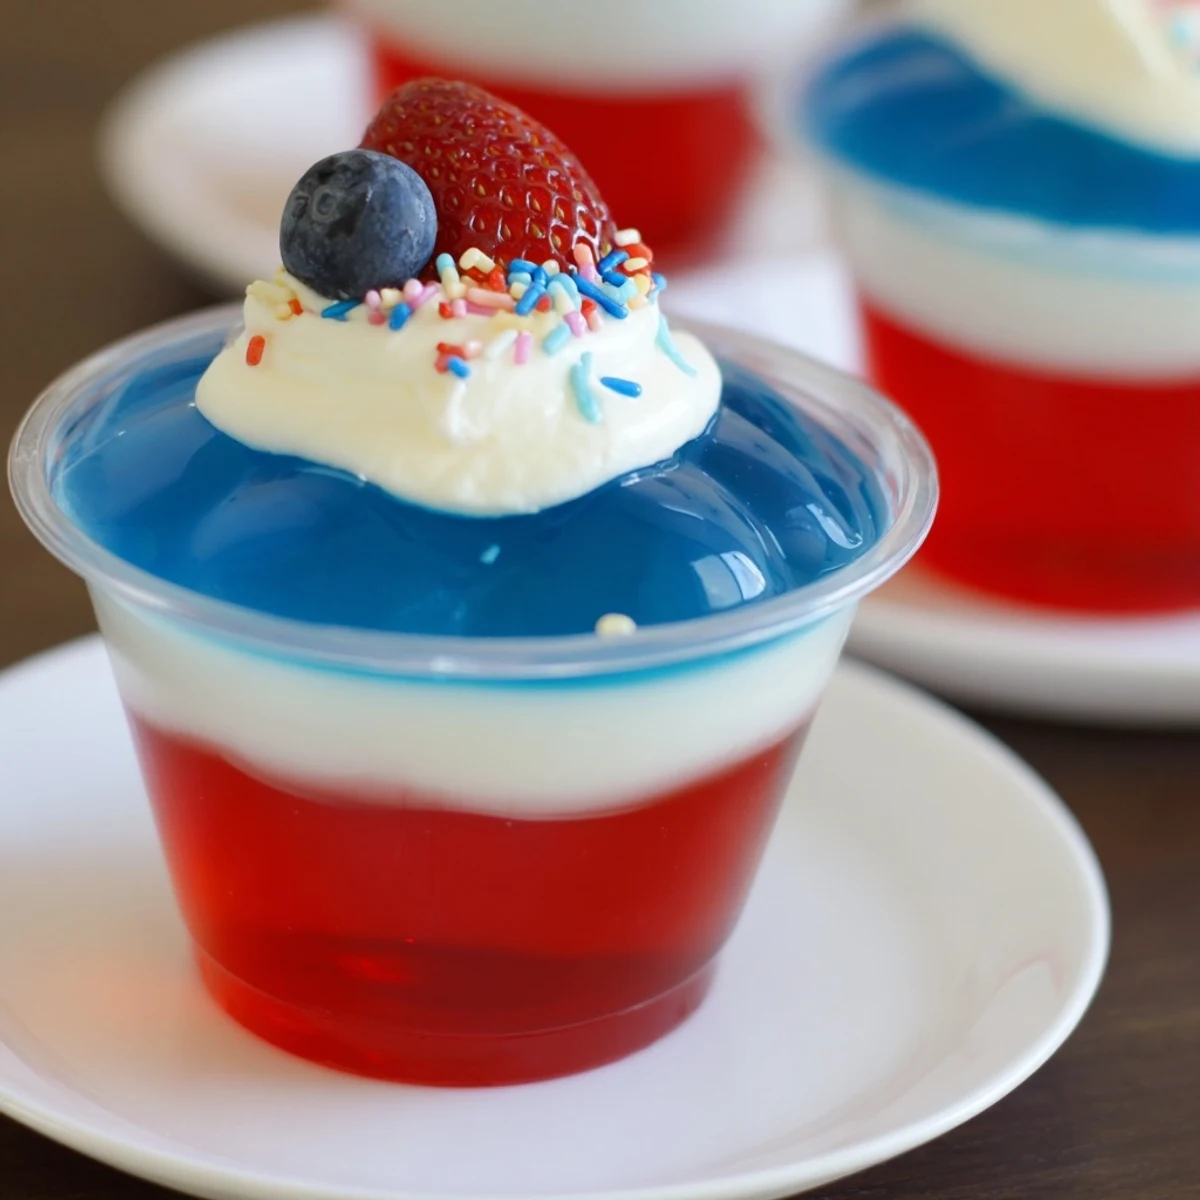
 When I set these out for the Fourth of July last year, someone lifted their cup and said it looked too pretty to eat, then promptly devoured the whole thing in three joyous spoons. That's when it hit me: food this playful brings out the kid in everyone.
Making Layered Desserts Hassle-Free
Having extra cups on hand is a lifesaver in case one tips or a layer accidentally gets too high. The kitchen counter may look like a laboratory, but that's part of the fun — everyone peering in, guessing which color will set fastest. I've found if you prep in batches, the process feels more achievable and less pressured.
A Little Kitchen Science
I was surprised how the mix of pudding and whipped topping holds up, resisting the urge to dissolve into the gelatin below. Timing each chill isn't just about the clock — sometimes, the fridge shelf is a few degrees colder or busier, so be ready to adjust by feel. Keep those windows open for a quick kitchen cooling boost on the hottest days.
Quick Fixes and Final Flourishes
Not every batch turns out perfectly straight; I've learned to embrace a little wonkiness. Kids love helping with sprinkles or berry toppings, especially when you let them choose their own designs. If your layers don't set exactly on schedule, don't worry — they still taste delightful.
- Use a piping bag or zip-top bag for tidier pudding layers.
- Pop the cups on a tray for easy transfer to and from the fridge.
- Give yourself a little space to work — spills are part of the adventure.
 Pin It
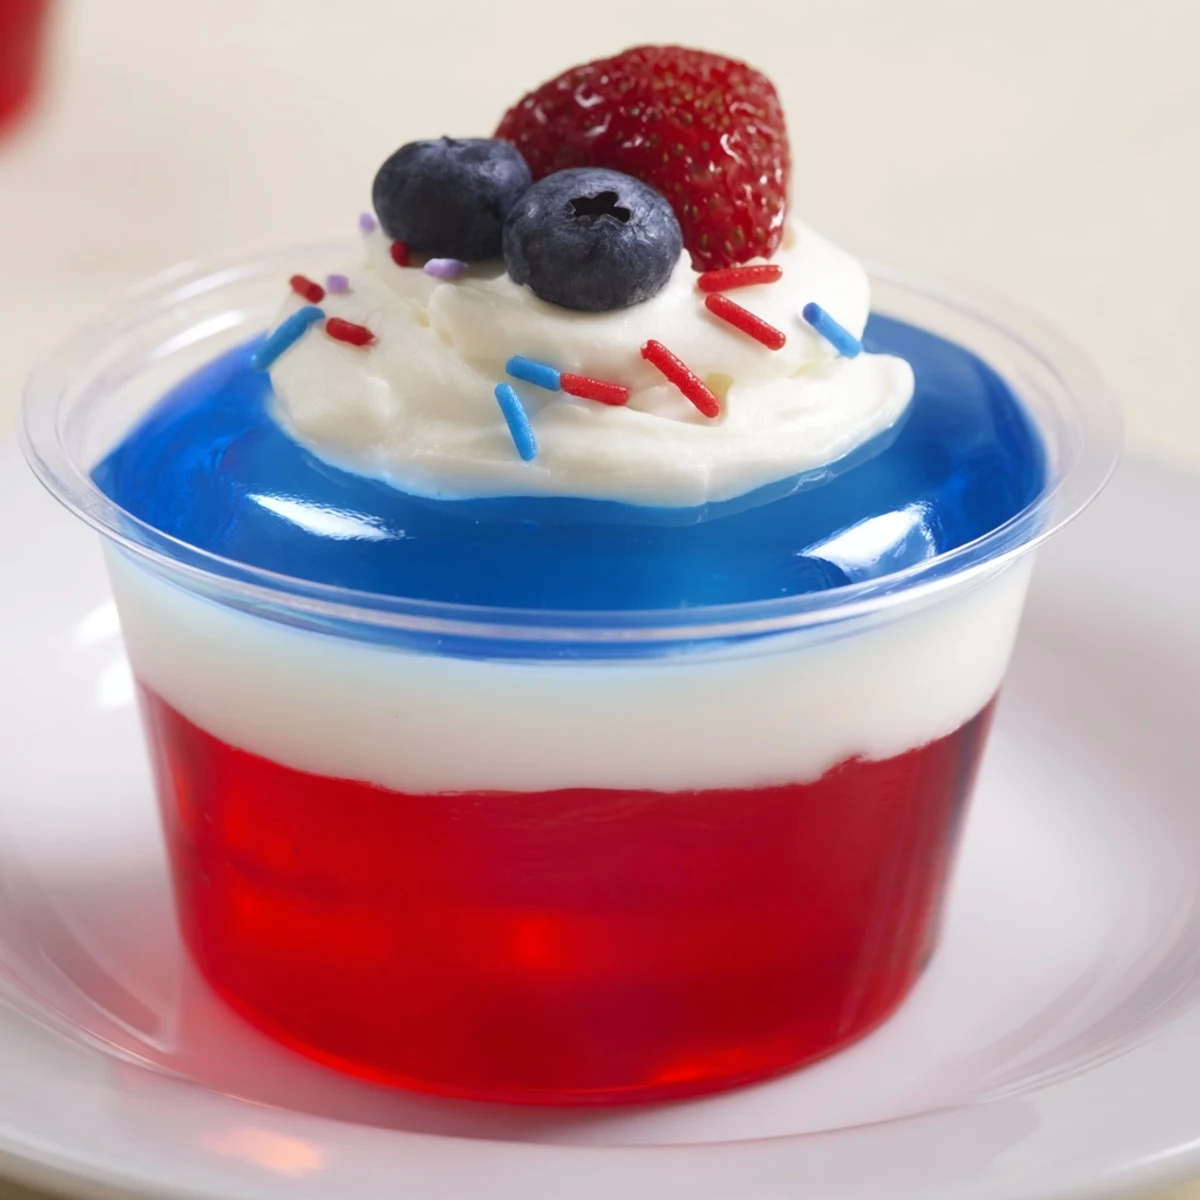
 These Jello cups are a joyful way to bring some fun and flavor to your summer table. Let everyone admire the layers — and then dig right in.
Recipe FAQs
- → How long should each layer chill before adding the next?
-
Chill the red layer about 1 hour until firm, the white pudding layer about 30 minutes until set to the touch, then add the blue layer and refrigerate another 2–3 hours until fully set.
- → How can I prevent the colors from bleeding between layers?
-
Let each layer fully set and cool before adding the next. Pour the next gelatin slowly over a spoon or chilled ladle to diffuse the flow and avoid disturbing the layer beneath.
- → Can I make a dairy-free version?
-
Yes. Use plant-based milk and a non-dairy whipped topping, and choose a dairy-free instant vanilla pudding or prepare a thickened custard with plant milk to replicate the creamy layer.
- → Are there tips for adding fresh fruit without bleeding colors?
-
Use fresh berries as a garnish atop the final set cups. If adding fruit inside layers, blot excess juices and fold small pieces into the creamy layer rather than mixing directly into warm gelatin.
- → What vessels show the layers best?
-
Clear straight-sided cups or small glasses highlight the clean layers. Use small, uniform cups for even portions and the best visual effect.
- → How should I store assembled cups and how far ahead can I prepare them?
-
Assemble up to 1 day in advance, cover and refrigerate. Store for up to 3 days, adding whipped topping and fresh garnish just before serving for best texture.
