 Pin It
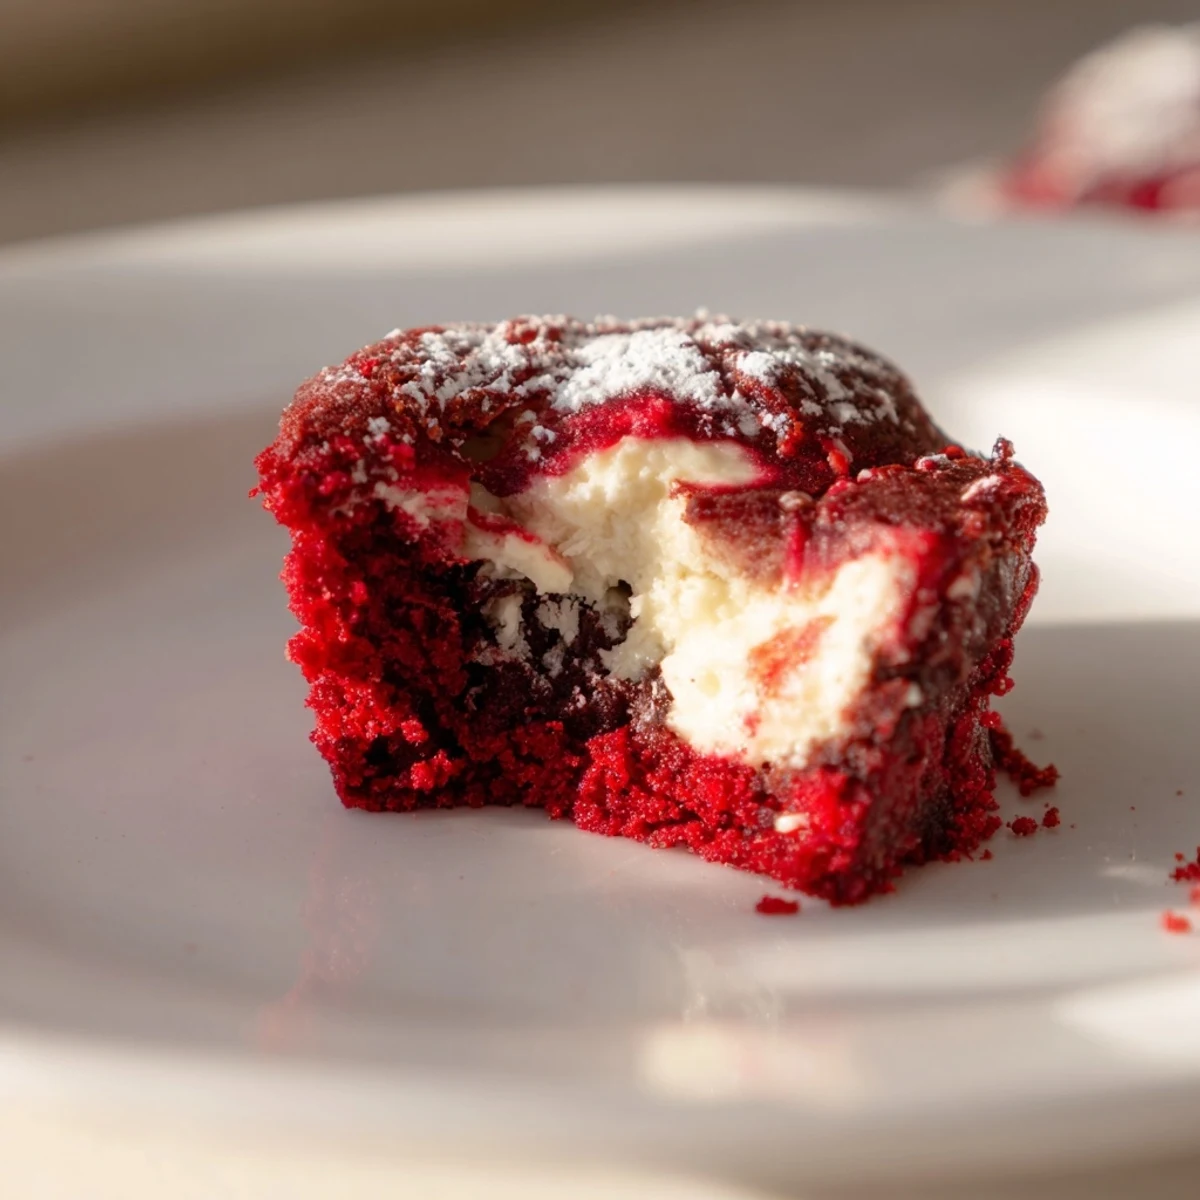
 These bite-sized treats combine rich, fudgy red velvet with a smooth, creamy cheesecake swirl. Preparing them involves mixing a cocoa-infused batter layered with a delicate cream cheese topping, then baking to achieve a moist, tender texture. Perfect for parties or as a sweet indulgence, each bite balances chocolatey depth with velvety creaminess, making them an irresistible snack or dessert option.
The first time I made these, I was running late for a holiday party and needed something that looked impressive but came together quickly. My daughter walked into the kitchen, saw the vibrant red batter, and immediately asked if we were making cupcakes. When I explained they were brownie bites with cheesecake swirls, her eyes lit up—she stayed right beside me, watching every swirl like it was magic happening in the muffin tin.
Last winter, I brought a plate to my book club meeting and one friend admitted she ate three before anyone else even arrived. She said the contrast between the dense chocolate velvet and that tangy sweet cream cheese swirl kept her sneaking back to the platter. Now she requests them for every gathering, joking that shes stopped feeling guilty about it.
Ingredients
- Unsalted butter melted: I have learned that room temperature ingredients blend more smoothly, so I set the butter out about 30 minutes before starting
- Granulated sugar: This amount strikes the perfect balance between sweetness and letting the cocoa shine through
- Large egg: Bring this to room temperature too—it prevents the batter from seizing when you mix everything together
- Vanilla extract: Do not skip this even with the other flavors going on—it anchors everything together beautifully
- Red food coloring: Gel coloring gives you that deep restaurant-quality red without thinning out your batter
- All-purpose flour: Measuring by weight gives the most consistent fudgy texture every single time
- Unsweetened cocoa powder: Dutch-process cocoa makes these taste more like bakery brownies than boxed mix
- Salt: Just a pinch wakes up all the chocolate flavors
- Cream cheese softened: I learned the hard way that cold cream cheese creates lumps—let it sit out for at least an hour
- Granulated sugar for swirl: This keeps the cheesecake layer sweet but not cloying
- Egg yolk: Using only the yolk makes the swirl richer and more stable during baking
- Vanilla extract: A little extra in the swirl layer makes it taste like real cheesecake
Instructions
- Preheat your oven:
- 175 degrees Celsius is perfect—any hotter and the edges will dry out before the centers set
- Prepare the pan:
- Paper liners make these so easy to serve and I love how they look like little gifts at parties
- Whisk butter and sugar:
- Take your time here until the mixture looks glossy—this tiny step makes such a difference in the final texture
- Add egg and liquids:
- The batter will turn such a gorgeous vibrant red that it almost looks fake but that beautiful color bakes up perfectly
- Fold in dry ingredients:
- I stop mixing as soon as I do not see white flour streaks—overmixing makes these tough instead of fudgy
- Make the cheesecake swirl:
- Beat until absolutely smooth—tiny lumps of cream cheese will show up as white specks in your finished bites
- Layer the batters:
- The red velvet layer should fill each cup about halfway up—this leaves room for the swirl to bake without overflowing
- Swirl with a toothpick:
- I do one quick circular motion—going too deep pulls the red batter up and you lose the pretty marble effect
- Bake until just set:
- The centers should still feel slightly soft when you touch them gently—they keep cooking as they cool
- Cool completely:
- I know waiting is hard but the texture improves so much after they cool completely and chill for an hour
 Pin It
 These have become my go-to contribution for potlucks because they travel so well and people always assume they came from a fancy bakery. I love watching faces light up when someone takes that first bite and realizes the white swirl is actually cheesecake.
Making These Ahead
I have baked these up to two days in advance and stored them in the refrigerator—actually the flavors develop even more overnight. For parties I arrange them on a platter about an hour before serving so they are not ice cold when guests arrive.
Getting The Perfect Swirl
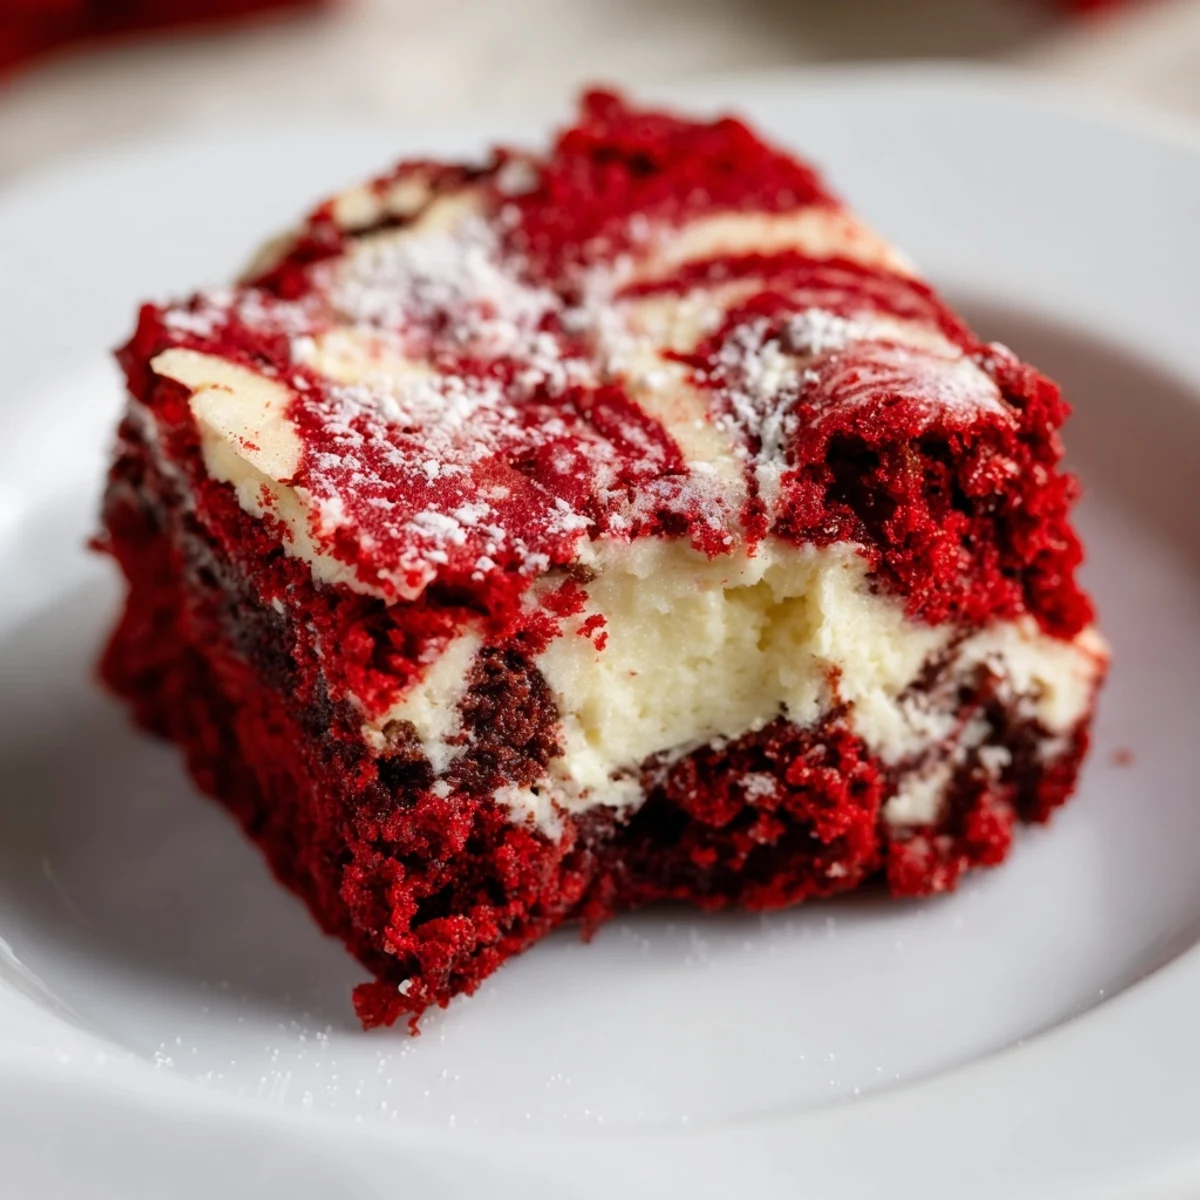
The trick is dropping the cheesecake mixture in small dollops rather than spreading it across the top. Then one gentle circular motion with your toothpick creates that beautiful marble pattern without mixing the two layers together completely.
Serving Ideas
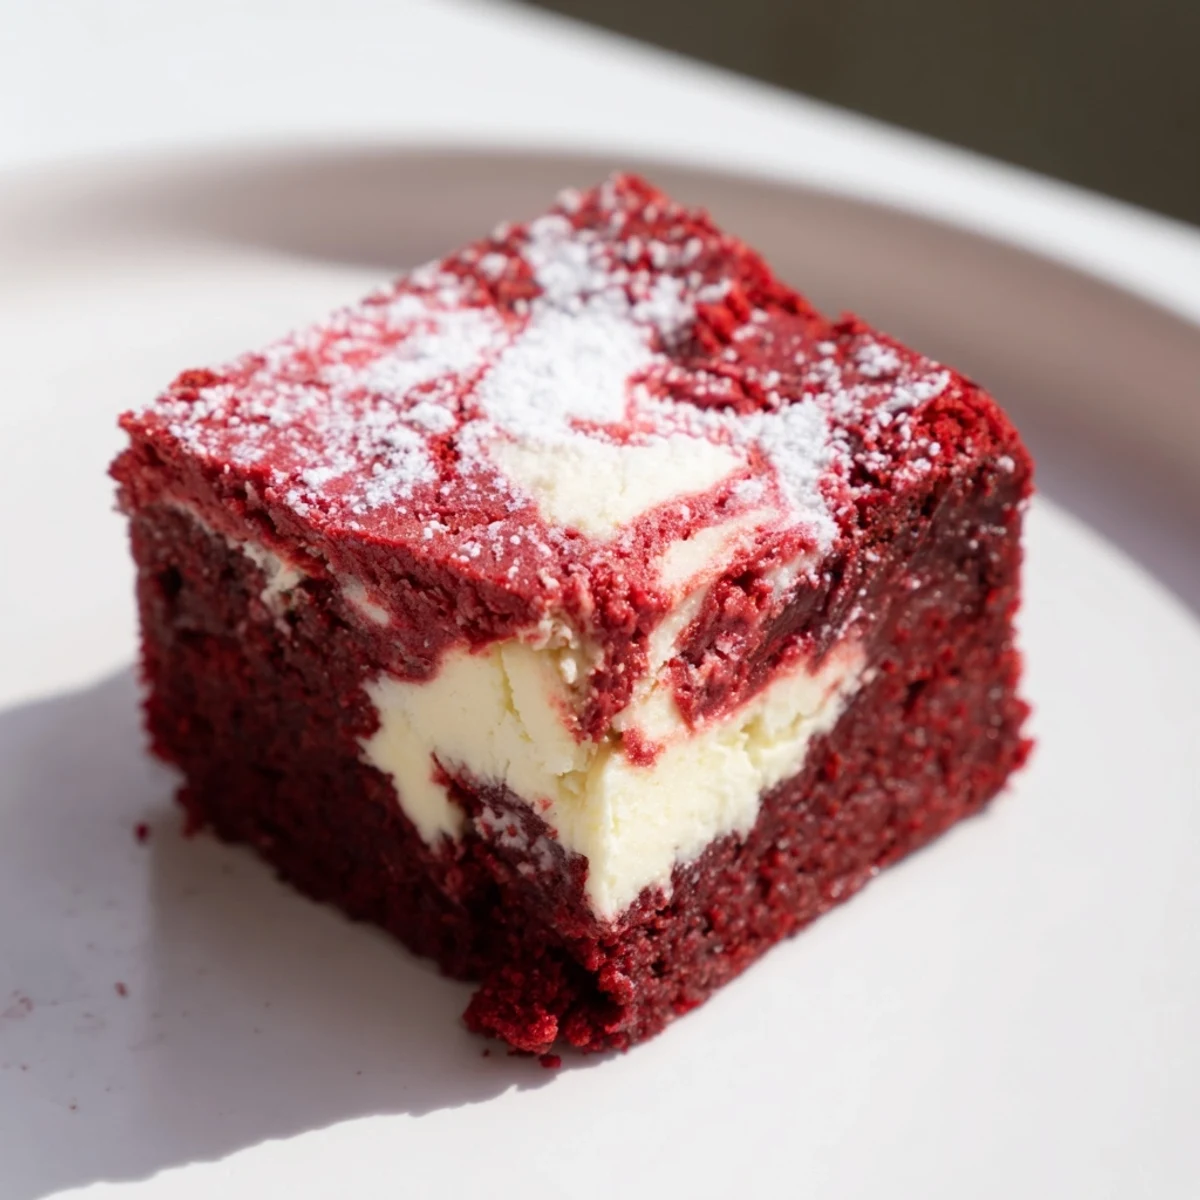
These are stunning on their own but a light dusting of powdered sugar right before serving makes them look professionally finished. I have also topped some with tiny chocolate shavings for contrast.
- Serve with coffee or espresso for an elegant dessert course
- Pair with fresh raspberries to play up the red color theme
- Stack them in mini cupcake liners for easy grabbing at parties
 Pin It
 There is something so satisfying about biting into that fudgy chocolate layer and hitting the tangy creamy swirl—these little bites pack so much flavor into just two or three bites.
Recipe FAQs
- → What makes the red velvet layer distinctive?
-
The red velvet layer combines cocoa powder for subtle chocolate flavor with red food coloring to achieve its vivid hue, resulting in a moist and tender texture.
- → How is the cheesecake swirl created?
-
The cheesecake swirl is made by mixing cream cheese, sugar, egg yolk, and vanilla, then gently layered atop the red velvet batter and swirled before baking.
- → Can these bites be made ahead of time?
-
Yes, they can be prepared in advance and stored in the refrigerator for up to 5 days to maintain freshness.
- → What is the best way to serve these bites?
-
Serve them cooled, optionally garnished with chocolate shavings or a light dusting of powdered sugar for extra appeal.
- → Are there recommended substitutions for red food coloring?
-
Gel food coloring can be used for a more vibrant red without altering the batter's consistency.
