 Pin It
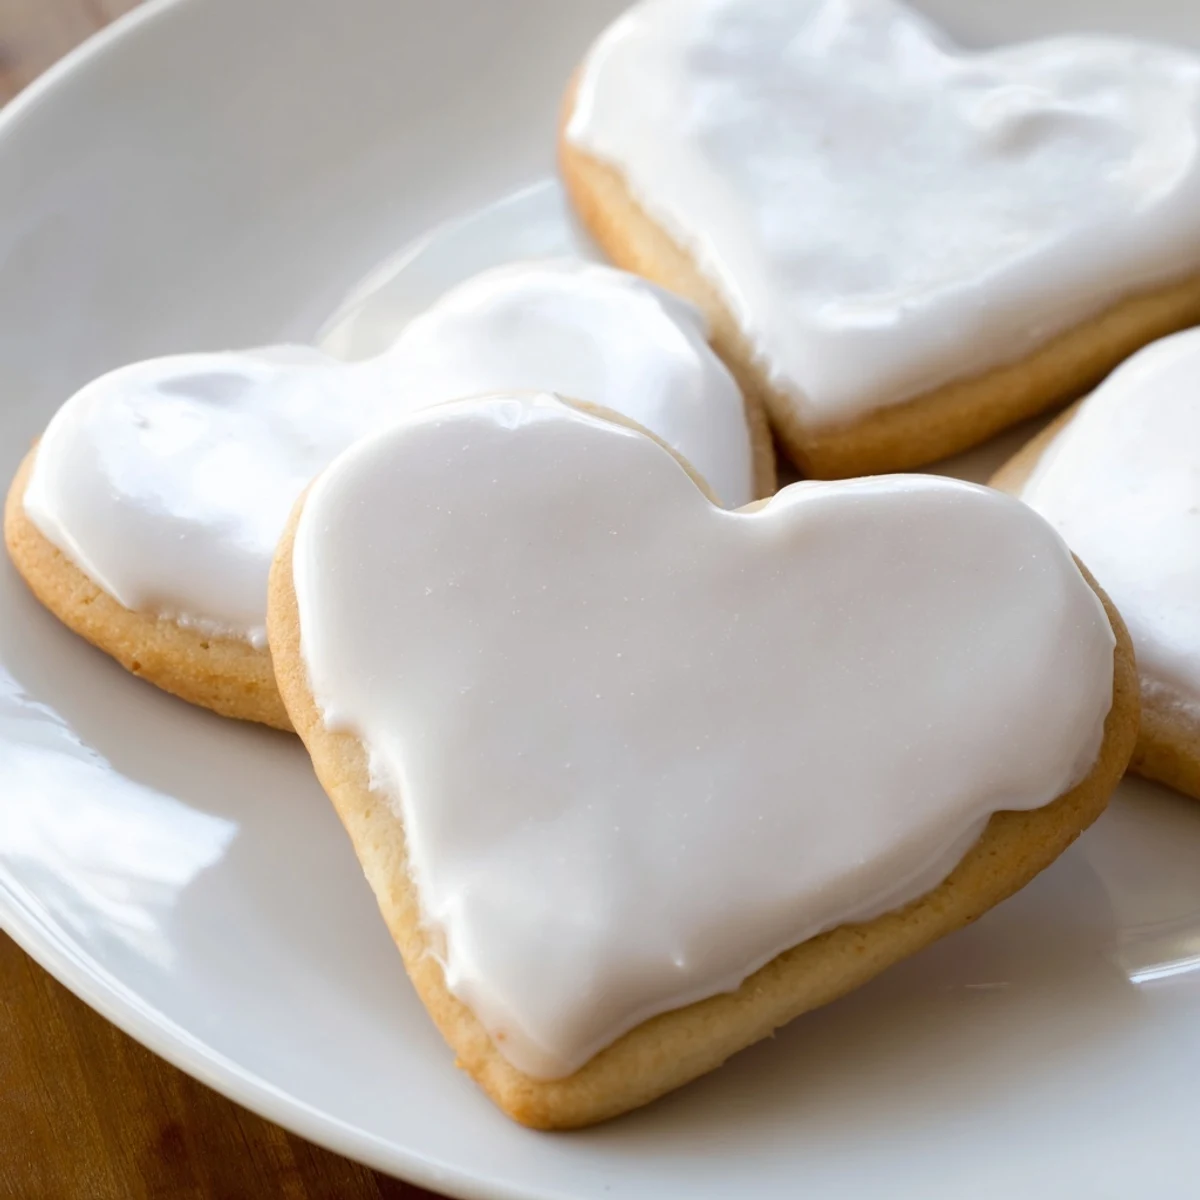
 These heart shaped sugar cookies offer a tender, buttery texture with a lightly sweet flavor. Made from simple ingredients like flour, butter, and vanilla, the dough is chilled and rolled out before cutting into charming heart shapes. After baking to a golden edge, the cookies are decorated with smooth royal icing made from powdered sugar and meringue powder. This icing dries to a crisp, glossy finish, perfect for gift giving or festive occasions. The method ensures soft yet sturdy cookies that hold their delicate shapes.
For best results, avoid overbaking to keep the cookies soft. Decorating options include adding food coloring or edible sprinkles before icing sets. These treats store well and can be frozen undecorated for convenience. Ideal for celebrations, the process combines classic baking with beautiful finishing touches for a deliciously elegant result.
The February my daughter turned six, she requested heart cookies for her class party. I'd never attempted royal icing before, staying awake until midnight the night before, piping and flooding tiny hearts while snow fell quietly outside my kitchen window. By morning, they were glossy and perfect, each one a little edible valentine. Now they are her most requested treat every year.
My sister called me in a panic before her wedding anniversary, needing something heartfelt but manageable for a small celebration. We made these together in her tiny apartment kitchen, flour dusting everything, laughing as we tried to make the hearts uniform. Her husband said they were better than anything from a bakery.
Ingredients
- 2 1/2 cups all-purpose flour: The foundation for roll-out cookies that hold their shape beautifully
- 1/2 teaspoon baking powder: Gives just enough lift without spreading too much
- 1/4 teaspoon salt: Balances sweetness and enhances vanilla flavor
- 3/4 cup unsalted butter, softened: Cold butter equals tender cookies, room temperature equals perfect creaming
- 1 cup granulated sugar: Creates that classic crisp-edged sugar cookie texture
- 1 large egg: Adds structure and richness to the dough
- 2 teaspoons pure vanilla extract: Do not skip or substitute, this is the soul of the cookie
- 2 cups powdered sugar, sifted: Sifting prevents lumps that clog piping tips
- 1 1/2 tablespoons meringue powder: The secret to royal icing that sets hard and glossy
- 3 to 4 tablespoons water: Start with less, add drop by drop for your perfect consistency
- Gel food coloring: Use gel instead of liquid to avoid thinning your icing
Instructions
- Whisk the dry foundation:
- Combine flour, baking powder, and salt in a medium bowl until evenly distributed
- Cream butter and sugar:
- Beat softened butter and granulated sugar for 2 to 3 minutes until the mixture looks pale and fluffy
- Add egg and vanilla:
- Pour in the egg and vanilla extract, beating until the mixture is silky smooth
- Bring dough together:
- Gradually mix in dry ingredients on low speed until a soft dough forms
- Chill for success:
- Divide dough in half, shape into discs, wrap tightly, and refrigerate for at least one hour
- Prepare your workspace:
- Preheat oven to 350 degrees Fahrenheit and line baking sheets with parchment paper
- Roll and cut:
- Roll chilled dough to 1/4 inch thickness on a floured surface and cut out heart shapes
- Arrange and bake:
- Place cookies one inch apart on prepared sheets and bake for 8 to 10 minutes until edges are barely golden
- Cool completely:
- Let cookies rest on baking sheets for 2 minutes before transferring to wire racks
- Make royal icing:
- Beat powdered sugar, meringue powder, and 3 tablespoons water until stiff peaks form, adjusting with water drop by drop
- Color and decorate:
- Tint icing with gel food coloring as desired and pipe onto completely cooled cookies
- Set and serve:
- Let icing dry uncovered at room temperature for several hours until firm to the touch
 Pin It
 Last Valentine's Day, my normally skeptical husband admitted these are his favorite thing I bake. He carefully selects the best decorated ones from the batch, saving them like little treasures. It has become our sweet tradition.
Getting The Icing Right
I learned the hard way that royal icing consistency makes or breaks your decorating experience. Too thick and it drags, too thin and it runs off the edges. Test a small amount on a plate first and adjust before committing to your cookies.
Making Them Ahead
The dough freezes beautifully for up to two months, so I often double the batch and save half for another occasion. Bake the frozen shapes without thawing, adding just one or two extra minutes to the baking time.
Decorating Like A Pro
Start with an outline around the edge of each cookie, then immediately fill the center with slightly thinned icing. Use a toothpick to guide the icing into corners and pop any bubbles that appear. Work quickly but calmly.
- Add sprinkles while the icing is still wet so they adhere properly
- Keep decorated cookies in a single layer until the icing is completely set
- Store in an airtight container once fully dry for up to one week
 Pin It
 These cookies have a way of making any day feel like a celebration worth sharing.
