 Pin It
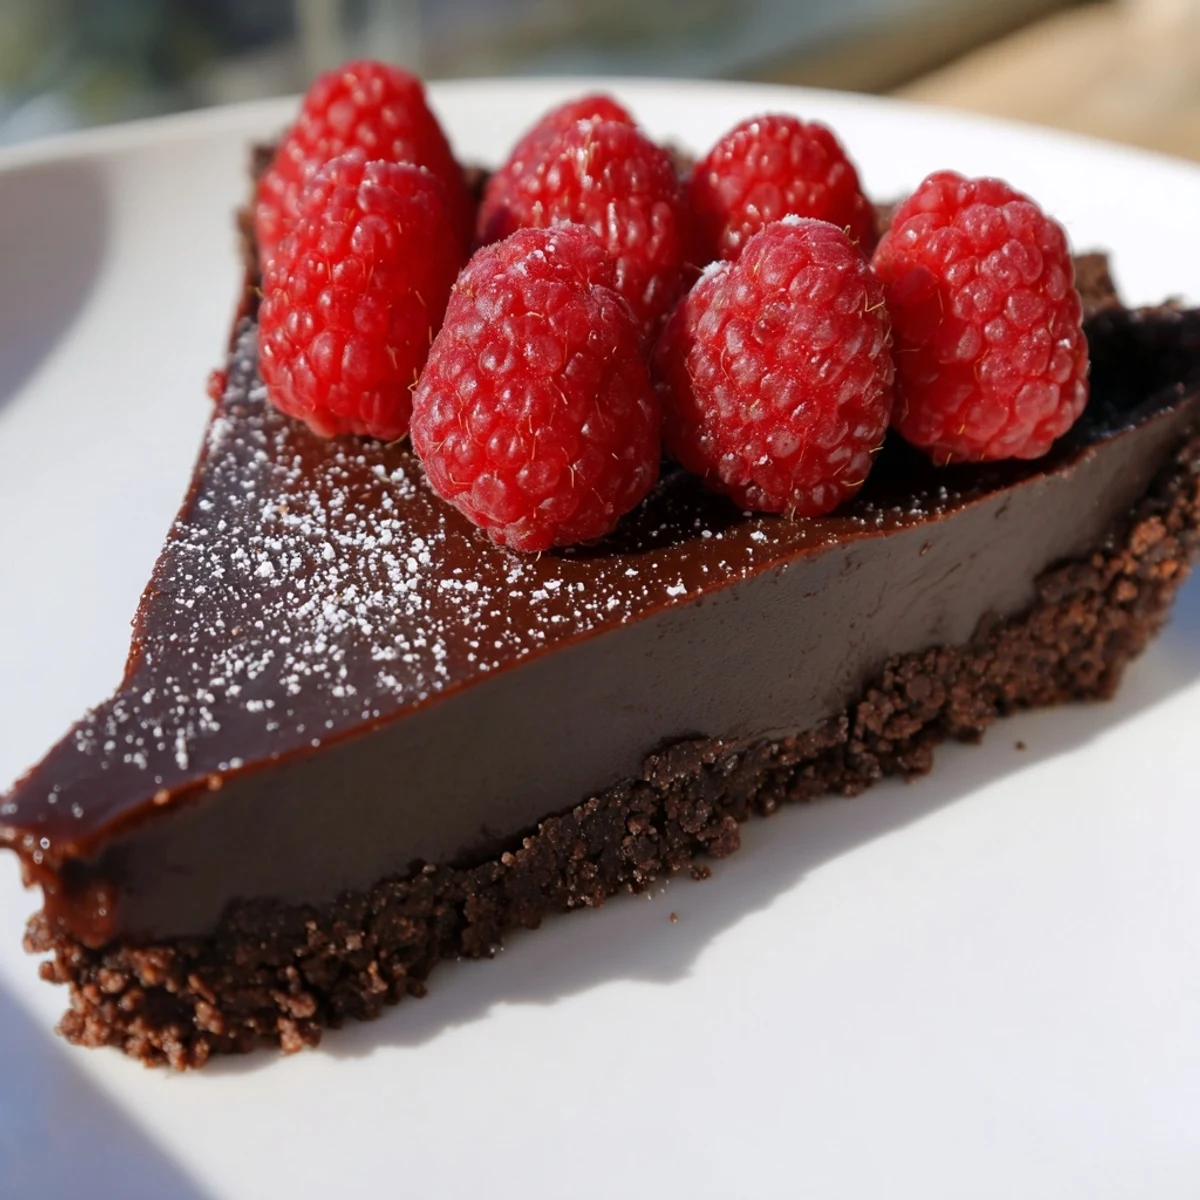
 This dark chocolate tart features a crisp chocolate crust filled with a smooth, rich chocolate ganache. Fresh raspberries on top add a burst of tangy sweetness, balancing the velvety texture. Chilling after baking ensures the filling sets perfectly. Ideal for gatherings, this French-inspired dessert offers a decadent yet refined finish to any meal.
The crust blends cocoa and butter for a tender base, while the filling combines quality dark chocolate, cream, and eggs for a glossy, luscious center. The tart is baked to set edges with a delicate wobble in the middle, then chilled. A dusting of powdered sugar or a dollop of whipped cream complements the fresh berries for extra indulgence.
The first time I made this tart, I wasn't expecting the kitchen to smell like a French patisserie, but somehow it did. My friend Claire had mentioned loving chocolate tarts at a little café in Paris, and I found myself thinking about that conversation while standing in my kitchen one rainy afternoon. The layers came together almost effortlessly—crisp chocolate crust giving way to that impossibly silky filling, and then those jewel-like raspberries on top. It felt like I'd unlocked something special.
I made this for my sister's birthday dinner last summer, and watching her take that first bite—the way her eyes closed—told me everything. She said it tasted like the chocolate tarts from her favorite bakery, which meant I'd nailed something I didn't know I was aiming for. That moment made me realize a good dessert isn't just about technique; it's about creating a memory on a plate.
Ingredients
- All-purpose flour: The base of your crust needs enough structure to hold everything without being heavy—this is your foundation.
- Unsweetened cocoa powder: Don't skimp here; cocoa powder is what gives the crust its chocolate flavor and gorgeous dark color.
- Powdered sugar: A small amount adds just enough sweetness to the crust without making it cloyingly sweet.
- Cold unsalted butter: Cut it into small cubes before you start—cold butter is what creates those little pockets that make your crust crisp and tender.
- Egg yolk: This binds everything while keeping the crust from becoming tough; save the white for another use.
- High-quality dark chocolate (60–70% cocoa): This is where you can taste the difference—cheap chocolate makes cheap-tasting filling, so find something you'd actually enjoy eating on its own.
- Heavy cream and whole milk: Together they create a filling that's rich but not overwhelmingly heavy; the milk tempers the cream without making it watery.
- Unsalted butter: A small amount melted into the chocolate ganache adds richness and silkiness.
- Granulated sugar: Sweet enough to balance the bitterness of dark chocolate without overpowering it.
- Pure vanilla extract: One small touch rounds out all those chocolate notes beautifully.
- Eggs: These provide structure to the filling, keeping it from being just a puddle of ganache.
- Fresh raspberries: Wait to add these until just before serving so they stay bright and don't get soggy from the filling.
Instructions
- Make your crust dough:
- Whisk together the flour, cocoa powder, powdered sugar, and salt in a bowl. Add your cubed cold butter and use a pastry blender or your fingertips to work it in until the mixture looks like coarse breadcrumbs—this takes patience but it's worth it because those little butter pockets are what make the crust crispy. Add the egg yolk and 2 tablespoons of ice water, stirring gently until the dough just comes together; if it seems dry, add a few more drops of water until it holds.
- Shape and chill the crust:
- Press the dough evenly into your tart pan, making sure it goes up the sides and covers the bottom. Prick the base with a fork all over—this prevents it from puffing up during baking. Pop it into the freezer for 10 minutes; this helps it hold its shape and keeps it from shrinking.
- Blind bake the crust:
- Bake at 350°F for about 15 minutes until the crust looks set but not dark brown. You want it to have a head start so it stays crispy when you pour in the wet filling.
- Create the chocolate filling:
- In a saucepan, gently heat the heavy cream, milk, and butter together over medium heat until you see little bubbles forming at the edges—not a rolling boil, just a gentle simmer. Remove from heat, add your chopped chocolate, and let it sit undisturbed for 2 minutes; this allows the heat to melt it gently. Give it a stir and it should become silky smooth.
- Finish the filling:
- Whisk in the sugar, vanilla, and salt, then add the eggs one at a time, whisking until the mixture is glossy and fully combined. This is where the eggs emulsify everything into something beautifully smooth and custardy.
- Bake the tart:
- Pour the filling into your cooled crust and bake at 350°F for 15–18 minutes. You're looking for the edges to set while the center still has a tiny bit of jiggle—it will continue to cook slightly as it cools, so don't overbake or it becomes fudgy instead of silky. Let it cool on a wire rack, which prevents condensation from making the bottom soggy.
- Chill thoroughly:
- Refrigerate for at least 1 hour until the filling is completely firm and holds its shape when you slice it. This is essential; a warm tart is a mess, but a properly chilled one is a dream to plate.
- Top and serve:
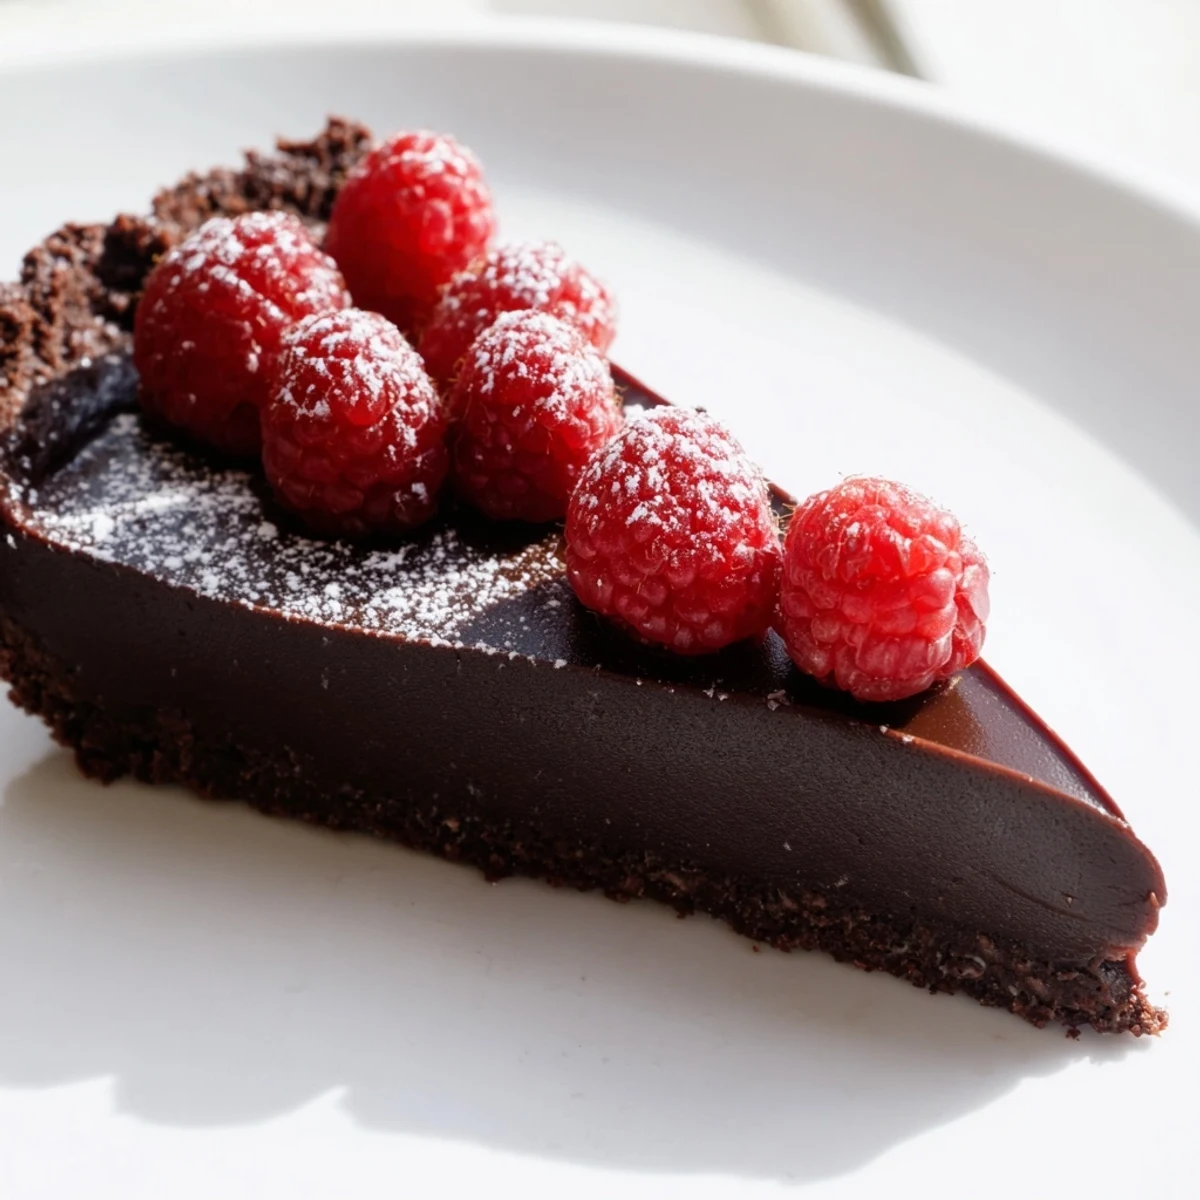
- Just before serving, scatter fresh raspberries over the top and dust with powdered sugar if you'd like. The raspberries should be added at the last moment so they stay fresh and glossy.
 Pin It
 There's something almost meditative about making this tart, the way the cream and chocolate come together into something silky, the precision of layering flavors that all make sense together. It taught me that sometimes the most impressive things are the ones where you trust the process and don't overthink it.
The Magic of Proper Chocolate Selection
I learned the hard way that the chocolate you choose really does matter. Using a cheap chocolate chips once resulted in a filling that tasted slightly waxy and one-dimensional, while switching to a proper 65% dark chocolate block made everything deeper and more complex. High-quality chocolate has better cocoa butter content, which means it melts more smoothly and creates that signature silkiness you're after. Now I taste my chocolate before committing to it—if it doesn't taste good straight from the bar, it won't taste good in the tart.
Temperature and Timing Tricks
Getting the temperature right is what separates a silky filling from a grainy one, and I've had both. The cream should be gently heated, not boiled aggressively, because violent heat can cause the chocolate to seize. I've also learned that letting the chocolate sit in the warm cream for those 2 minutes before stirring is crucial—it sounds like nothing, but it means less elbow grease and a smoother result. The final detail is waiting until the mixture cools slightly before adding eggs, which keeps them from scrambling and breaking the beautiful emulsion you've built.
Serving and Storage Secrets
This tart is best served cold, straight from the fridge, which means you can make it the morning of a dinner party and spend your evening relaxed instead of stressed. A thin slice with a warm cup of coffee or a scoop of vanilla ice cream is the ideal pairing, though whipped cream adds a cloud of lightness that feels luxurious. Leftover tart keeps beautifully covered in the fridge for 2 days, and you can even freeze it for up to a week if you want to plan ahead.
- Always slice with a hot knife wiped clean between cuts so each piece looks neat and professional.
- Fresh raspberries should go on just before serving, but you can arrange them earlier and cover loosely with plastic wrap if you're timing things tightly.
- If you want to get fancy, a tiny pinch of fleur de sel sprinkled over the raspberries brings out the chocolate's complexity in an unexpected way.
 Pin It
 This tart has become my go-to when I want to feel like I've done something remarkable without the stress of intricate techniques. Every time someone takes a bite and their face tells me they're somewhere else entirely—somewhere dark and rich and happy—I remember why I love cooking. It's proof that good food, made with care, is its own kind of magic.
Recipe FAQs
- → How do I ensure the tart crust stays crisp?
-
Chilling the crust before baking helps maintain its structure. Avoid overworking the dough and bake until edges are lightly firm for best results.
- → Can I use other berries instead of raspberries?
-
Yes, blackberries or strawberries make excellent toppings and provide a fresh, fruity contrast to the rich chocolate filling.
- → What is the best way to melt chocolate for the filling?
-
Heat cream and butter just until simmering, then add the chopped chocolate off the heat. Let sit for a couple of minutes before stirring gently to achieve a smooth texture.
- → How long should the tart chill before serving?
-
Refrigerate the tart at least one hour after baking to allow the filling to set firmly and develop its full flavor.
- → Is this tart suitable for gluten-free diets?
-
Substitute the all-purpose flour with a gluten-free blend to make the crust gluten-free while maintaining texture and flavor.
