 Pin It
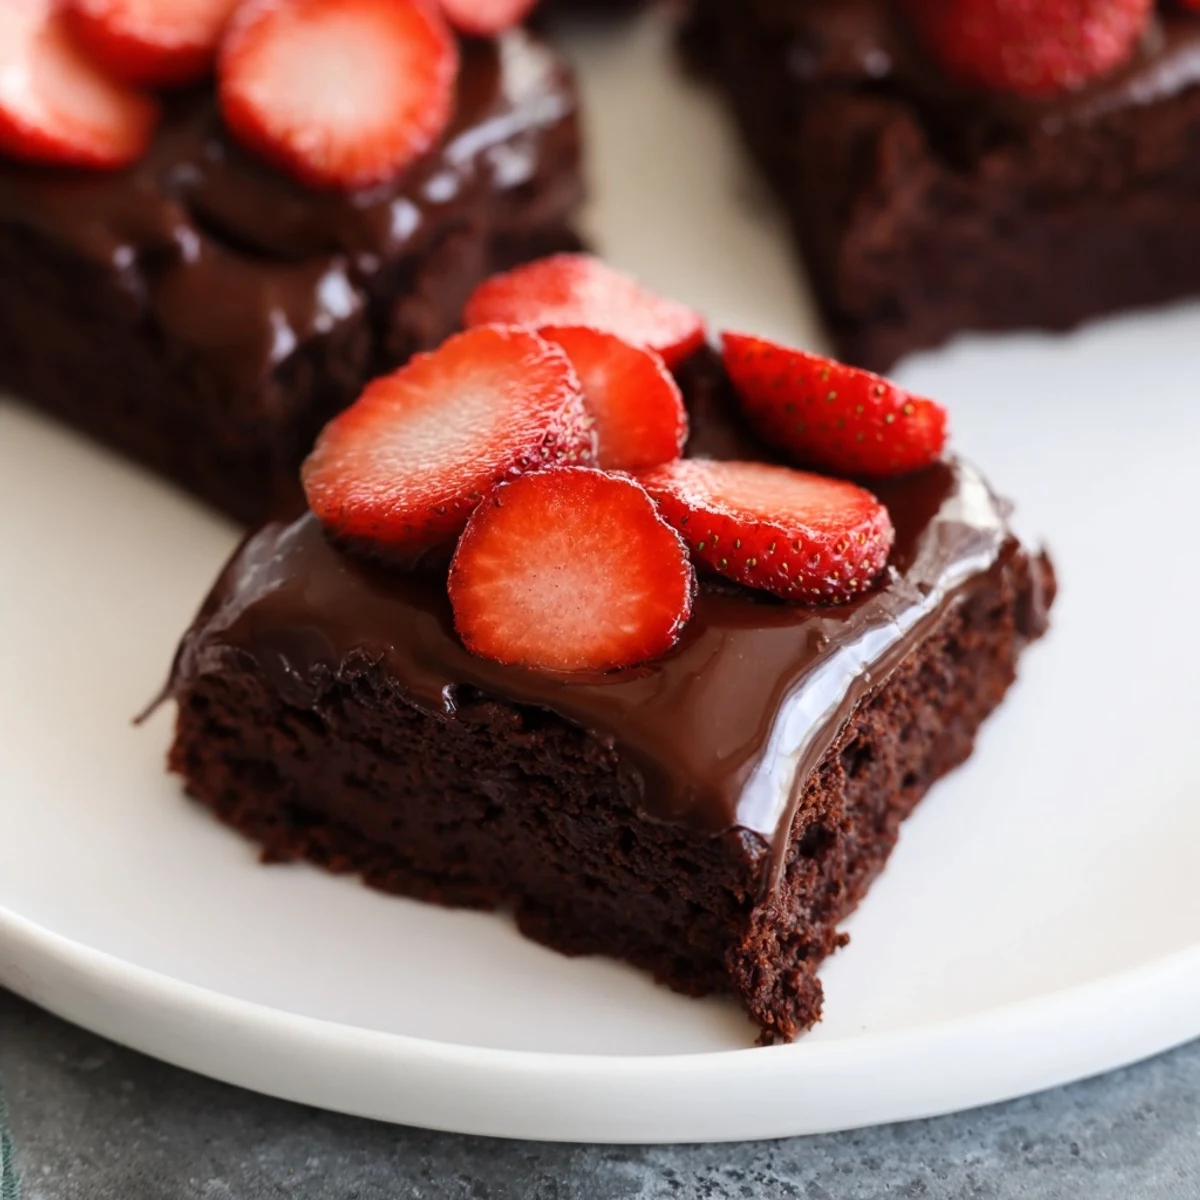
 These brownies feature a rich, fudgy base infused with cocoa and vanilla. Fresh strawberries are evenly placed on top, followed by a smooth, glossy chocolate ganache made from semi-sweet chocolate, cream, and butter. After chilling to set, each square offers a balanced combination of decadent chocolate and fruity freshness. Ideal for medium skill levels, this dessert requires baking, cooling, and layering steps to achieve the perfect texture and flavor harmony.
The first time I made these, my roommate walked through the door and immediately asked what bakery I'd visited. The smell alone stops people in their tracks chocolate hanging in the air like something you could scoop up with a spoon. I'd spent the afternoon experimenting with what seemed like an absurd combination, but sometimes the best ideas come from throwing caution to the wind.
I brought these to a friend's birthday dinner last spring, and there was this moment when everyone went quiet after the first bite. Someone actually asked if I'd secretly gone to culinary school, which might be the best compliment I've ever received in a kitchen. They've become my go-to whenever I need to show up with something impressive but don't want to spend my entire weekend chained to the stove.
Ingredients
- Unsalted butter: Melted butter creates that dense, fudgy texture we're after here. I've tried oil, and it just doesn't give you that same crackly top.
- Granulated sugar: Don't reduce this. The sugar isn't just sweet, it's what creates that beautiful shiny crust on top.
- Eggs: Room temperature eggs incorporate better. If you forget to take them out, give them a quick warm water bath for five minutes.
- Vanilla extract: Use the good stuff if you have it. This is a simple recipe, so quality ingredients really shine.
- Unsweetened cocoa powder: Dutch-processed gives you that deep, dark color and mellow flavor. Regular cocoa works too but might taste slightly more acidic.
- All-purpose flour: Measure by spooning into the cup and leveling off, not scooping directly. Too much flour makes them cakey instead of fudgy.
- Salt: Even a tiny amount wakes up the chocolate flavor. Trust me on this.
- Baking powder: Just enough lift to keep them from being dense like a fudge bar.
- Fresh strawberries: Pick berries that are firm but fully red. Overripe strawberries will release too much water and make your ganache seize.
- Semi-sweet chocolate: I prefer chips for convenience, but chopped baking chocolate melts into something silkier.
- Heavy cream: Don't try substituting milk. You need that fat content for a ganache that actually sets properly.
Instructions
- Preheat your oven:
- Set it to 350°F and line that 8x8 pan with parchment. Leave some overhang on the sides, otherwise you'll be cursing later when you can't get these out in one piece.
- Whisk the wet ingredients:
- Beat that melted butter and sugar until it looks smooth and glossy, then add the eggs and vanilla. Take your time here.
- Add the dry ingredients:
- Sift everything in and stir until just combined. You'll still see some flour streaks, and that's perfect.
- Bake until just set:
- Twenty-five to thirty minutes, but start checking at 25. A few moist crumbs on your toothpick means they're done. Clean toothpick means you waited too long.
- Let them cool completely:
- This is the hard part. Put the pan in the fridge if you're impatient like I am. Warm brownies will melt your ganache into a sad puddle.
- Layer the strawberries:
- Arrange them in whatever pattern makes you happy. Crowded is fine, they'll shrink slightly as they chill.
- Make the ganache:
- Heat the cream until you see tiny bubbles around the edges, pour over the chocolate, and just walk away for two whole minutes. Stir in the butter at the end.
- Chill until set:
- At least an hour in the fridge. Run your knife under hot water between cuts for those clean, restaurant-style squares.
 Pin It
 My grandmother always said desserts made with real love taste better, and I think there's something to that. These have become my anniversary dessert, my bring-to-the-sad-friend dessert, my Tuesday-just-because dessert. Food is never just food, is it?
Making Them Ahead
You can bake the brownie layer up to two days in advance. Wrap them tightly in the pan, then add strawberries and ganache the day you plan to serve. This actually improves the texture, giving the flavors time to meld into something more cohesive.
Choosing Your Chocolate
I've made these with everything from grocery store chips to single-origin chocolate bars. The better the chocolate, the more sophisticated the final result. For everyday treats, basic semi-sweet works beautifully. For special occasions, splurge on something with a higher cocoa percentage.
Storage and Serving
These keep in the refrigerator for up to five days, though they've never lasted that long in my house. Let them sit at room temperature for about 20 minutes before serving, otherwise the texture is too firm and you lose some of the nuanced flavor.
- Cut them while slightly chilled for the cleanest edges.
- A warm knife dipped in hot water is your secret weapon.
- Sprinkle with flaky salt right before serving if you want to look fancy.
 Pin It
 Hope these bring as much joy to your kitchen as they've brought to mine. There's something pretty wonderful about watching someone take that first bite and go completely quiet.
Recipe FAQs
- → What is the best way to ensure fudgy brownies?
-
Use melted butter and avoid overmixing the batter once the dry ingredients are added to maintain a dense, moist texture.
- → How should strawberries be prepared for topping?
-
Fresh strawberries should be hulled and halved or sliced evenly to create a uniform layer over the cooled brownie base.
- → How do I make a smooth chocolate ganache?
-
Heat cream until just simmering, pour over chopped semi-sweet chocolate, let sit briefly, then stir in butter until the mixture is glossy and smooth.
- → Can these brownies be made ahead of time?
-
Yes, chill after assembling and keep refrigerated. This allows the ganache to set properly and flavors to meld, making them perfect to prepare in advance.
- → What pan is recommended for baking these brownies?
-
An 8x8-inch (20x20 cm) baking pan lined with parchment paper ensures easy removal and even baking.
