 Pin It
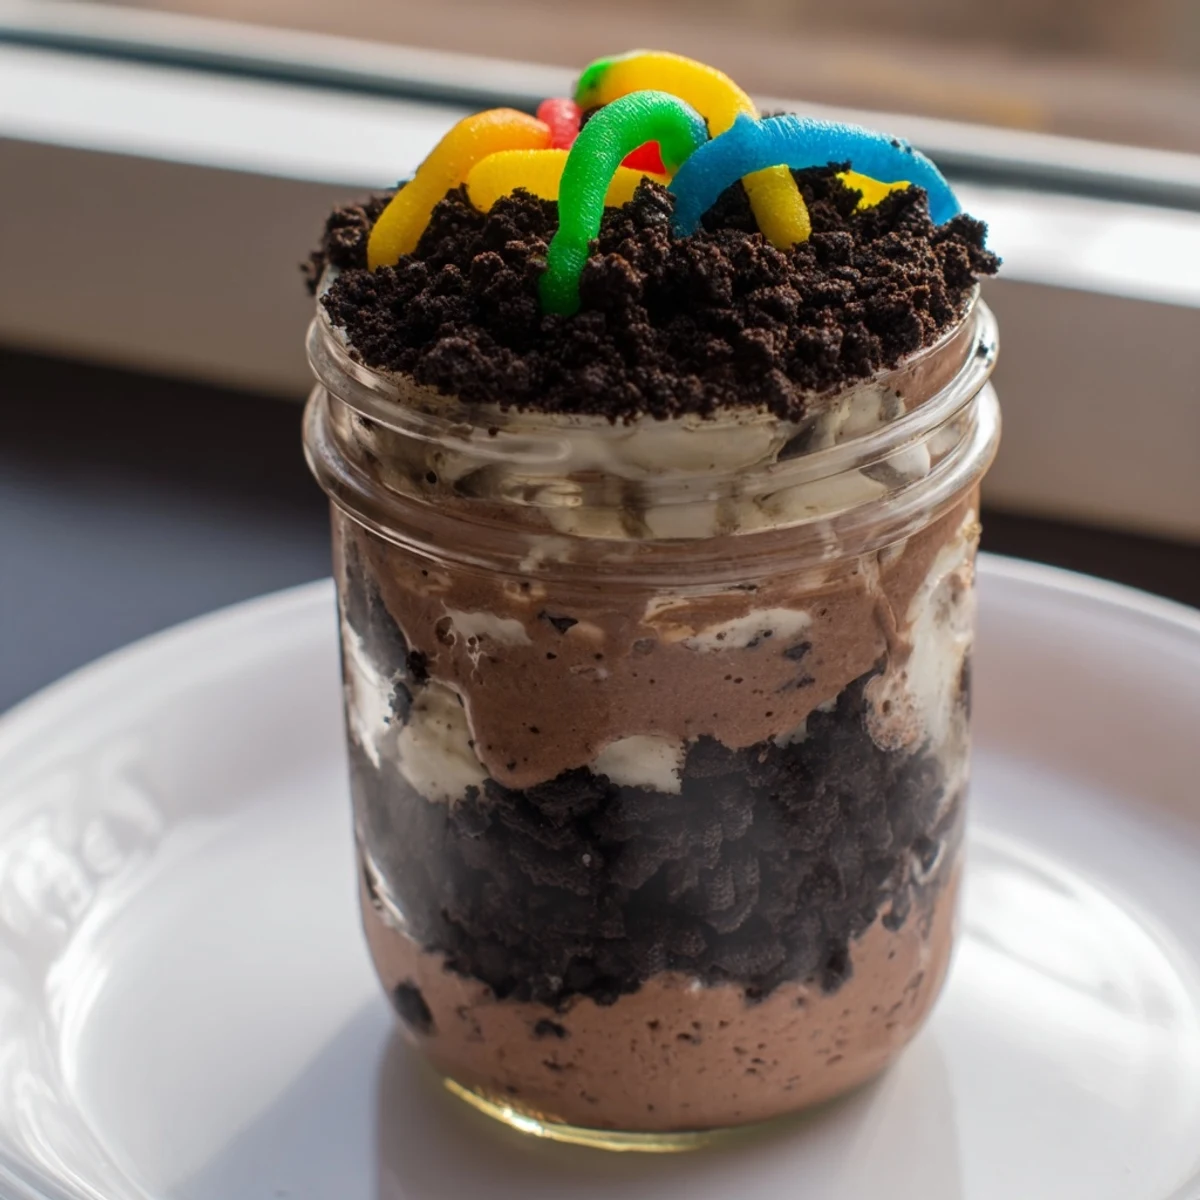
 This whimsical no-bake dessert combines smooth chocolate pudding with crunchy cookie crumbs to create a playful dirt-inspired treat. Perfect for children's parties or gatherings, individual cups feature layered textures that mimic garden soil complete with emerging gummy worms. The preparation comes together in just 20 minutes using simple ingredients.
Each spoonful offers a satisfying contrast between velvety chocolate and crisp cookie texture. The presentation in clear cups or jars makes for an eye-catching display that sparks conversation and delight among both children and adults.
My daughter's third-grade class had a garden party, and I completely forgot about contributing something until the night before. In a moment of mild panic, I grabbed whatever was in the pantry: chocolate pudding, Oreos, and those gummy worms hiding in the back of the snack drawer. The next morning, I sent her off with these muddy little cups, half-expecting an embarrassed text from the teacher. Instead, I got a photo of the entire class gathered around the dessert table, dirt smeared on their faces, grinning like they'd discovered actual buried treasure.
Last summer, I made these for my nephew's birthday party in clear plastic cups so everyone could see the layers. The best moment was watching the adults try to act casual about reaching for seconds while pretending they were just checking if the kids had enough. One dad literally hid his empty cup behind a plant so he could grab another before anyone noticed.
Ingredients
- Instant chocolate pudding mix: I've learned the cheaper brands actually work better here because they set up firmer and hold those layers like a champ
- Cold milk: Seriously cold, not sort of cold from sitting on the counter while you found your whisk
- Whipped topping: Thawed completely, or you'll get weird frozen chunks that ruin the whole creamy vibe we're going for
- Chocolate sandwich cookies: Oreos are classic but any chocolate sandwich cookie will crush into beautiful dirt just fine
- Gummy worms: Get more than you think you need because somehow half of them disappear during assembly and nobody knows how
Instructions
- Make the pudding:
- Whisk that pudding mix and cold milk like your life depends on it for exactly two minutes until it's suspiciously thick and begging to be eaten with a spoon right there.
- Add the fluff:
- Gently fold in the whipped topping until everything is smooth and nobody would guess this started from a box.
- Create the dirt:
- Crush those cookies in a food processor or go full therapy mode and smash them in a zip-top bag with a rolling pin until they look like legitimate garden soil.
- Build the layers:
- Spoon cookie crumbs into your serving cups, followed by pudding, then repeat until you're staring at a beautiful little parfait of chocolate and dirt.
- Add the worms:
- Poke those gummy worms into the top layer so they look like they're crawling out of their chocolate grave.
- Chill out:
- Let everything hang out in the fridge for at least an hour because impatient eating leads to layer collapse and sadness.
 Pin It
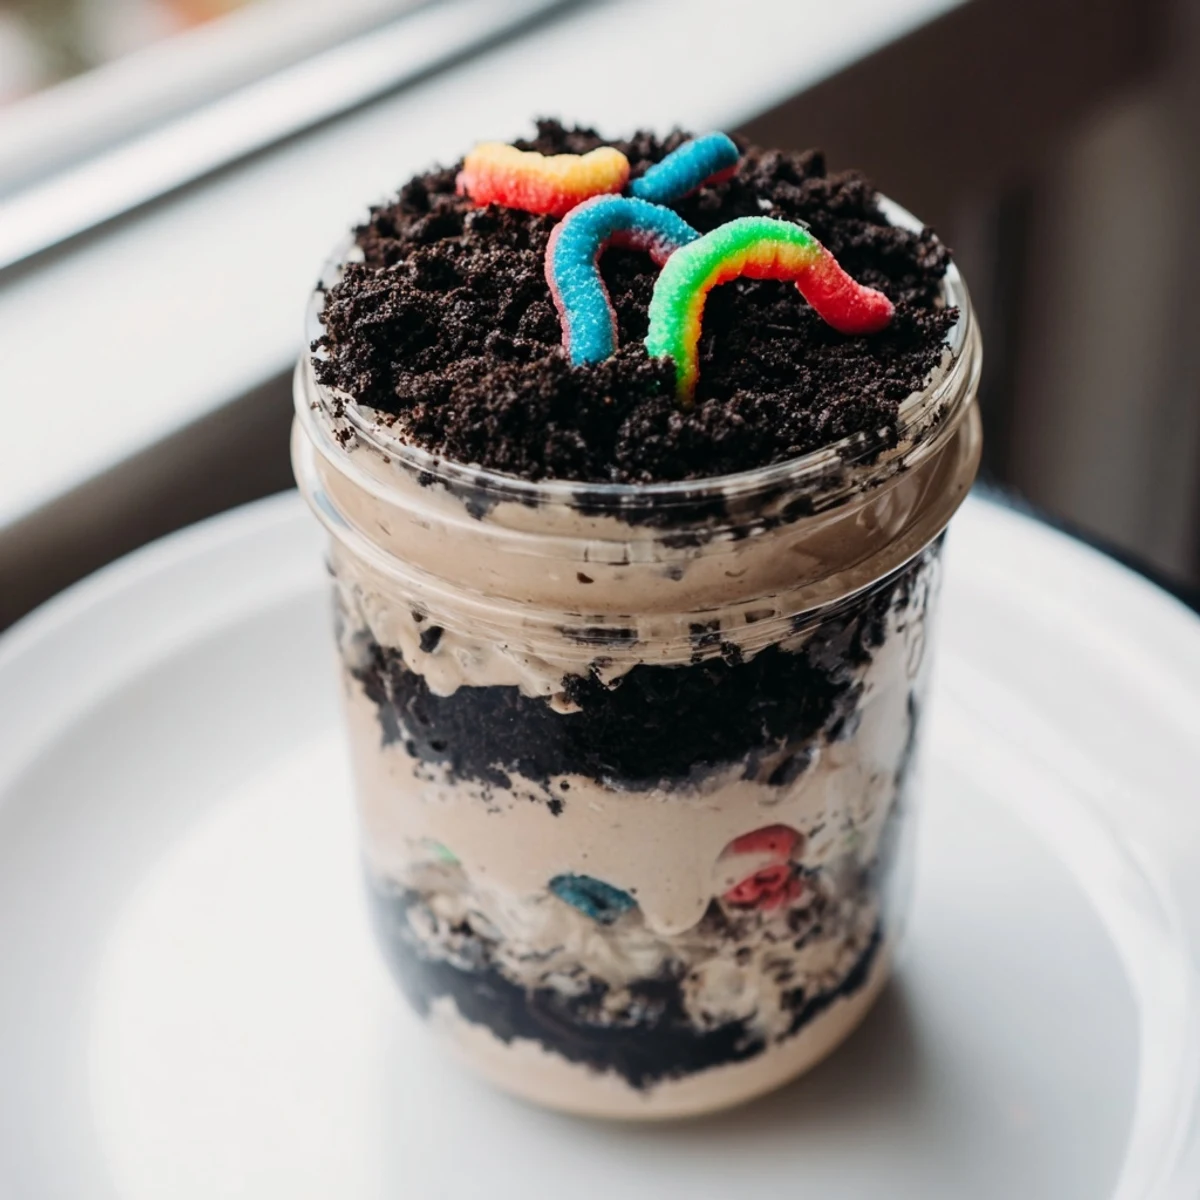
 My friend brought these to a fancy dinner party once in actual flower pots with fake flowers, and I've never seen a room full of adults get so excited about eating out of what looked like a garden center. It's amazing how something so simple can make people feel like kids again.
Making It Your Own
I've started adding a thin layer of sweetened cream cheese between the pudding and cookies when I want to feel fancy, and honestly it's worth the extra five minutes. The tang cuts through all that chocolate sweetness in a way nobody expects but everyone appreciates.
Serving Strategy
Individual cups are non-negotiable for me now because serving family-style means the first person gets all the worms and the last person gets sad pudding soup. Plus, watching people's faces when they realize what they're looking at is basically free entertainment.
Make Ahead Magic
These actually taste better after sitting overnight in the fridge, which makes them the ultimate overachiever dessert for parties. The cookies soften slightly and the flavors settle into each other like they've been friends forever.
- Everything can be prepped the day before except maybe the worm placement if you want them looking perky and fresh
- Keep the crushed cookies separate if you're worried about them getting soggy, though honestly the slight softening is kind of the point
- These don't freeze well so don't even try it unless you want chocolate sadness later
 Pin It
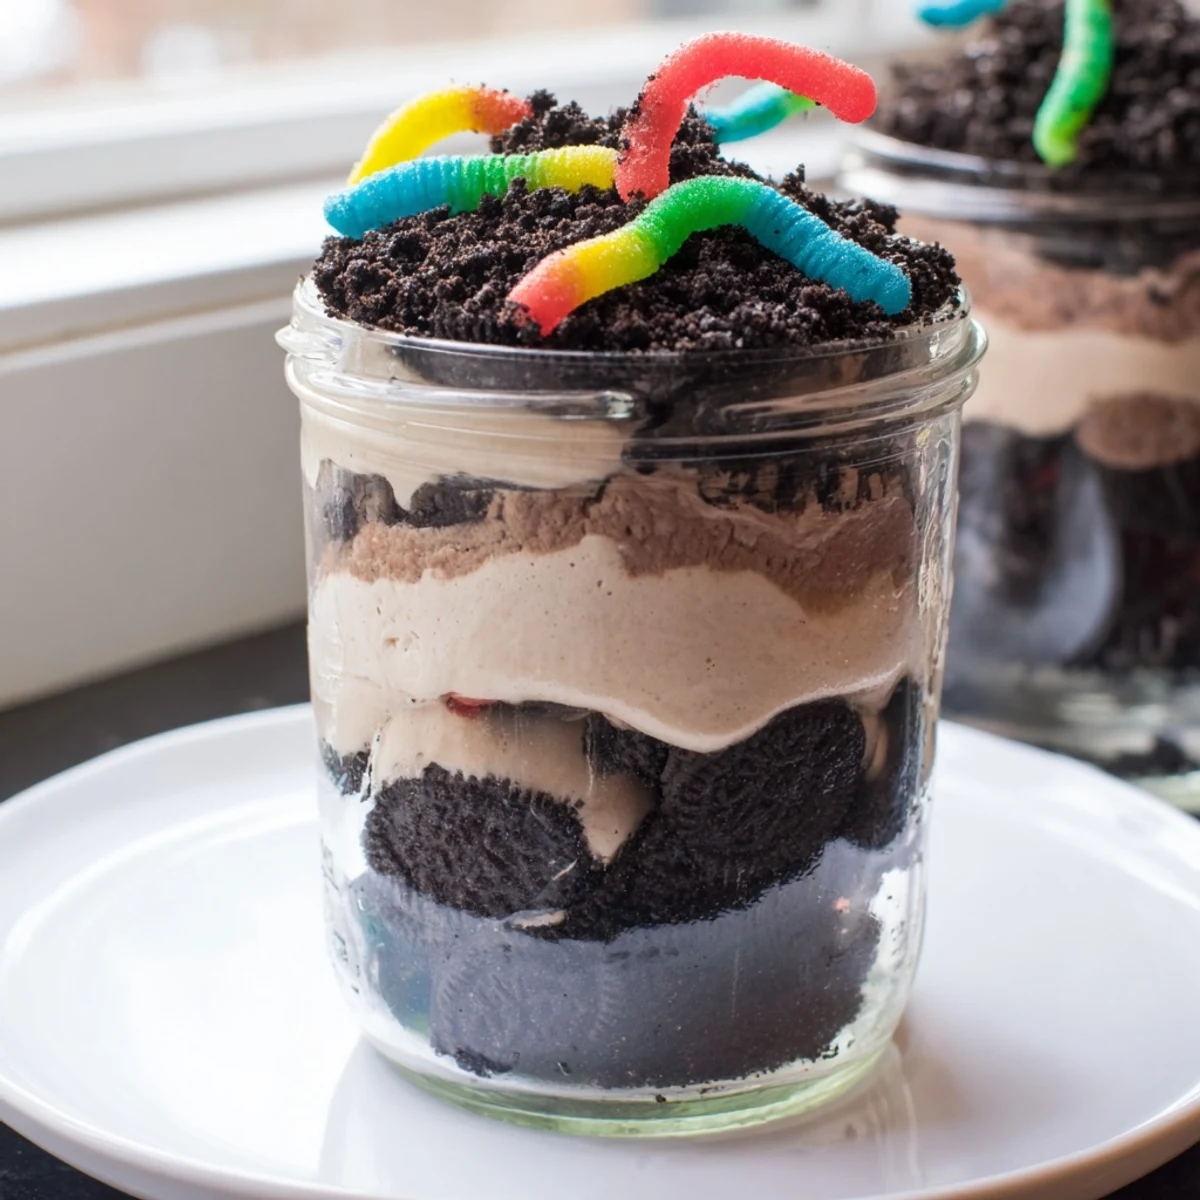
 There's something deeply satisfying about serving dessert that makes people laugh before they even take a bite. Good food should feed your soul just as much as your stomach.
Recipe FAQs
- → How far in advance can I make this dessert?
-
You can prepare this dessert up to 24 hours in advance. The flavors meld beautifully during refrigeration, and the cookie crumbs maintain their texture without becoming soggy.
- → Can I make this in a large bowl instead of individual cups?
-
Yes, you can assemble layers in a 9x13 inch dish or large serving bowl. Just ensure you finish with cookie crumbs on top for the classic dirt appearance.
- → What's the best way to crush the cookies?
-
A food processor creates the finest, most uniform crumbs. Alternatively, place cookies in a zip-top bag and crush with a rolling pin or heavy meat mallet until they reach a dirt-like consistency.
- → Can I use homemade pudding instead of instant?
-
Absolutely. Allow homemade chocolate pudding to cool completely before folding in whipped topping. The texture may be slightly denser but equally delicious.
- → How can I make this dairy-free?
-
Use dairy-free chocolate pudding mix made with plant milk, coconut whipped topping, and vegan sandwich cookies. Many gummy worms are naturally vegan but verify labels.
- → What other decorations work well?
-
Fresh mint leaves act as sprouts, chocolate rocks add authenticity, or edible flowers create a garden theme. Small flower-shaped candies or plastic bugs also enhance the playful presentation.
