 Pin It
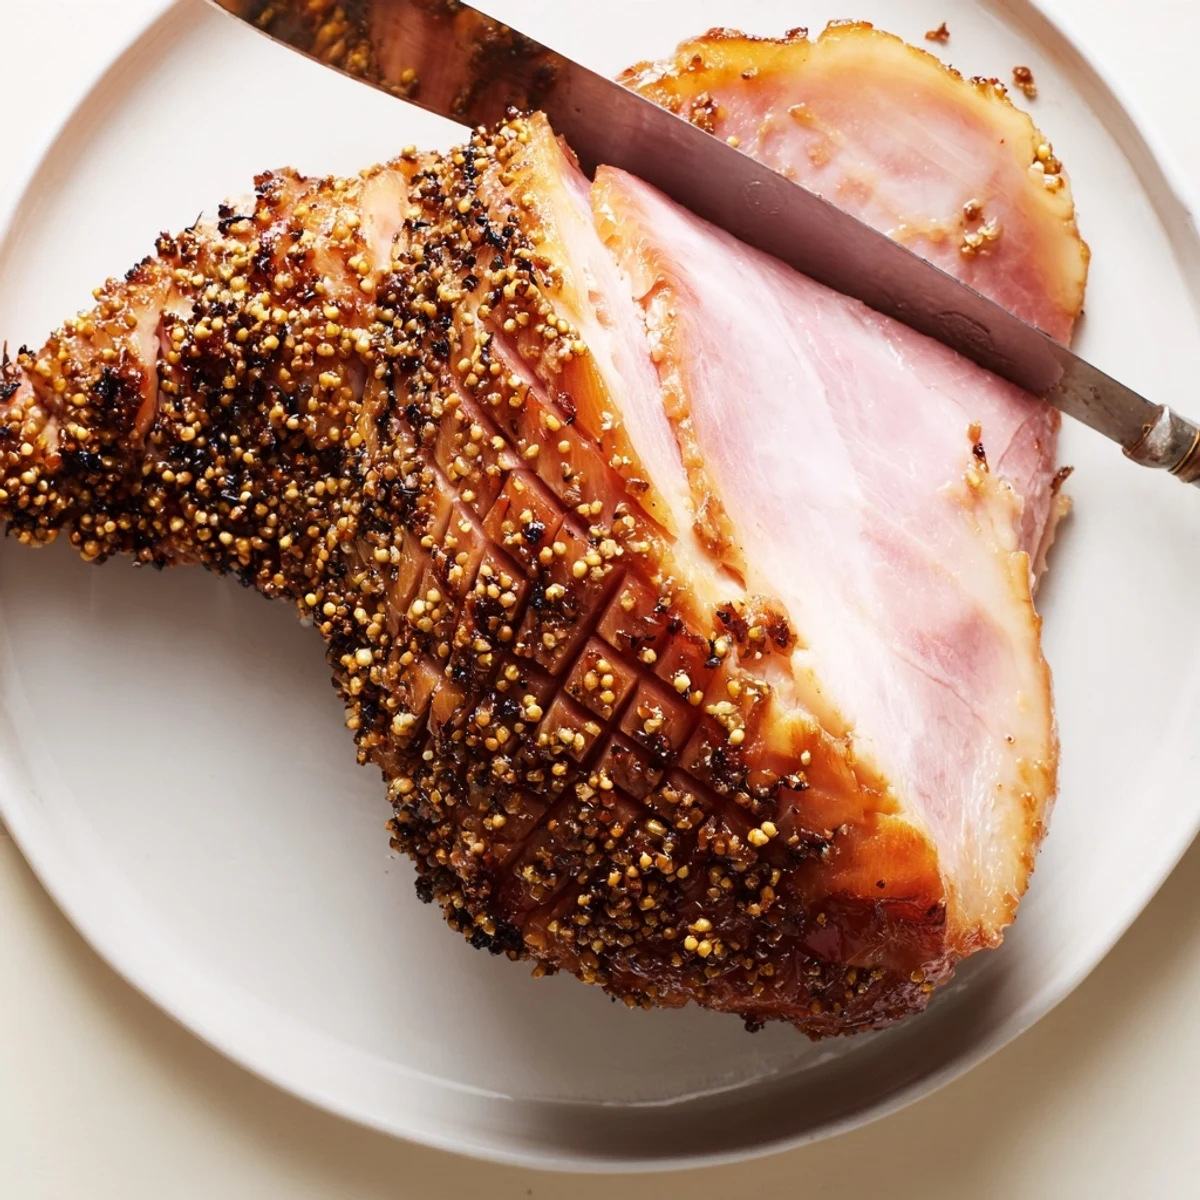
 This impressive centerpiece features a fully cooked bone-in ham roasted to perfection and coated in a luscious homemade glaze. The combination of brown sugar, Dijon and whole-grain mustard, honey, and apple cider vinegar creates a beautifully caramelized exterior with irresistible sweet and tangy flavors. Simply score the surface, roast while basting with the aromatic glaze, and let the ham rest before serving.
The result is a stunning, crowd-pleasing main dish that serves 10 and requires minimal hands-on preparation. Leftovers work wonderfully in sandwiches, omelets, or hearty soups.
The kitchen was already crowded with side dishes when my brother walked in with this massive ham wrapped in butcher paper. We were hosting our first Christmas dinner together, and I had absolutely no idea how to cook anything bigger than a roast chicken. Six hours later, when that ham emerged from the oven with this incredible sticky caramelized coating, I understood why people make such a fuss about holiday centerpieces.
Last Easter, my eight-year-old nephew asked if he could help with the ham basting. Of course I said yes, not realizing that a child with a pastry brush and sticky glaze would somehow get more sauce on the floor than the meat. But watching him seriously concentrate on every brushstroke reminded me that the best holiday cooking moments are the ones you share, even when theyre messy.
Ingredients
- Fully cooked bone-in ham (8–10 lb): The bone adds incredible flavor to the meat and makes for better leftover soup later
- Brown sugar (1 cup, packed): Creates that gorgeous caramelized crust we all want more of
- Dijon mustard (1/4 cup): Adds the sharp tangy note that cuts through all that sweetness
- Whole-grain mustard (1/4 cup): Brings texture and visual appeal to the glaze
- Honey (1/4 cup): Helps the glaze adhere better and adds another layer of sweetness
- Apple cider vinegar (1/4 cup): Balances the sugar and keeps the glaze from becoming cloyingly sweet
- Ground cloves (1/2 teaspoon): Gives that classic warm spiced flavor that screams holiday
Instructions
- Prep and Score:
- Preheat your oven to 325°F and place the ham flat side down on a rack in your roasting pan. Take a sharp knife and score the surface in a diamond pattern, making shallow cuts about 1/4 inch deep—this helps the glaze really sink in and caramelize beautifully.
- Initial Bake:
- Cover the ham loosely with foil and bake for about 1 hour. This head start ensures the ham heats through evenly before we start adding all that gorgeous glaze.
- Make the Magic Glaze:
- In a small saucepan, combine the brown sugar, both mustards, honey, vinegar, and cloves over medium heat. Stir constantly until the sugar dissolves completely and you have a smooth, fragrant mixture that will make your entire kitchen smell amazing.
- First Glaze Application:
- Pull the ham out and remove the foil. Brush about half of that warm glaze all over the surface, working it into those scored sections you made earlier.
- The Caramelizing Phase:
- Return the ham to the oven uncovered and bake for another 45 to 60 minutes. Every 15 to 20 minutes, baste with the remaining glaze until the ham is beautifully caramelized and reaches an internal temperature of 140°F.
- Rest and Serve:
- Let the ham rest for 15 minutes before slicing—this keeps all those juices inside where they belong. Serve warm and watch how quickly it disappears from the platter.
 Pin It
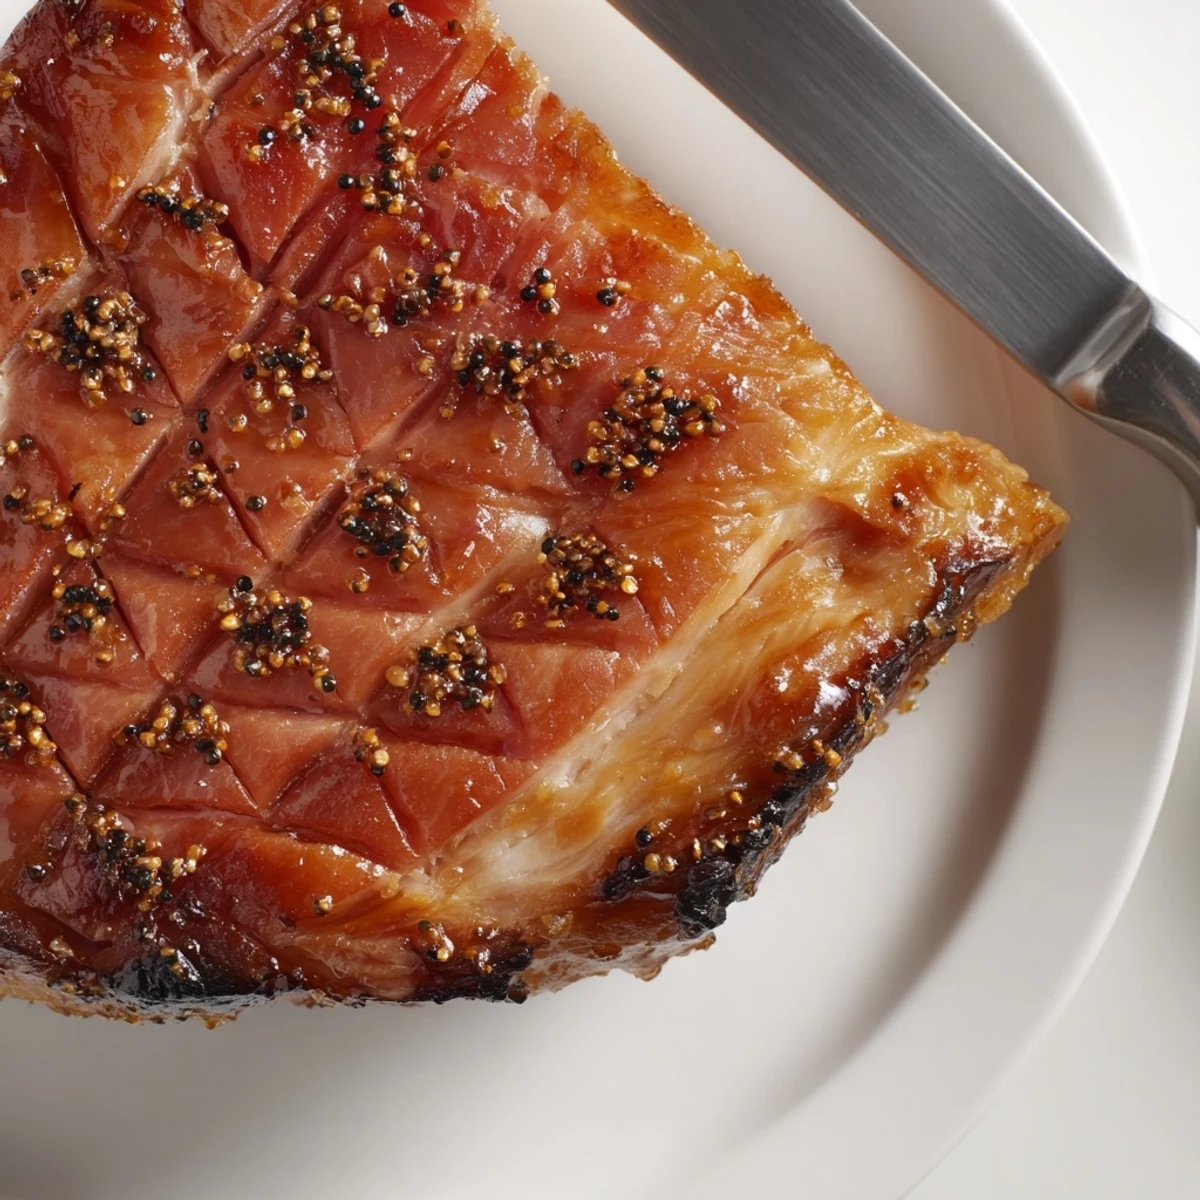
 My neighbor swears by inserting whole cloves into the scored diamond pattern before glazing. The first time I tried it, I spent twenty minutes carefully placing each clove, and honestly The presentation was stunning but next time I might just stick to ground cloves in the glaze. Sometimes the simpler approach wins.
Choosing the Right Ham
Always check the label to ensure youre buying a fully cooked ham. The spiral-cut hams are convenient but can dry out faster in the oven. A traditional bone-in ham gives you better flavor control and that beautiful bone for making stock later with your leftovers.
Temperature Matters
Investing in a good meat thermometer takes all the guesswork out of the equation. You are looking for an internal temperature of 140°F—anything beyond that and you will be dealing with dry meat. The ham is already fully cooked, so you are essentially just heating it through while creating that amazing glaze.
Make It Your Own
Once you have made this recipe a few times, you will start getting creative with the glaze. Some people add a splash of bourbon or maple syrup. I have tried substituting apricot jam for half the honey, and let me tell you The results were incredible.
- Double the glaze recipe if you love extra sticky coating
- Add a pinch of cayenne if you want some heat
- Brush the ham with pan juices during the final basting
 Pin It
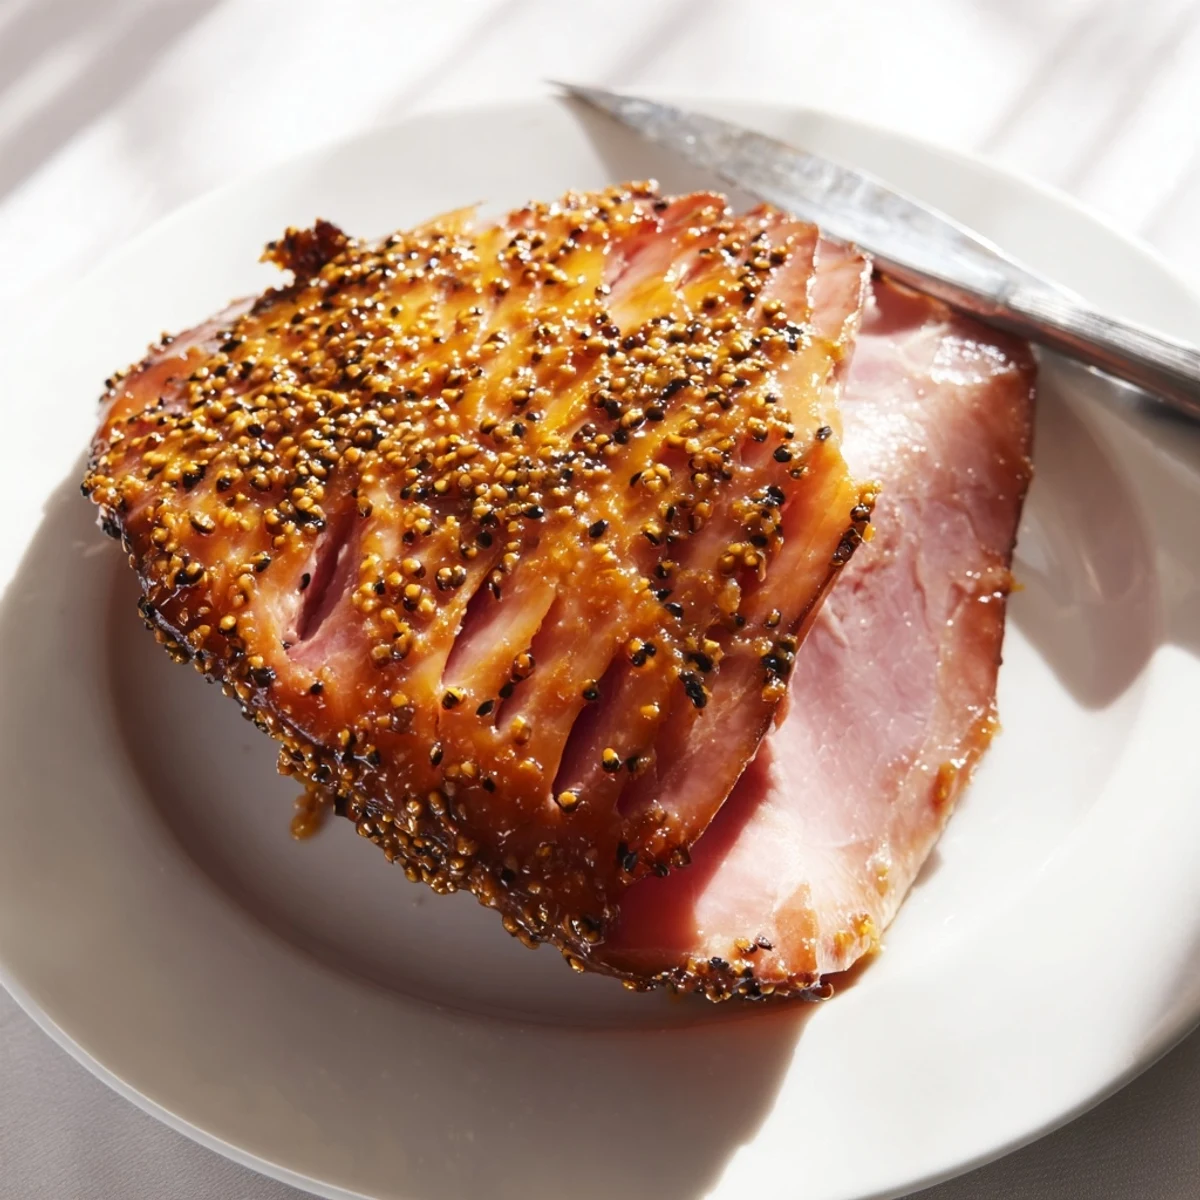
 There is something deeply satisfying about serving a perfectly glazed ham to a table full of people who have been smelling it cook for hours. The way their eyes light up when you bring it out never gets old.
Recipe FAQs
- → What type of ham works best for this preparation?
-
A fully cooked bone-in ham weighing 8–10 pounds is ideal. The bone adds flavor during roasting and helps retain moisture. Spiral-cut hams also work well, though a traditional bone-in ham typically yields better results.
- → Can I prepare the glaze in advance?
-
Yes, the glaze can be made up to 2 days ahead and stored in an airtight container in the refrigerator. Gently reheat before applying to ensure it spreads evenly.
- → How do I know when the ham is done?
-
Use a meat thermometer to check the internal temperature, which should reach 140°F (60°C). The exterior should appear caramelized and sticky from the glaze. Remember that the ham is already fully cooked, so you're primarily heating it through and creating the flavorful coating.
- → Can I use different mustards in the glaze?
-
Absolutely. While Dijon and whole-grain mustard provide excellent depth, you can experiment with spicy brown mustard or even a stone-ground variety. Adjust quantities to maintain the balance of sweet and tangy elements.
- → How should I store leftovers?
-
Wrap leftover ham tightly in plastic wrap or store in an airtight container in the refrigerator for up to 5 days. For longer storage, freeze sliced portions in freezer bags for up to 2 months.
