 Pin It
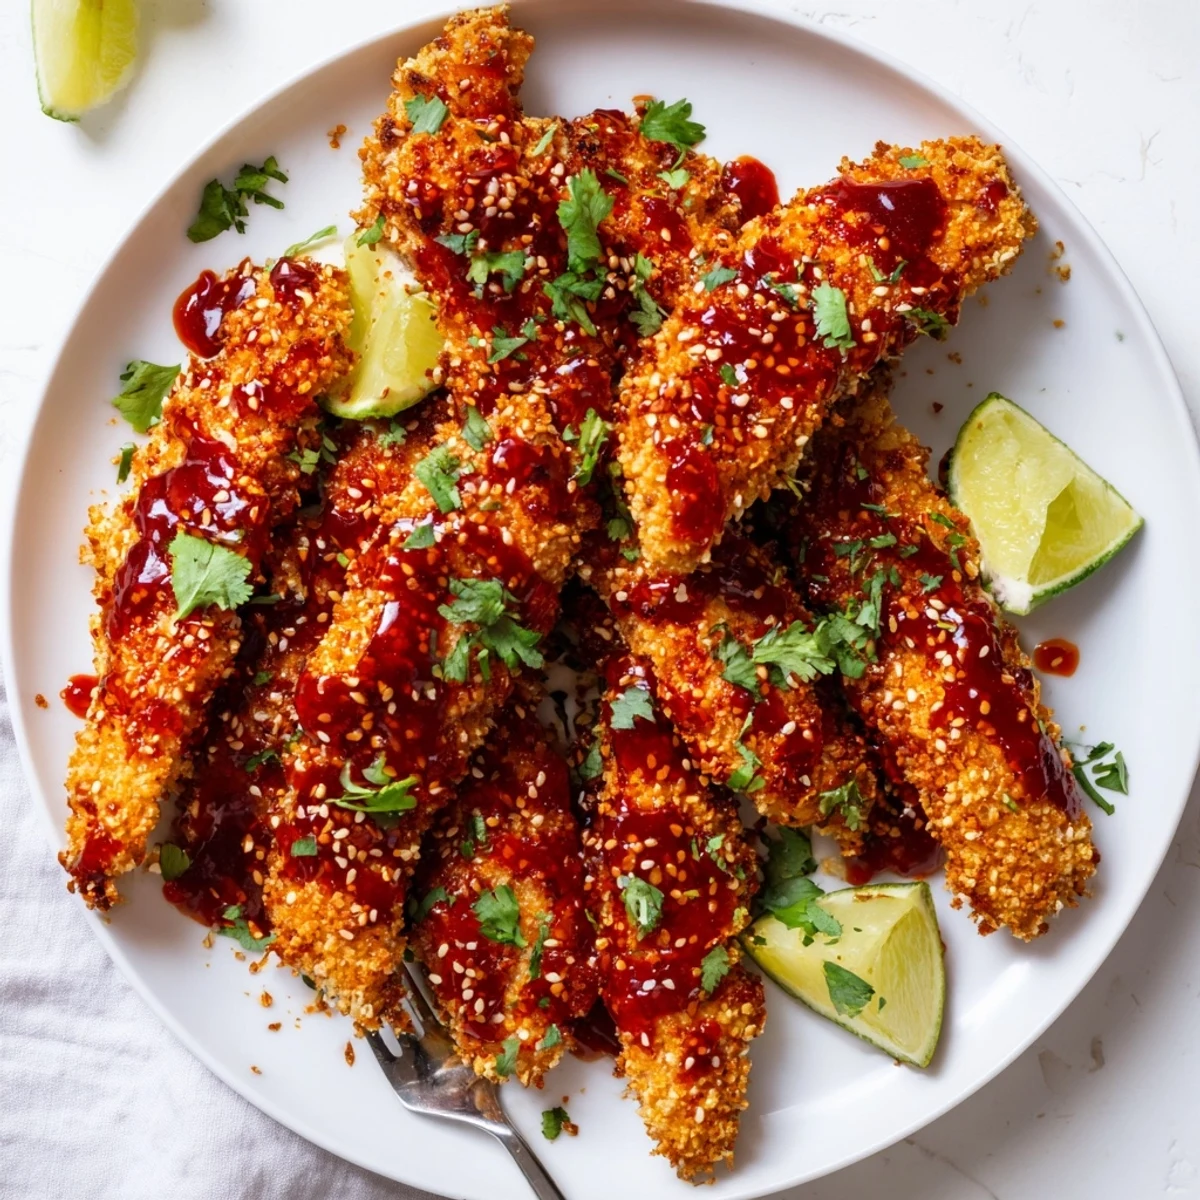
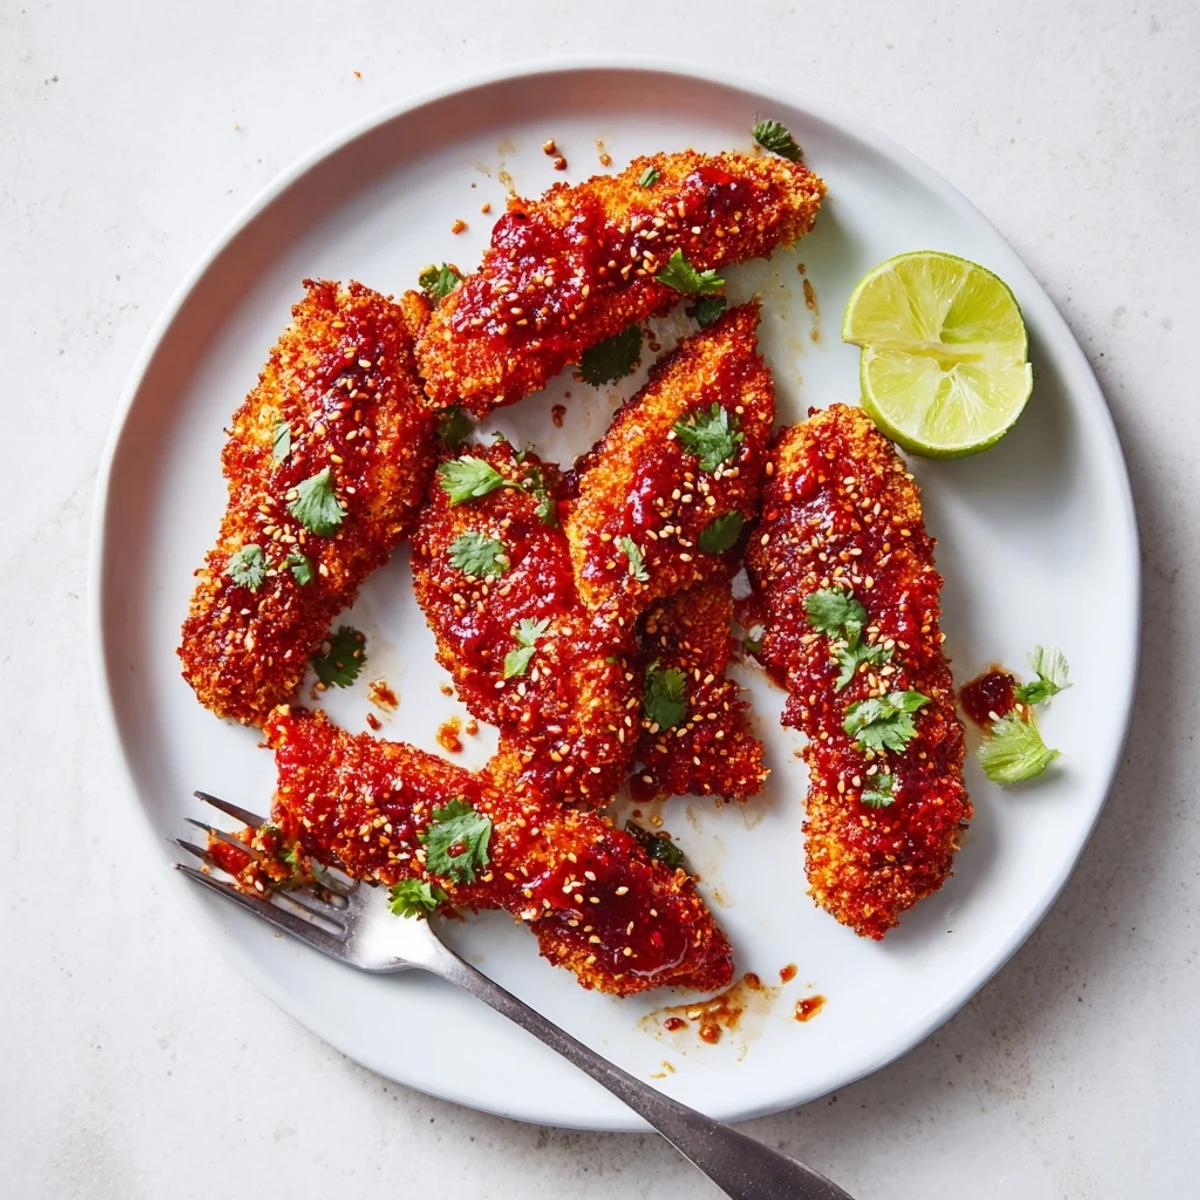
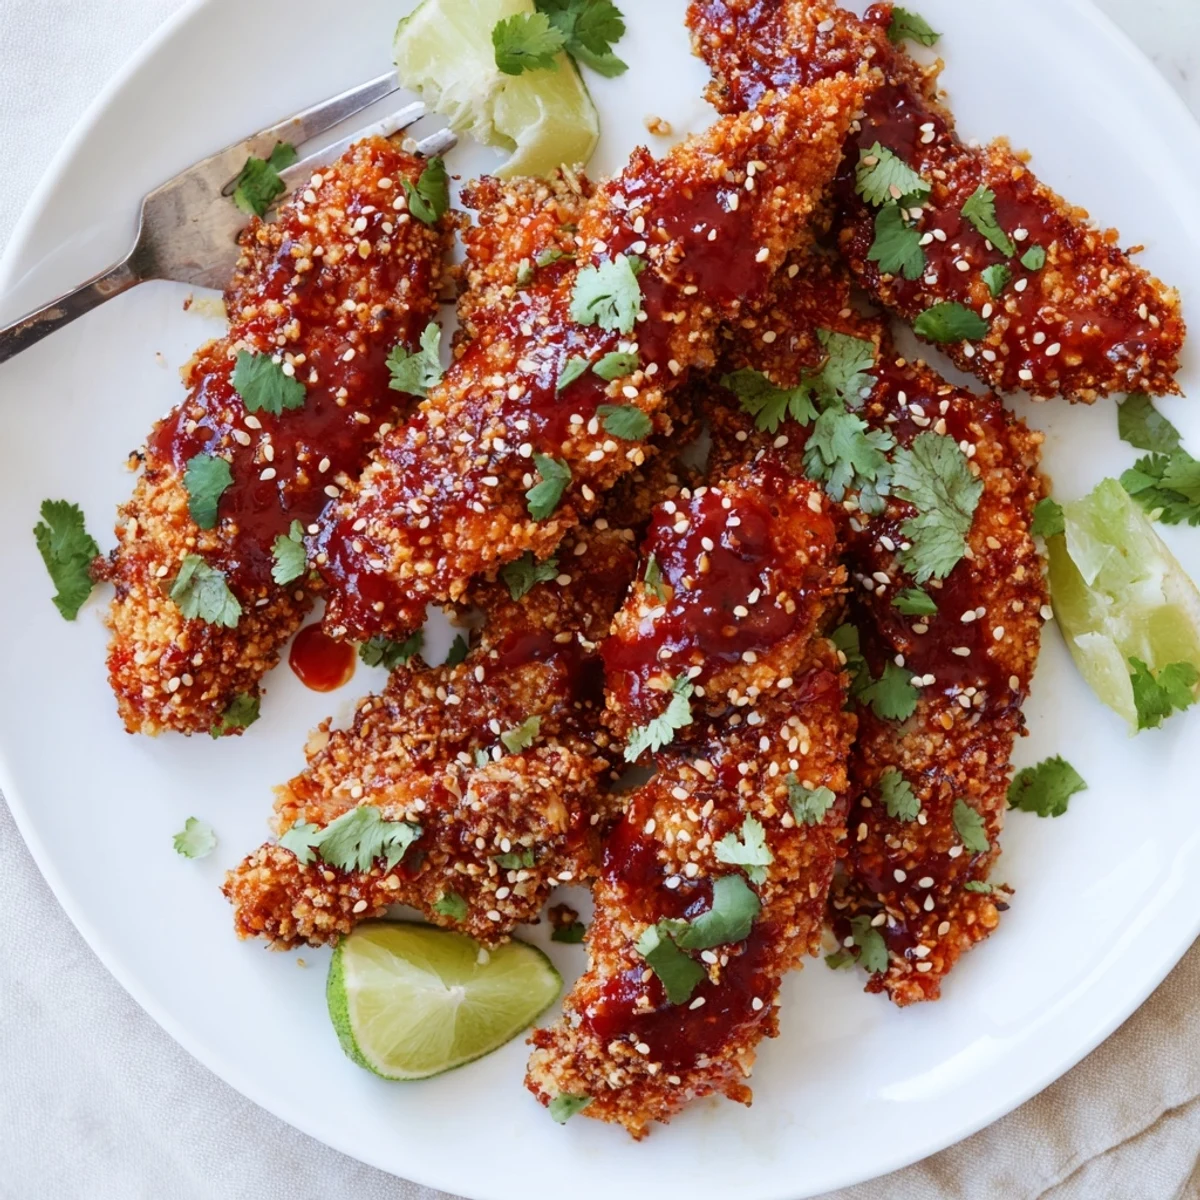
 These tender chicken fingers feature a crunchy panko and coconut coating, baked until golden then tossed in a vibrant sticky sauce. The glaze balances sweet chili, honey, soy, and Sriracha with fresh garlic, ginger, and lime. Serve sprinkled with cilantro and sesame seeds alongside lime wedges for squeezing.
The first time I made these chicken fingers, my kitchen smelled like sweet chili and toasted coconut, and my roommate wandered in asking what restaurant Id ordered from. We ate them standing up at the counter, dipping each piece into extra sauce and making happy noises we werent proud of.
I brought these to a friends game night party once, and honestly, nobody touched the vegetable platter I brought as backup. The plate was empty within fifteen minutes, and two people immediately asked for the recipe.
Ingredients
- 600 g (1.3 lbs) chicken tenders: Pat them completely dry before seasoning, or the breading slides right off
- 1/2 tsp salt and pepper: Season generously since the breading needs flavor underneath
- 100 g (3/4 cup) all-purpose flour: This first coat creates the base that helps everything else stick
- 2 large eggs: Beat them really well until no streaks of white remain
- 100 g (1 cup) panko breadcrumbs: Larger flakes give way better crunch than regular breadcrumbs
- 60 g (1/2 cup) shredded coconut: Totally optional, but it adds this subtle sweetness and extra crispy texture
- 100 ml (1/3 cup + 1 tbsp) sweet chili sauce: This is the backbone of that signature sticky glaze
- 50 ml (3 tbsp) soy sauce: Adds the savory depth that balances all the sweetness
- 2 tbsp honey: Helps the sauce coat everything beautifully and caramelize slightly
- 2 tbsp rice vinegar: Cuts through the richness so the sauce isnt too heavy
- 1 tbsp sriracha: Start here and adjust up or down depending on your heat tolerance
- 2 cloves garlic and 1 tsp fresh ginger: Fresh is absolutely worth it here, jarred ginger doesnt have the same brightness
- Juice of 1 lime: That hit of acidity at the end makes all the flavors pop
- 2 tbsp chopped cilantro and 1 tbsp toasted sesame seeds: Fresh herbs and nutty seeds make it look gorgeous and taste even better
- Lime wedges: Serve extra on the side for squeezing over everything
Instructions
- Get your oven ready:
- Preheat to 220°C (425°F) and line a baking sheet with parchment paper, then give it a light coating of oil so nothing sticks.
- Season the chicken:
- Pat those tenders completely dry with paper towels, then sprinkle both sides with salt and pepper.
- Set up your breading station:
- Grab three shallow bowls and put flour in the first one, beaten eggs in the second, and mix your panko with shredded coconut in the third.
- Coat each piece:
- Dredge chicken in flour, shaking off excess, dip in egg letting the extra drip off, then press firmly into the panko mixture.
- Arrange and oil:
- Place each coated strip on your prepared baking sheet, then give them all a quick spray or light brush of oil.
- Make the magic sauce:
- While chicken bakes, combine sweet chili sauce, soy sauce, honey, rice vinegar, sriracha, garlic, ginger, and lime juice in a small saucepan.
- Simmer and thicken:
- Cook over medium heat for 3-4 minutes, stirring constantly, until the sauce coats the back of a spoon.
- Bring it all together:
- Toss those hot baked chicken fingers right in the sauce until every piece is beautifully glazed.
- Finish and serve:
- Arrange on a platter, sprinkle generously with fresh cilantro and toasted sesame seeds, and serve with lime wedges on the side.
 Pin It
 My niece normally picks around anything with sauce, but she ate three of these fingers and asked if we could have them every week. Kids love the sweetness, adults love the complexity.
Making Them Extra Crispy
If you have an air fryer, you can cook the breaded chicken at 200°C (400°F) for 12-15 minutes, shaking halfway. The exterior gets unbelievably crunchy, almost like deep-fried but without all the oil and mess.
Sauce Tweaks
Sometimes I add a tablespoon of peanut butter to the sauce for a Thai satay vibe. Or swap the honey for agave to make it vegan. The base formula is so forgiving, play around with it until it hits exactly what your cravings want.
Serving Ideas
These work as appetizers, but Ive also turned them into dinner with jasmine rice and a quick cucumber salad. The sweetness pairs perfectly with something cool and crisp.
- Make double the sauce and save half for dipping
- Chopped peanuts take the crunch factor next level
- Reheat leftovers in a hot oven, never the microwave
 Pin It
 These sticky chicken fingers have become my go-to for whenever I need to feed a crowd, or just myself on a Tuesday. Hope they become a staple in your kitchen too.
Recipe FAQs
- → Can I make these ahead of time?
-
Bread and refrigerate the raw chicken strips up to 8 hours before baking. The sauce can be prepared 2 days ahead and stored in the refrigerator—reheat gently before tossing with the cooked chicken.
- → What can I serve with these?
-
Jasmine rice absorbs the sticky sauce beautifully. A crisp Asian slaw with cabbage and carrots provides refreshing contrast. Steamed bok choy or roasted broccoli also pair well.
- → How do I store leftovers?
-
Keep cooled leftovers in an airtight container for up to 3 days. Reheat in a 180°C oven for 10 minutes to restore crispiness. The microwave will make them soggy.
- → Can I air fry instead of bake?
-
Yes. Cook breaded strips at 200°C for 12-15 minutes, turning halfway. They may cook faster, so check internal temperature reaches 74°C.
- → Is the sauce very spicy?
-
The heat level is moderate and family-friendly. Reduce Sriracha to 1 teaspoon for mild flavor, or increase to 2 tablespoons for extra kick. Sweet chili sauce provides mild sweetness.
- → Can I freeze these?
-
Freeze uncooked breaded strips on a baking sheet until solid, then transfer to freezer bags for up to 3 months. Bake from frozen, adding 5-10 minutes to cooking time.
