 Pin It
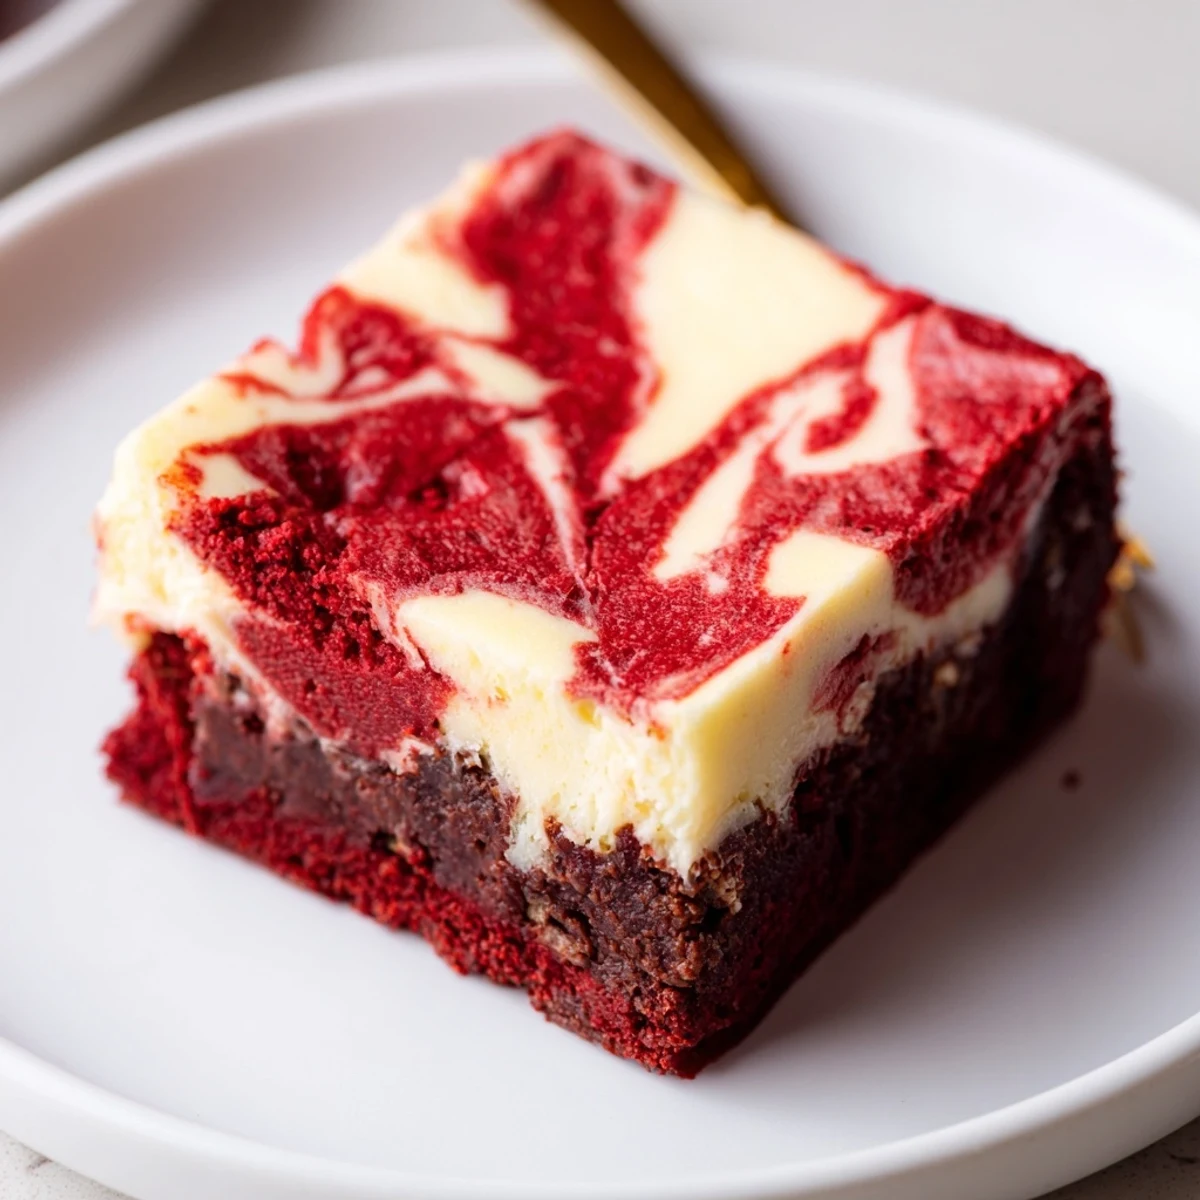
 Fudgy red velvet brownies are layered with a smooth, tangy cream cheese mixture for a marbled, indulgent bar. Combine melted butter and sugar, stir in eggs, vanilla and red coloring, then fold in flour and cocoa. Spread most batter, add the cream cheese layer, dollop remaining batter and swirl. Bake until the center is set, then cool and chill for clean slicing and best texture.
The first time I tried making red velvet brownies with a cheesecake layer, it was less about celebrating and more about curiosity. The swirl of red and cream in the pan looked so hypnotic, I almost didn't want to cut into it. But the real fun was sneaking tastes of both batters before they even hit the oven—so worth the slightly messy countertop afterward.
One windy Sunday, I baked these brownies as an excuse to break in my new stand mixer after months of hand-whisking everything. My friends dropped by unexpectedly, and what started as a solo afternoon quickly turned into a spontaneous dessert party—brownie squares vanished before the kettle finished boiling for coffee.
Ingredients
- Unsalted butter (115 g/1/2 cup, melted): Melted butter is the secret to an extra dense, fudgy brownie base—don't skip on quality.
- Granulated sugar (200 g/1 cup for brownies, 65 g/1/3 cup for cheesecake): I found that using fine granulated sugar gives a crackly crust and that classic brownie sweetness.
- Eggs (2 for brownies, 1 for cheesecake): Room temperature eggs incorporate more easily and prevent the batter from splitting, especially the creamy cheesecake layer.
- Vanilla extract (2 tsp for brownies, 1 tsp for cheesecake): Real vanilla goes a long way to making both layers aromatic and memorable.
- Red food coloring (1 tbsp): I prefer gel coloring for a vivid hue, but any form works—adjust for the wow factor you want.
- All-purpose flour (95 g/3/4 cup): Measure flour lightly; it keeps the brownie from becoming dense.
- Unsweetened cocoa powder (15 g/2 tbsp): I always use Dutch process for a subtle, sophisticated chocolate taste that doesn’t overpower the red velvet flavor.
- Salt (1/4 tsp): Just enough to intensify all the other flavors.
- Cream cheese (225 g/8 oz, softened): Leave the cream cheese out while you prep the brownie layer so it blends silky-smooth—no lumps wanted.
Instructions
- Prep your pan:
- Line a 20 x 20 cm baking pan with parchment paper, letting the edges hang over for easy lifting later. That overhang has saved many a batch from disaster and cleanup is so quick.
- Whisk up the brownies:
- In a medium bowl, whisk melted butter and sugar together until glossy; take a moment to admire the shine. Whisk in eggs, vanilla, and food coloring—your batter should look ruby red by now.
- Fold in the dry ingredients:
- Sift the flour, cocoa powder, and salt in, then fold gently with a spatula; stop as soon as you don’t see any flour streaks. Overmixing here can take your brownies from fudgy to cakey, so resist the urge.
- Spread and reserve:
- Pour about three-quarters of the red velvet batter into your lined pan, smoothing it out, and stash the rest for later swirls. Little peaks in the batter are fine—they’ll settle out during baking.
- Make the cheesecake layer:
- In a clean bowl, beat the cream cheese and sugar until dreamy and smooth, then blend in the egg and vanilla. The batter should look almost like thick yogurt and feel glossy under your spatula.
- Assemble the layers:
- Pour cheesecake batter over the brownie base, then tip the pan gently to spread it evenly without dragging up the red batter underneath. Dollop and swirl the reserved brownie mixture on top with a knife for those pretty marbled patterns.
- Bake to perfection:
- Slide into the oven and let bake for 33-37 minutes—the edges will look just set, while the middle might jiggle slightly. Test with a toothpick; a few damp crumbs mean they’re done, but avoid waiting for a perfectly clean pick.
- Cool and chill:
- Let the pan cool fully on a rack, then refrigerate for at least an hour so the layers set and cutting is a breeze. Patience pays off with neatly defined squares and clean bites.
 Pin It
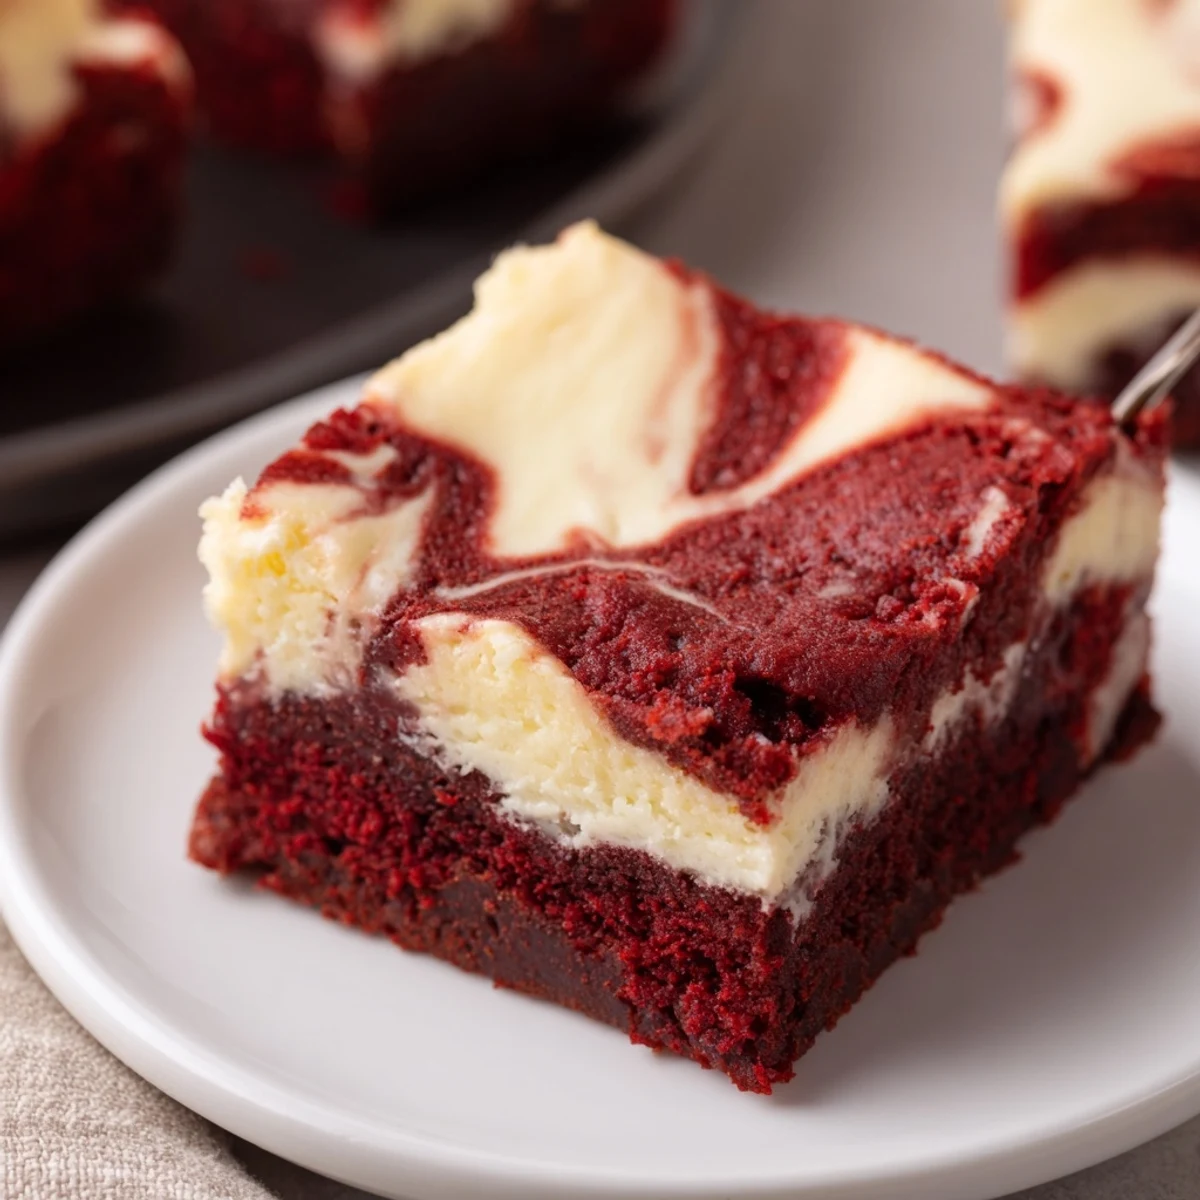
 The first time I sliced chilled brownies for guests, their surprise at the marbled pattern was better than any compliment. Suddenly, these red velvet cheesecake bars were all anyone wanted to talk about, and seconds were pretty much guaranteed.
Swirl Success: Making Marble Magic
Creating those perfect swirls takes a light touch; the knife or skewer should move gently through the batters for distinct patterns. I’ve found that less is more—three or four loops, and you get showstopping stripes without muddying the colors.
Serving Suggestions You’ll Actually Use
These brownies look gorgeous on their own, but I love dusting them with powdered sugar for a little sparkle. When I’m feeling fancy, adding a few fresh berries on the side transforms them into a proper plated dessert.
Making the Most of Leftovers
If you have a few slices left over (good luck), store them in an airtight container in the fridge to keep the cheesecake layer creamy and fresh. They make an excellent sneaky breakfast with coffee—it counts if there’s cream cheese involved, right
- Let brownies sit at room temp for 10 minutes before serving for the best texture.
- Use a hot knife wiped clean between cuts for gorgeous squares.
- Don’t rush chilling—it’s what sets the swirl.
 Pin It
 Trust me, these red velvet cheesecake brownies are worth every minute—whether you share or not is up to you. I’d love to know which swirl pattern turned out best in your kitchen.
Recipe FAQs
- → How can I tell when they are done?
-
Bake until the edges are set and a toothpick inserted near the center comes out with a few moist crumbs. The cheesecake layer should look mostly set but may still have slight jiggle; avoid overbaking to keep fudgy texture.
- → How do I avoid cracks in the cheesecake layer?
-
Use room-temperature cream cheese and beat until smooth but not aerated. Mix egg and vanilla just until combined and avoid overbaking. Cooling gradually and chilling before slicing also helps prevent cracks.
- → Can I use gel food coloring instead of liquid?
-
Yes. Gel coloring gives more intense color with less added liquid—start with a smaller amount and add until you reach the desired hue. Stir gently to avoid deflating the batter.
- → What’s the best way to get clean slices?
-
Chill the baked bars for at least an hour to firm the cheesecake layer, then use a sharp knife wiped clean between cuts. Warm the knife under hot water and dry it for smoother edges if needed.
- → Can I add mix-ins like chocolate chips or nuts?
-
Yes—sprinkle chocolate chips over the brownie layer before adding the cheesecake mixture or fold in chopped nuts for texture. Keep amounts moderate to preserve the marbled effect.
- → How should leftovers be stored?
-
Store chilled in an airtight container for up to 4–5 days. For longer storage, freeze sliced portions wrapped tightly; thaw in the refrigerator before serving.
