 Pin It
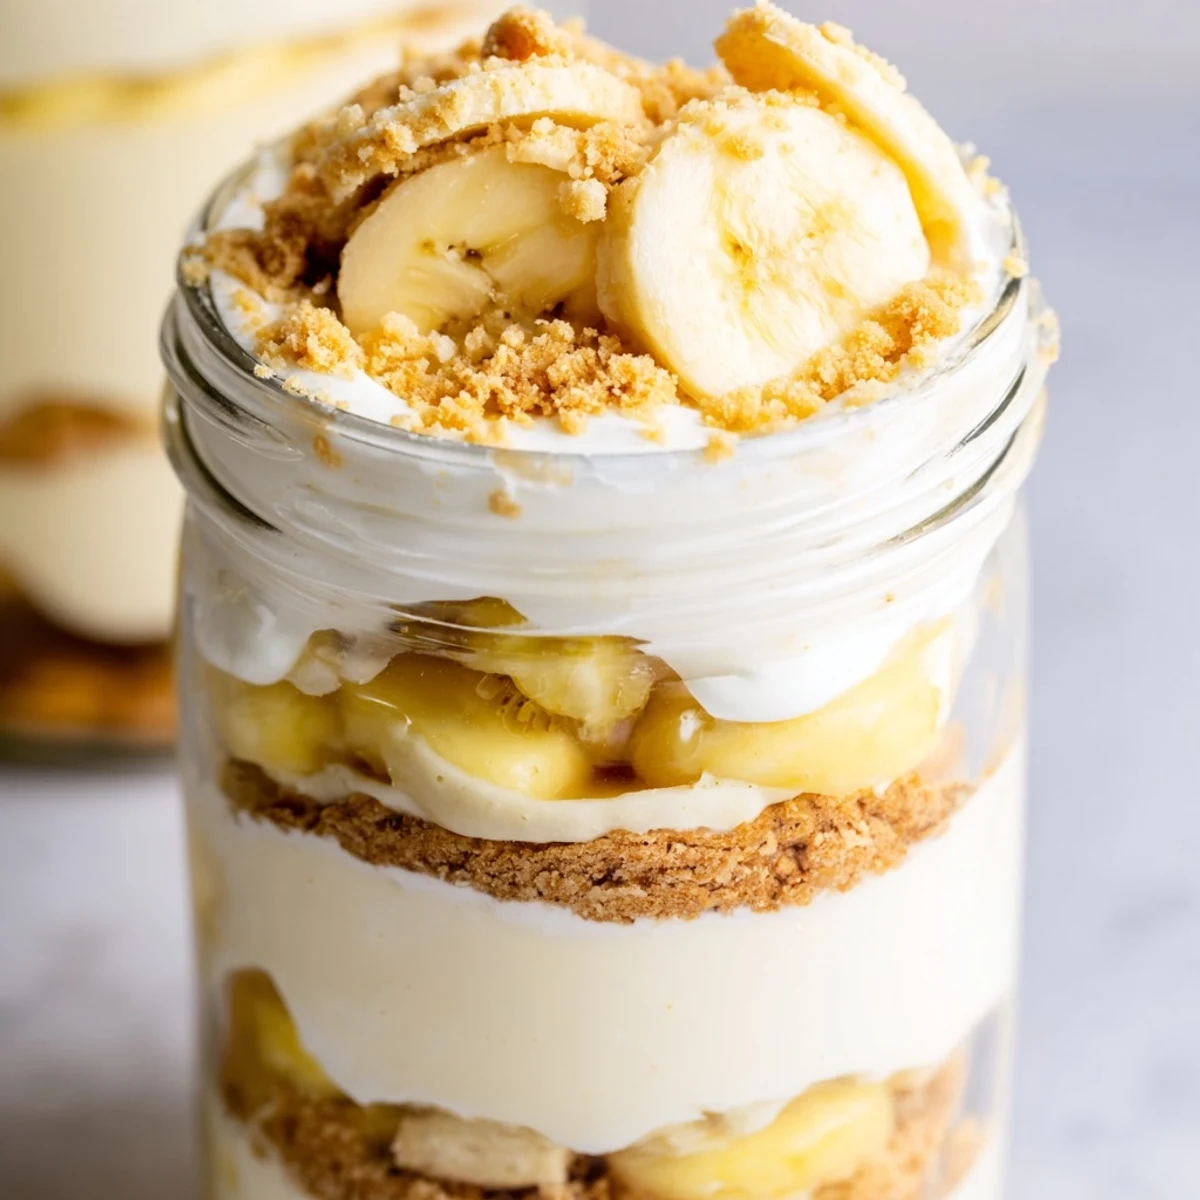
 These individual dessert cups combine the best of two classic treats—rich cheesecake and nostalgic banana pudding. A buttery vanilla wafer crust forms the base, followed by layers of silky cream cheese filling and smooth banana pudding. Fresh sliced bananas add natural sweetness throughout, while a final dusting of wafer crumbs delivers satisfying crunch.
The entire assembly requires no baking, making it ideal for warm weather or when you need an impressive dessert without turning on the oven. Simply mix, layer, and chill for at least two hours to let the flavors meld together beautifully.
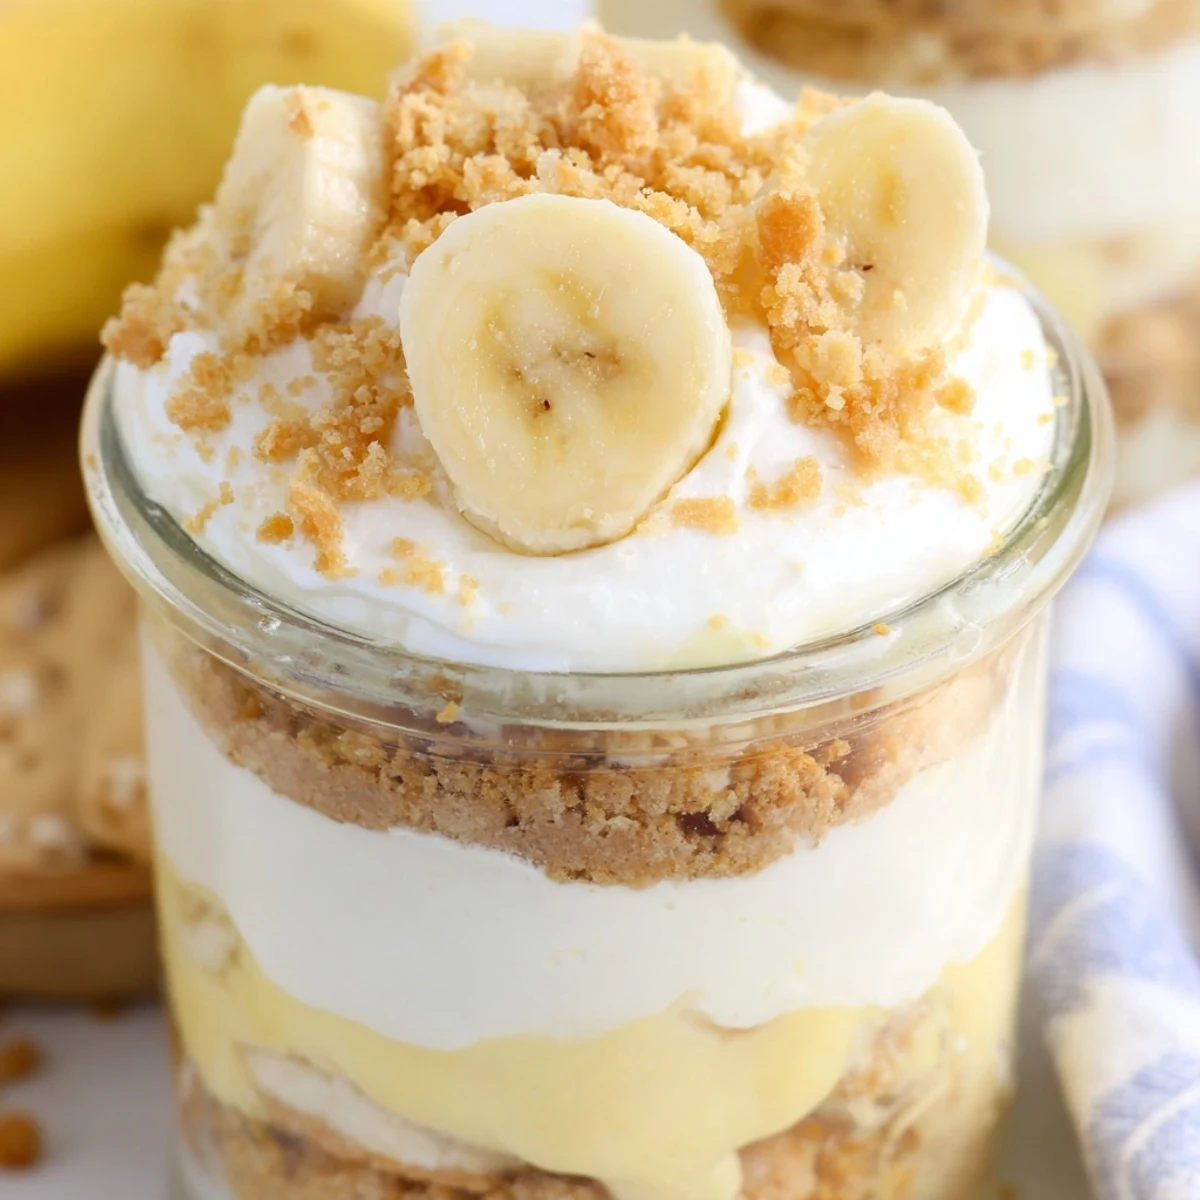
Each cup offers a perfect balance of textures and flavors—the creamy cheesecake, smooth pudding, tender fruit, and crispy crumbs create an irresistible bite-sized dessert that guests will love. Serve them at parties, potlucks, or enjoy as a special weeknight treat.
Last summer, my sister-in-law brought these layered cups to our 4th of July barbecue and I honestly hovered near the dessert table the entire time. The way the creamy cheesecake mingles with that nostalgic banana pudding flavor—it's like the best parts of childhood and adulthood decided to have a party in a tiny glass. I've since made them for book club, birthday dinners, and that one Tuesday when I just needed something sweet after a long week.
I made these for my neighbor's porch gathering last fall and watched her three-year-old literally lick her cup clean. Something about having your very own portion makes dessert feel extra indulgent. Plus, the layers look so impressive stacked up in clear glasses that people assume you spent hours when really it's just some patient assembly work.
Ingredients
- 1 cup vanilla wafer cookies, crushed: These classic cookies bring that familiar Nilla Wafer taste we all grew up with. Use a food processor or crush them in a ziploc bag with a rolling pin.
- 2 tbsp unsalted butter, melted: Just enough to bind the crumbs together without making them soggy. Salted butter works too if that's what you have on hand.
- 8 oz (225 g) cream cheese, softened: Let this sit at room temperature for at least an hour so it blends smoothly without any stubborn lumps.
- 1/3 cup granulated sugar: This amount sweetens the cheesecake layer without overpowering the banana flavor.
- 1 tsp pure vanilla extract: Don't skip this—it bridges the gap between the tangy cream cheese and sweet banana pudding.
- 1 cup heavy whipping cream, cold: Cold whips up faster and holds its shape better. Even 15 minutes in the freezer before whipping helps.
- 1 (3.4 oz/96 g) package instant banana pudding mix: The instant variety sets quickly and has that unmistakable artificial banana flavor we secretly love.
- 1 1/4 cups cold whole milk: Whole milk makes the pudding layer richer and more luxurious.
- 2 ripe bananas, sliced: Look for bananas with some brown spots—they're sweeter and softer than bright yellow ones.
- Additional vanilla wafer crumbs: For that pretty textured topping that catches the light.
- Fresh banana slices: Add these right before serving so they don't turn brown.
- Whipped cream (optional): An extra cloud of sweetness on top never hurt anyone.
Instructions
- Build the buttery crust:
- Combine the crushed vanilla wafers and melted butter in a small bowl, mixing until every crumb looks evenly coated. Press about two tablespoons into the bottom of each serving glass using the back of a spoon.
- Whip up the cheesecake base:
- Beat the softened cream cheese, sugar, and vanilla extract in a medium bowl until completely smooth and no lumps remain. In a separate bowl, whip that cold heavy cream until stiff peaks form, then gently fold it into the cream cheese mixture until combined.
- Prepare the pudding layer:
- Whisk together the instant banana pudding mix and cold milk in another bowl for about two minutes. Keep whisking until it thickens into a smooth, pudding-like consistency.
- Start the layering magic:
- Spoon half the cheesecake mixture over the crust in each cup, spreading it gently with a small spoon or spatula. Add a layer of fresh banana slices on top of the cheesecake, pressing them lightly so they stay in place.
- Add the banana pudding:
- Divide the prepared banana pudding evenly among the cups, spooning it carefully over the banana layer so it doesn't disturb what's beneath.
- Finish with the final cheesecake layer:
- Top each cup with the remaining cheesecake mixture, spreading it to the edges for a clean look between layers.
- Add the finishing touches:
- Sprinkle extra vanilla wafer crumbs on top along with more fresh banana slices. Add a dollop of whipped cream if you're feeling extra generous.
- Chill until set:
- Cover the cups and refrigerate for at least two hours, though they're even better after four hours when all the flavors have had time to mingle.
 Pin It
 My dad, who claims he doesn't like desserts, ate two of these at Thanksgiving and asked if there were leftovers to take home. Now he texts me every few weeks asking when I'm making them again. It's become our thing, and honestly, I love having a dessert that makes someone that happy.
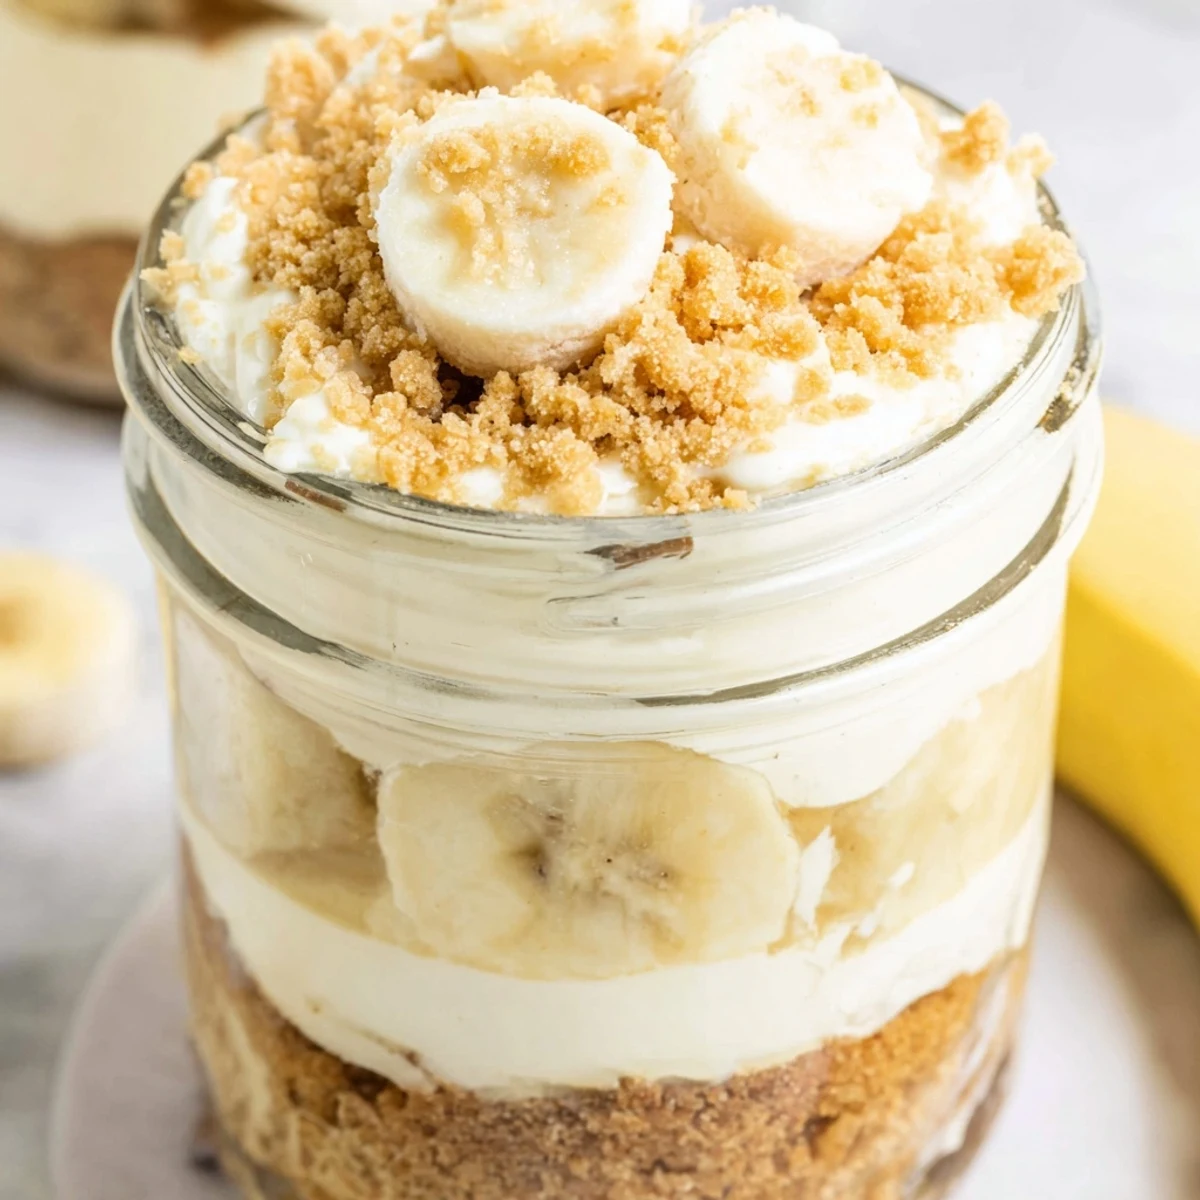
Glass Choice Matters
Clear glass cups or small mason jars show off those beautiful layers, which is half the fun. I've used wine glasses, recycled jam jars, and even those tiny dessert cups from the dollar store. Just make sure whatever you choose has straight sides so the layers stay distinct and instagram-worthy.
Make It Your Own
Sometimes I swap the vanilla wafers for graham crackers or crushed Nilla Wafers with a tiny pinch of cinnamon in the crust. During summer, a drizzle of caramel sauce between layers takes these to a whole new level. You could even add a splash of banana liqueur to the pudding mixture for the grownups.
Assembly Secrets
Use a spoon that fits inside your cups—it makes adding layers so much easier than trying to pour everything in. Gently tap each cup on the counter after every layer to settle any air pockets. And work slowly, especially with the pudding layer, so you don't accidentally mix the cheesecake and pudding together.
- Ziploc bags work great for crushing cookies without making a mess
- Room temperature ingredients combine more smoothly than cold ones
- These actually taste better on day two when the flavors have melded
 Pin It
 There's something so satisfying about handing someone their very own perfectly layered dessert cup. Watch their faces when they take that first spoonful and hit all the layers at once—that's the good stuff right there.
Recipe FAQs
- → How far in advance can I make these cups?
-
These cups can be assembled up to 24 hours in advance. For best results, add the fresh banana slices and wafer crumb topping just before serving to prevent the bananas from browning and the crumbs from becoming soggy.
- → Can I use homemade banana pudding instead of instant mix?
-
Absolutely. Homemade custard-style banana pudding works wonderfully, though it will require additional cooking and cooling time. Ensure the pudding is completely chilled and set before layering it with the cheesecake filling.
- → What type of cups work best for serving?
-
Clear glass jars, dessert glasses, or small trifle bowls work beautifully as they showcase the attractive layers. Any 6-8 ounce container with straight or slightly tapered sides will work perfectly for this layered dessert.
- → How do I prevent the banana slices from turning brown?
-
Toss the sliced bananas lightly in lemon juice immediately after cutting to slow oxidation. Alternatively, add the banana slices just before serving. If preparing in advance, place the bananas in a single layer just beneath the topping to minimize exposure to air.
- → Can I freeze these cheesecake cups?
-
Freezing is not recommended due to the fresh banana slices and pudding texture, which can become watery and grainy when thawed. These cups are best enjoyed fresh from the refrigerator within 24-48 hours of assembly.
- → What can I substitute for vanilla wafers?
-
Graham cracker crumbs, gingersnap cookies, or even shortbread cookies make excellent substitutes for the crust. For a gluten-free version, use certified gluten-free vanilla cookies or graham-style crumbs.
