 Pin It
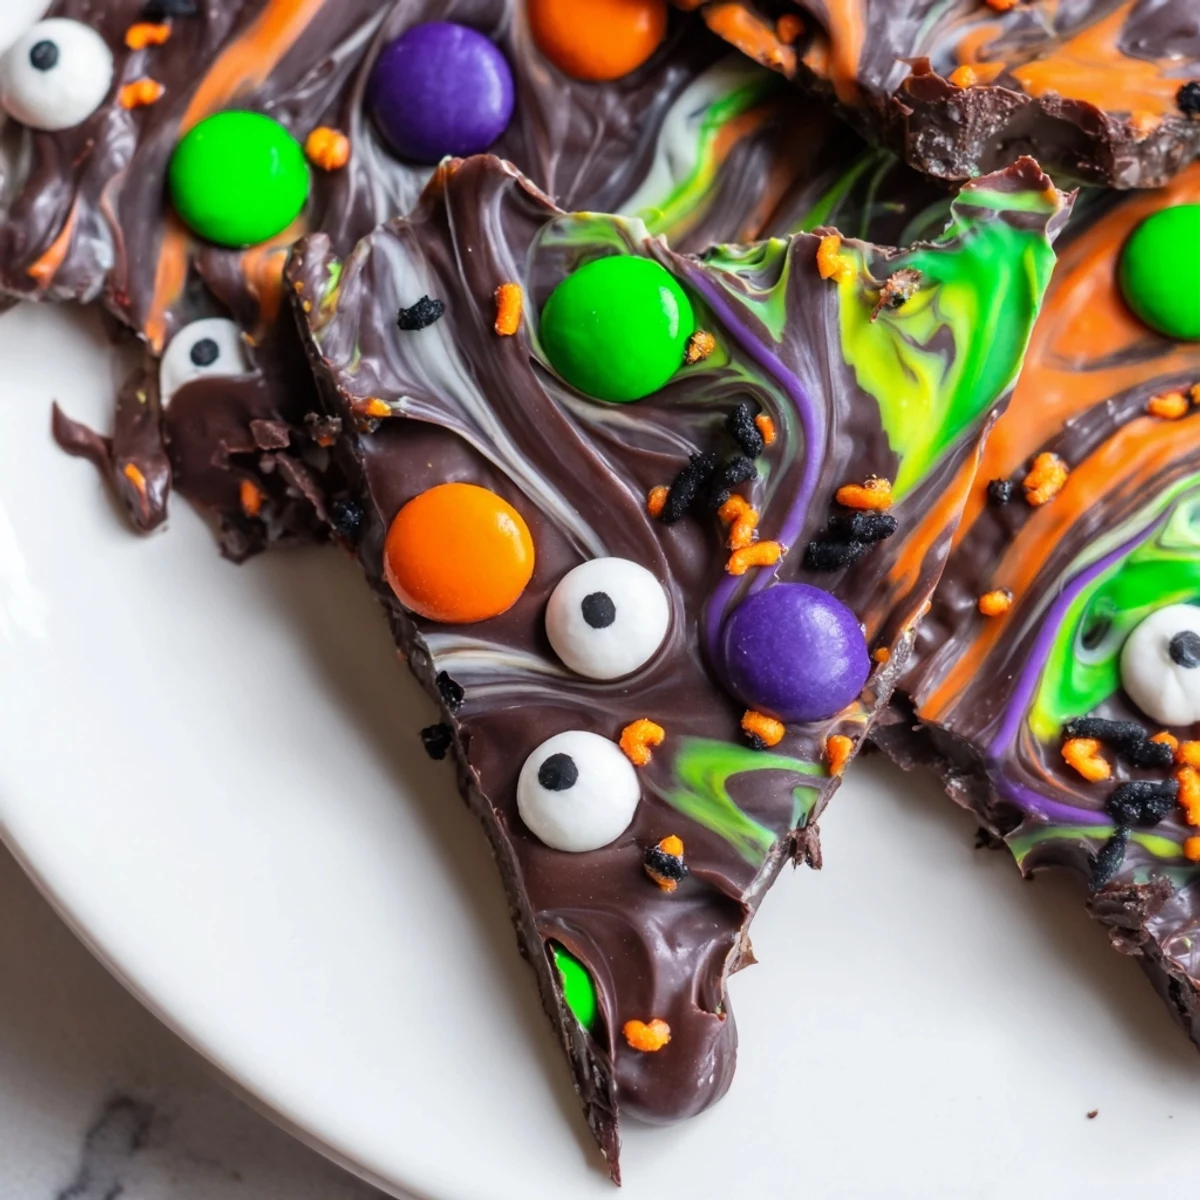
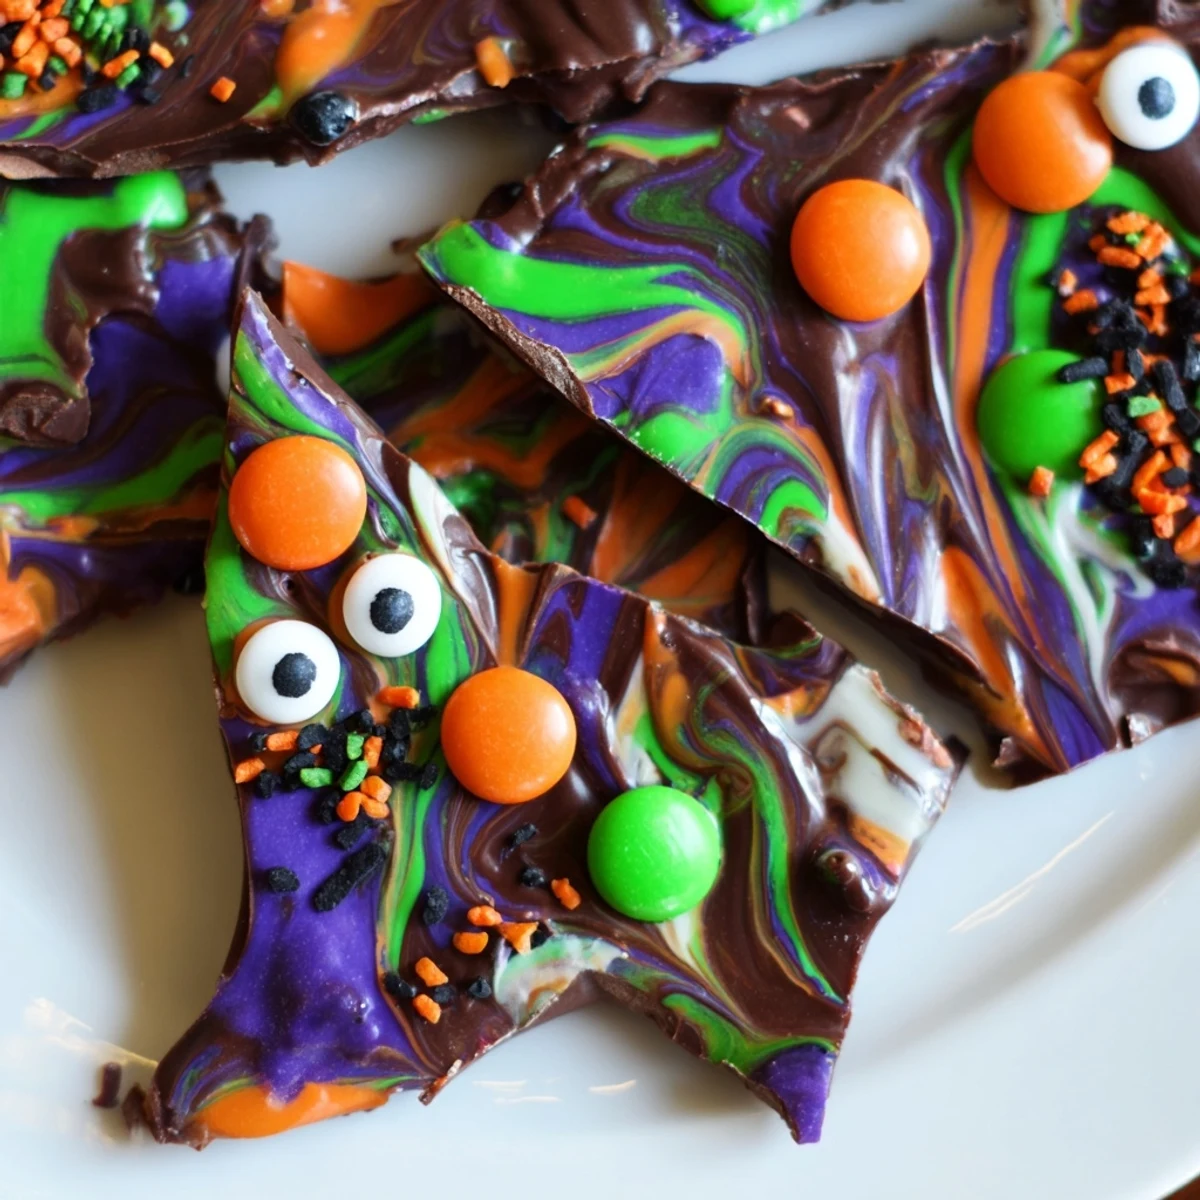
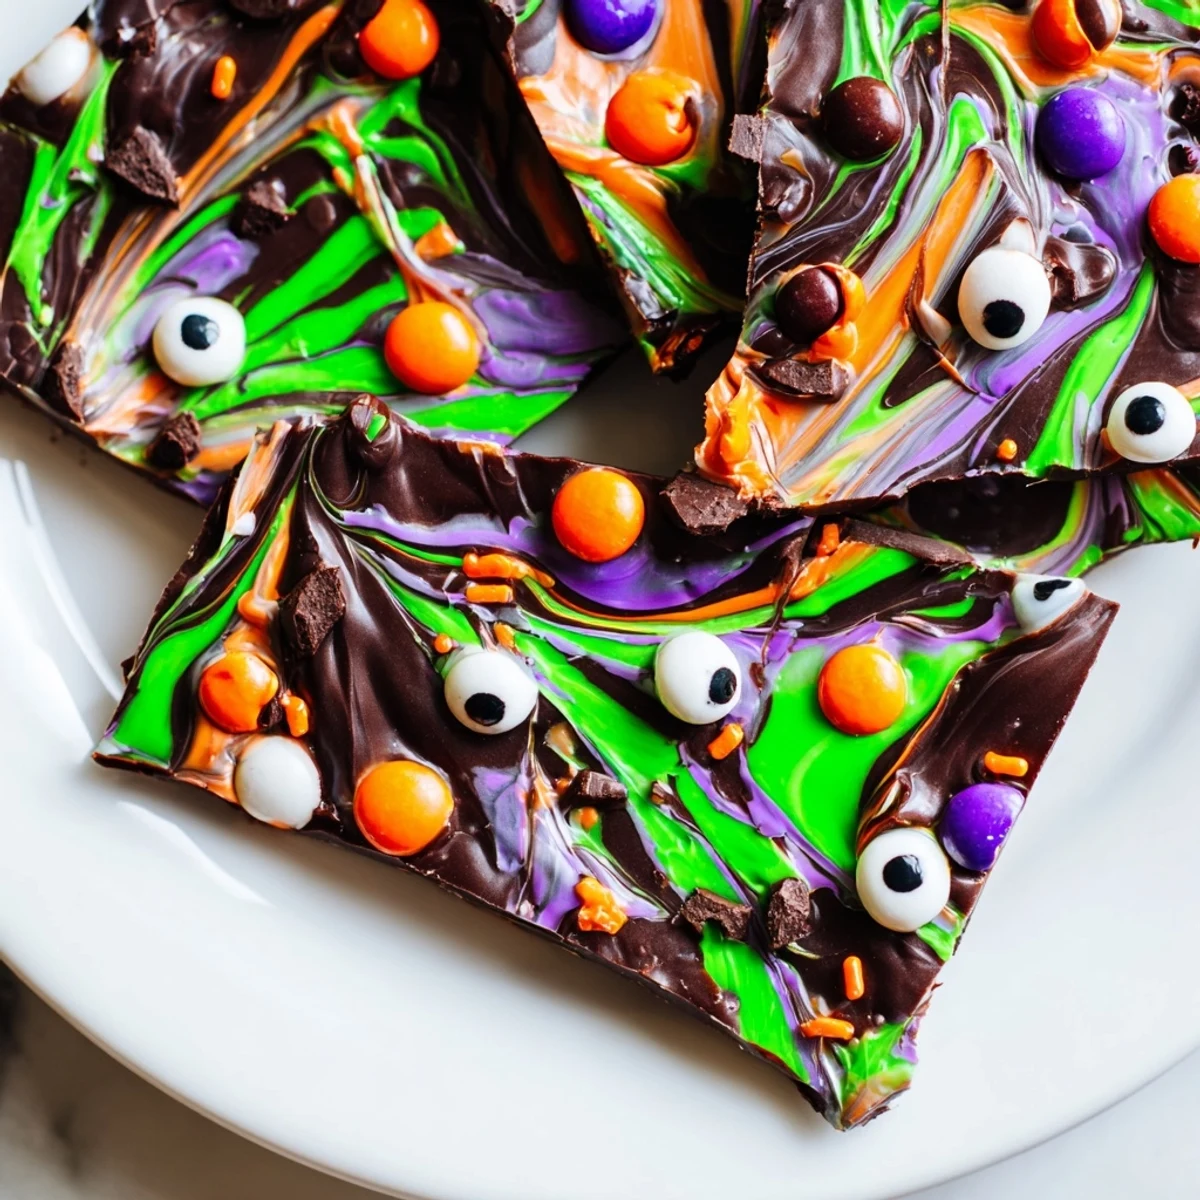
 This whimsical Halloween treat features layers of melted semisweet chocolate swirled with white chocolate and colorful candy melts. The marbled effect creates a spooky backdrop for candy eyes, mini chocolate candies, and festive sprinkles. Simply melt, swirl, and top with your favorite Halloween candies. Break into jagged pieces resembling witch's cauldron remnants or magical crystal shards.
Perfect for parties, gift-giving, or classroom treats. The combination of rich chocolate with sweet, crunchy toppings delivers satisfying texture and visual appeal. Customize with your favorite colors and candies for endless variations.
Last October, my daughter insisted we make something that would terrify her friends while simultaneously tasting amazing. We spent a rainy Sunday afternoon covered in chocolate smears, laughing every time a candy eye slid off the bark and stared up at us accusingly from the counter. Now it is not Halloween until someone asks if we are making that creepy chocolate stuff again.
I brought a platter to our neighborhood potluck and watched adults fight over the pieces with the most convincing spooky faces. My neighbor confessed she ate three servings before dinner even started and hid the evidence in her purse. There is something ridiculously satisfying about breaking chocolate into jagged shards like you are committing a tiny crime.
Ingredients
- Semisweet chocolate chips: The rich foundation balances all the sugary decorations and provides that classic chocolate snap when you break pieces
- White chocolate chips: Creates the signature marble swirl that makes each bite look unique and slightly haunted
- Colorful candy melts: Pick your favorite Halloween colors because these vibrant blobs become the magical swirls in your chocolate canvas
- Mini candy-coated chocolates: These add satisfying crunch and pops of color that make the bark look like confetti exploded
- Candy eyes: The absolute star of the show because everything is better when your food is watching you eat it
- Halloween sprinkles: Sprinkle these generously because they catch the light and make your bark look professionally festive
Instructions
- Prep your canvas:
- Line a baking sheet with parchment paper because trying to pry chocolate off bare metal is a nightmare nobody deserves.
- Melt the darkness:
- Microwave the semisweet chocolate in 30-second bursts, stirring like your life depends on it, until completely silky and smooth.
- Create the base:
- Spread that beautiful melted chocolate into an even layer about a quarter inch thick because consistency helps everything set properly.
- Prepare the swirls:
- Melt the white chocolate and colorful candy melts in separate bowls using 20-second intervals so they stay smooth and workable.
- Make the magic happen:
- Drop spoonfuls of the white and colored chocolates randomly over your dark base, then drag a toothpick through everything to create those gorgeous marble patterns.
- Add the spooky personality:
- Scatter candy eyes, chocolate candies, and sprinkles over the warm bark immediately because toppings will not stick once the chocolate cools.
- Let it set:
- Leave it at room temperature or pop it in the fridge for 10 to 15 minutes until everything is firm and ready to crack.
- Break and serve:
- Use your hands to snap the bark into jagged, dramatic pieces that look like they came from a haunted chocolate factory.
 Pin It
 My six-year-old nephew helped me make a batch last year and strategically placed all the candy eyes on just three pieces, creating the most disturbingly concentrated faces imaginable. He declared those pieces the haunted ones and refused to eat them, which honestly made the entire experience worth it.
Making It Your Own
Sometimes I swap the semisweet chocolate for milk chocolate when I want something sweeter and less intense. Dark chocolate works beautifully too if you prefer that sophisticated bitter edge cutting through all the sugar. The beauty of bark is that it forgives almost any substitution.
The Swirl Technique
I have learned that fewer swirls often look more elegant than going overboard with the toothpick. Two or three gentle passes through the chocolates create those witchy ribbons without muddying the colors into a disappointing gray mess. Less is definitely more here.
Storage And Serving
This bark keeps beautifully in an airtight container for up to a week, assuming it lasts that long without being devoured. I usually layer pieces between parchment paper so they do not stick together in a giant chocolate brick.
- Package small portions in clear bags tied with orange ribbon for instant party favors
- Crumble leftover pieces over vanilla ice cream for an instant Halloween sundae
- Keep a bag hidden in the pantry for emergency chocolate situations
 Pin It
 Hope your Halloween is filled with more treats than tricks and plenty of chocolate-stained fingers.
Recipe FAQs
- → How long does it take to make?
-
Total time is just 20 minutes, with 15 minutes for preparation and 5 minutes for melting chocolate. Allow additional time for the bark to set at room temperature or in the refrigerator.
- → Can I make this ahead of time?
-
Yes, store in an airtight container at cool room temperature for up to 1 week. Layer pieces between parchment paper to prevent sticking.
- → What if I don't have a microwave?
-
Melt chocolates using a double boiler on the stovetop. Place heat-safe bowl over simmering water, stirring constantly until smooth.
- → Can I use different types of chocolate?
-
Absolutely. Swap semisweet for milk or dark chocolate based on preference. White chocolate can be replaced with additional colored candy melts for more vibrant swirls.
- → How do I get the best marbled effect?
-
Drop colorful chocolates in random patterns over the base, then swirl gently with a toothpick using figure-eight motions. Don't overmix—distinct swirls look best.
- → Is this nut-free?
-
It can be. Check labels on all chocolate chips and candies to ensure they're nut-free. Avoid adding pretzels or nuts if allergies are a concern.
