 Pin It
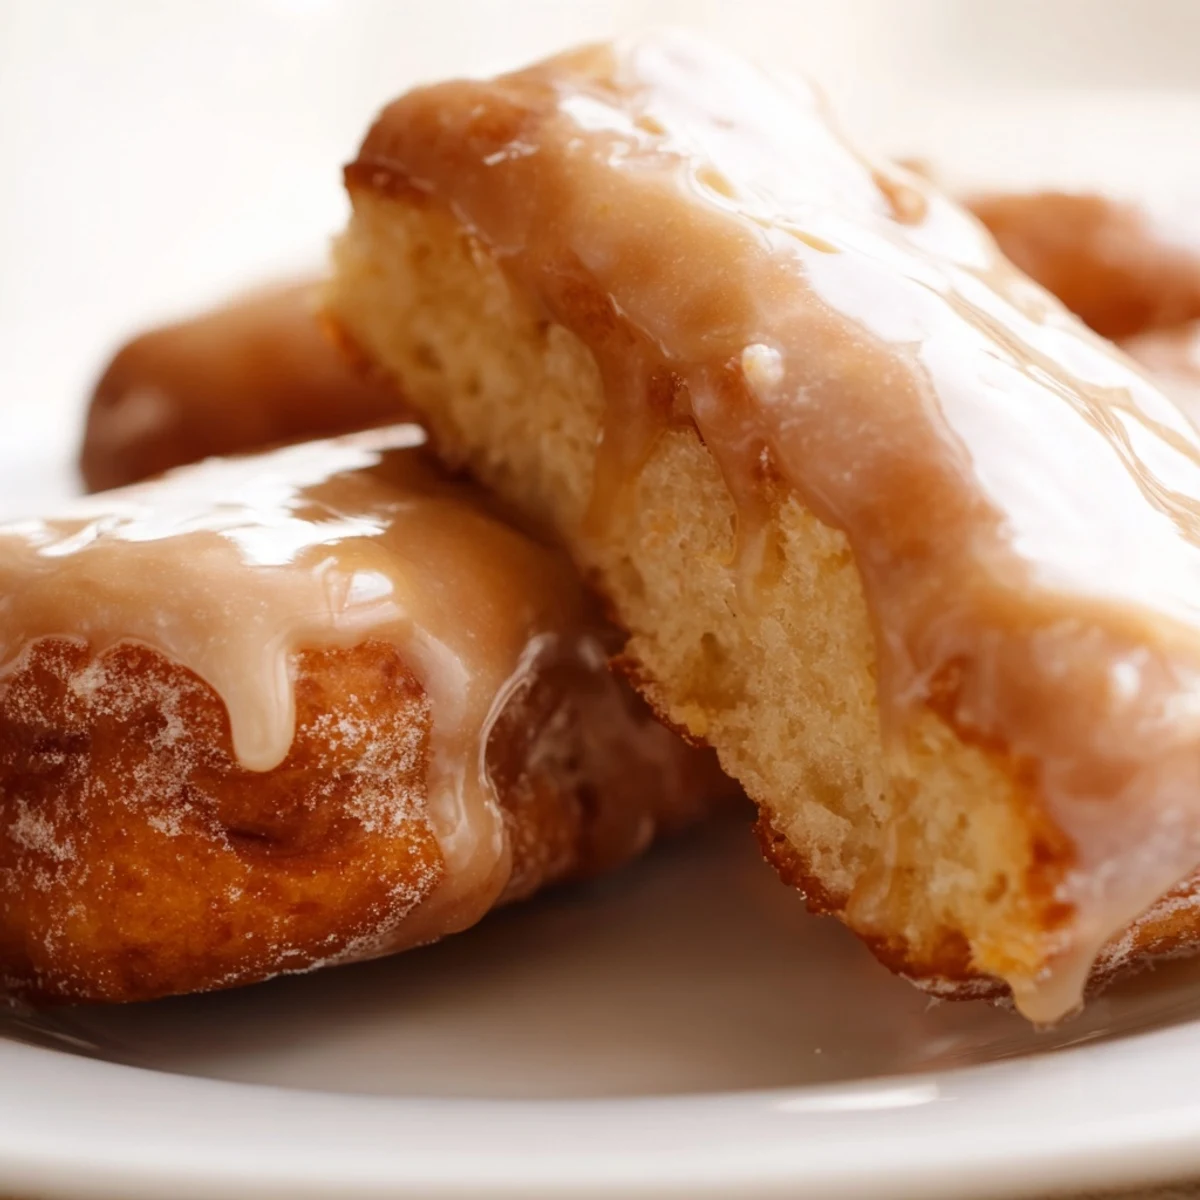
 These maple donut bars offer the perfect combination of soft, pillowy texture and rich maple sweetness. The yeast-raised dough creates a light, airy interior while the maple glaze adds a decadent finish. Ideal for breakfast or as an indulgent afternoon treat, these bars capture the essence of classic donut flavors in convenient bar form.
The smell of frying dough always pulls me back to Saturday mornings at my grandmothers house. She would stand by the stove in her floral apron, carefully lowering pieces of dough into hot oil while we tried not to hover too close. Making these maple donut bars brings back that simple joy of waiting for something wonderful to come out of the kitchen. The maple glaze takes me straight to autumn in Vermont where I first learned that real maple syrup makes everything better.
Last winter my sister came to visit and we spent an entire afternoon making these bars while snow fell outside the kitchen window. We made a mess of flour and glaze, argued about the perfect frying temperature, and ate more warm samples than we should have. Now every time she visits she asks if the maple donut bars are on the menu and honestly they usually are because some traditions are worth keeping.
Ingredients
- All purpose flour: Bread flour would make these too dense so stick with all purpose for that classic donut shop texture
- Active dry yeast: Make sure your yeast is fresh and give it time to get properly foamy before moving on
- Whole milk: The fat content matters here so do not swap for skim milk or your dough will suffer
- Unsalted butter: Melt it completely and let it cool slightly so it does not scramble your eggs when you mix them in
- Pure maple syrup: This is where you should splurge on the good stuff because you will taste every single note
- Powdered sugar: Sift it first or your glaze will have stubborn lumps that will not go away no matter how long you whisk
Instructions
- Wake up the yeast:
- Combine the warm milk, water, and yeast in your largest bowl or stand mixer and let it sit for about 5 minutes. You want to see it get foamy and alive before you proceed.
- Build the dough:
- Add the sugar, melted butter, eggs, and salt to the yeast mixture and mix until everything is incorporated. Gradually add the flour and let the mixer work for 5 to 7 minutes until the dough is smooth and elastic.
- First rise:
- Place your dough in a greased bowl, cover it with plastic wrap or a clean towel, and find a warm corner of your kitchen. Let it rise for 1 to 1.5 hours until it has doubled in size.
- Shape the bars:
- Punch down the dough gently and roll it out on a floured surface until it is about half an inch thick. Cut into rectangles about 4 by 1.5 inches and arrange them on parchment lined baking sheets.
- Second rise:
- Cover the bars and let them rest for 30 to 40 minutes until they look puffy and feel light to the touch. This second rise is what makes them so wonderfully tender inside.
- Fry until golden:
- Heat about 2 inches of vegetable oil in a heavy pot to 350 degrees and fry the bars in batches for 1 to 2 minutes per side. Watch them carefully because the difference between perfect and burnt is about 30 seconds.
- Make the maple glaze:
- Whisk together the powdered sugar, maple syrup, milk, vanilla, and pinch of salt until completely smooth. The glaze should be thick enough to coat a spoon but thin enough to pour easily.
- Glaze the bars:
- Dip the tops of the warm bars into the glaze and set them on a wire rack with parchment paper underneath to catch the drips. The glaze will set as they cool.
 Pin It
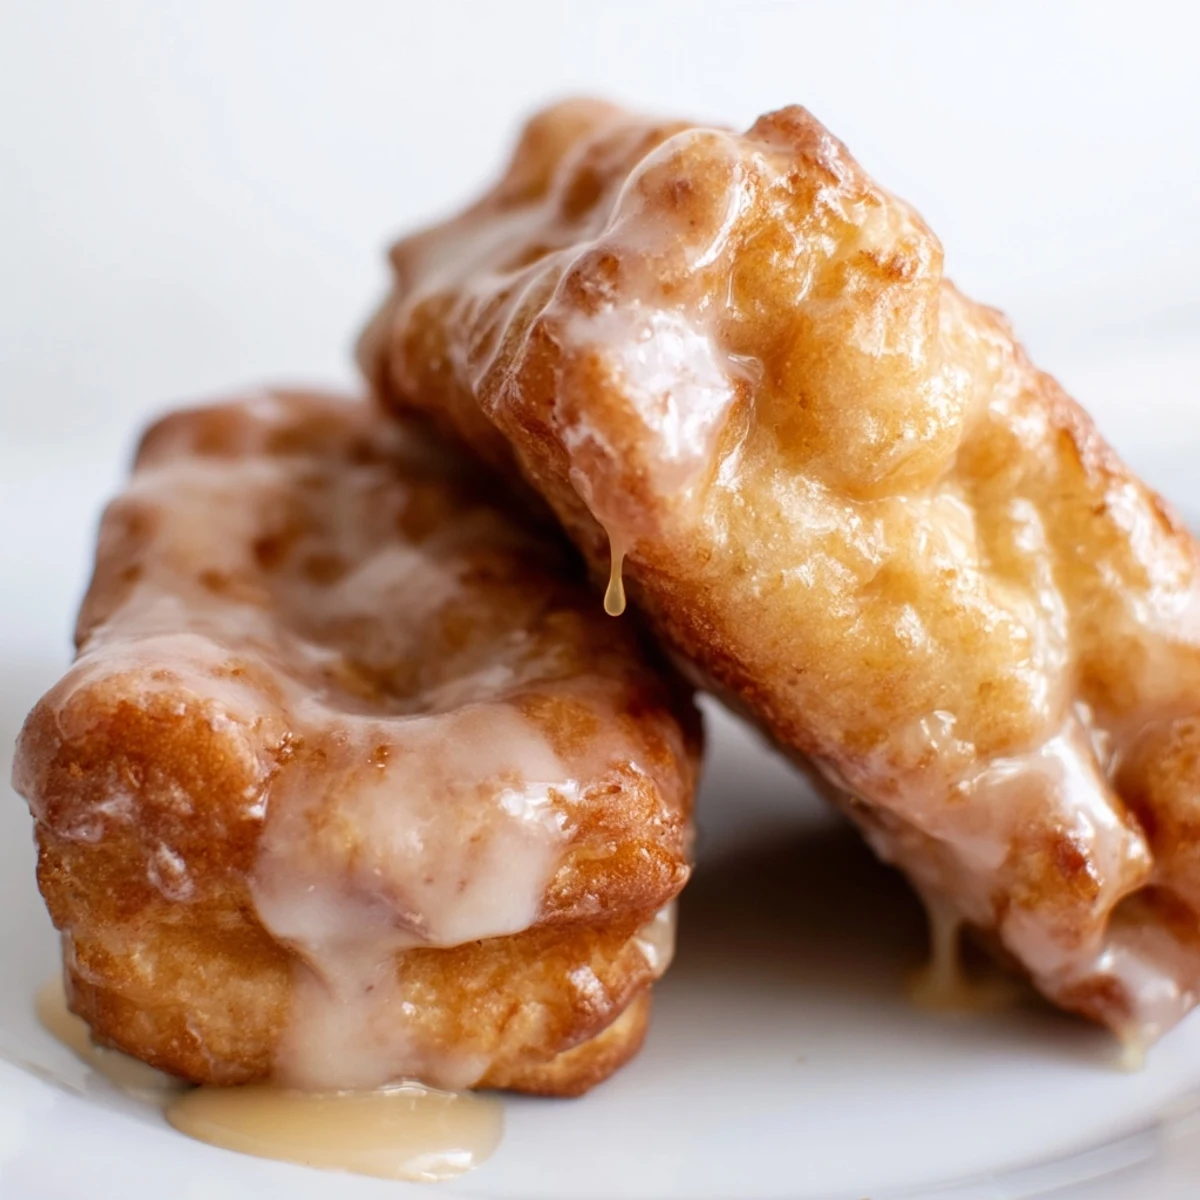
 These maple donut bars have become my go to for bringing to brunches and potlucks because they disappear faster than anything else on the table. There is something about the combination of warm fried dough and real maple that makes people stop what they are doing and just savor the moment.
Making Them Ahead
You can fry these bars a day in advance and store them in an airtight container. Warm them slightly in the oven before glazing so the maple coating melts beautifully into the surface. This trick has saved me more than once when I needed to bring something impressive but had zero morning time.
Frying Without Fear
Deep frying at home feels intimidating but once you get the temperature under control it becomes second nature. Use a candy thermometer if you have one and trust it more than your eyes. The oil will bubble up enthusiastically at first but that is completely normal and part of the process.
Maple Matters
Not all maple syrup is created equal and this recipe is where you will really taste the difference. Grade A dark amber has a robust maple flavor that stands up beautifully to the fried dough. The lighter stuff will give you a subtler maple taste while darker syrup gives you that intense maple punch.
- Look for maple syrup from Vermont or Canada for the most authentic flavor
- Store your maple syrup in the refrigerator after opening to maintain freshness
- If you want even more maple flavor add a half teaspoon of maple extract to the glaze
 Pin It
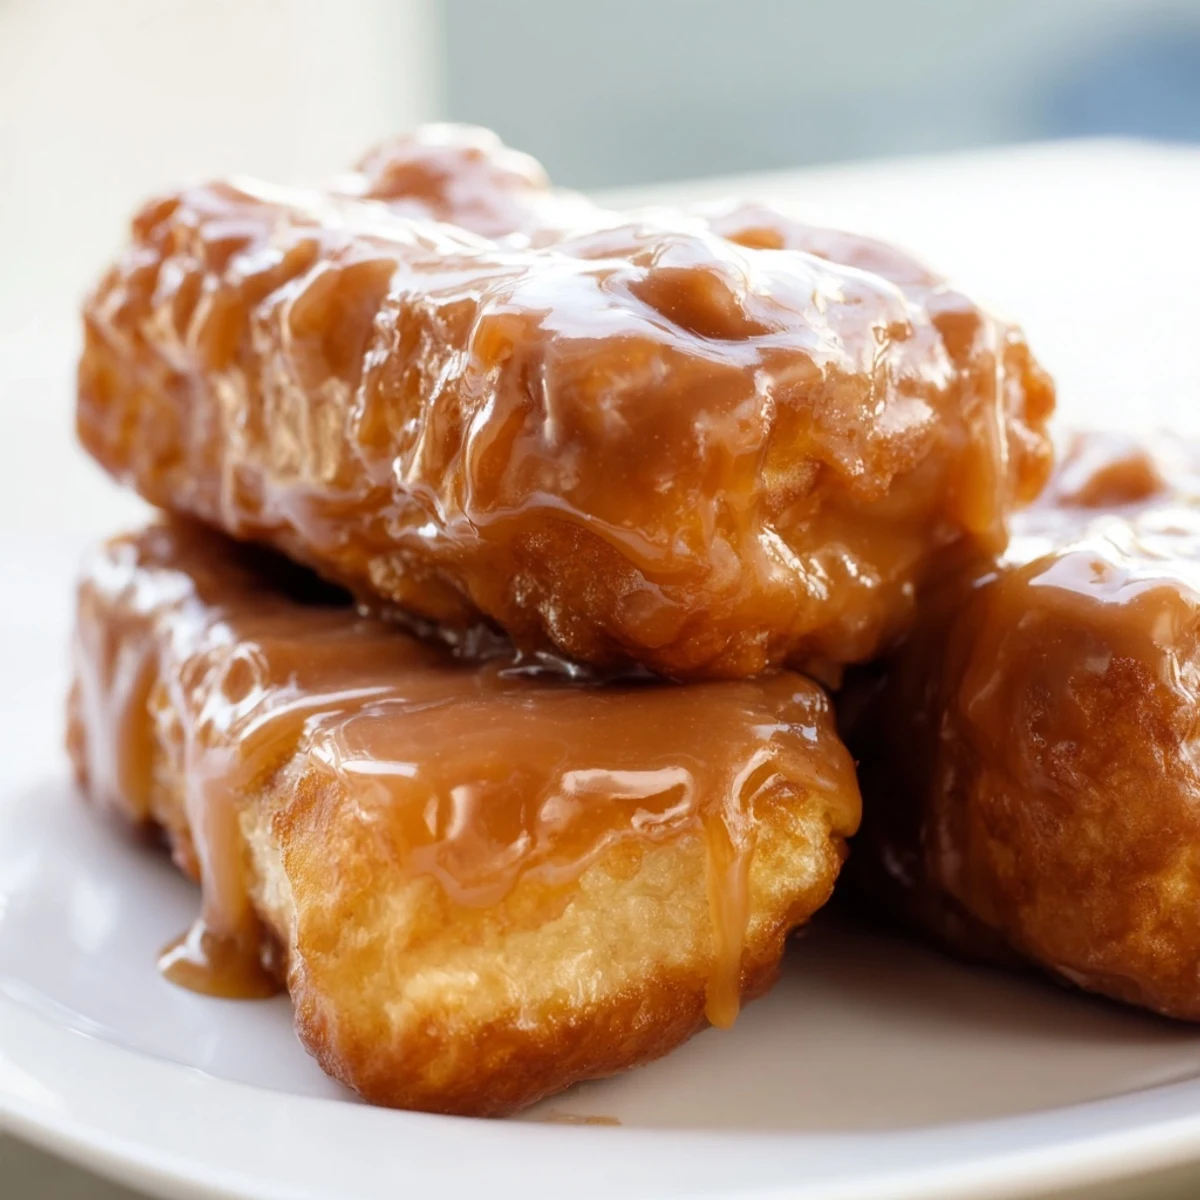
 There is nothing quite like pulling the first batch of these maple donut bars out of the oil and watching the glaze set into a perfect shiny coating. Some mornings just call for something this special.
Recipe FAQs
- → Can I bake these instead of frying?
-
Yes! For a baked version, simply bake the bars at 375°F (190°C) for 12-15 minutes until golden brown, then apply the maple glaze. The texture will be slightly different but still delicious.
- → How do I get the strongest maple flavor?
-
For maximum maple intensity, add 1/2 teaspoon of maple extract to the glaze mixture. This enhances the natural maple syrup flavor beautifully.
- → Can these be made ahead of time?
-
These bars are best enjoyed fresh, but they can be stored in an airtight container for up to 2 days. The glaze may soften slightly over time, but the flavor remains excellent.
- → What's the best oil for frying?
-
Use a neutral-flavored oil with a high smoke point like vegetable, canola, or peanut oil. These oils maintain their flavor and won't affect the maple taste.
- → How do I ensure the dough rises properly?
-
Place the dough in a warm, draft-free area. You can preheat your oven to its lowest setting, then turn it off and place the bowl inside. The residual heat creates the perfect environment for rising.
