 Pin It
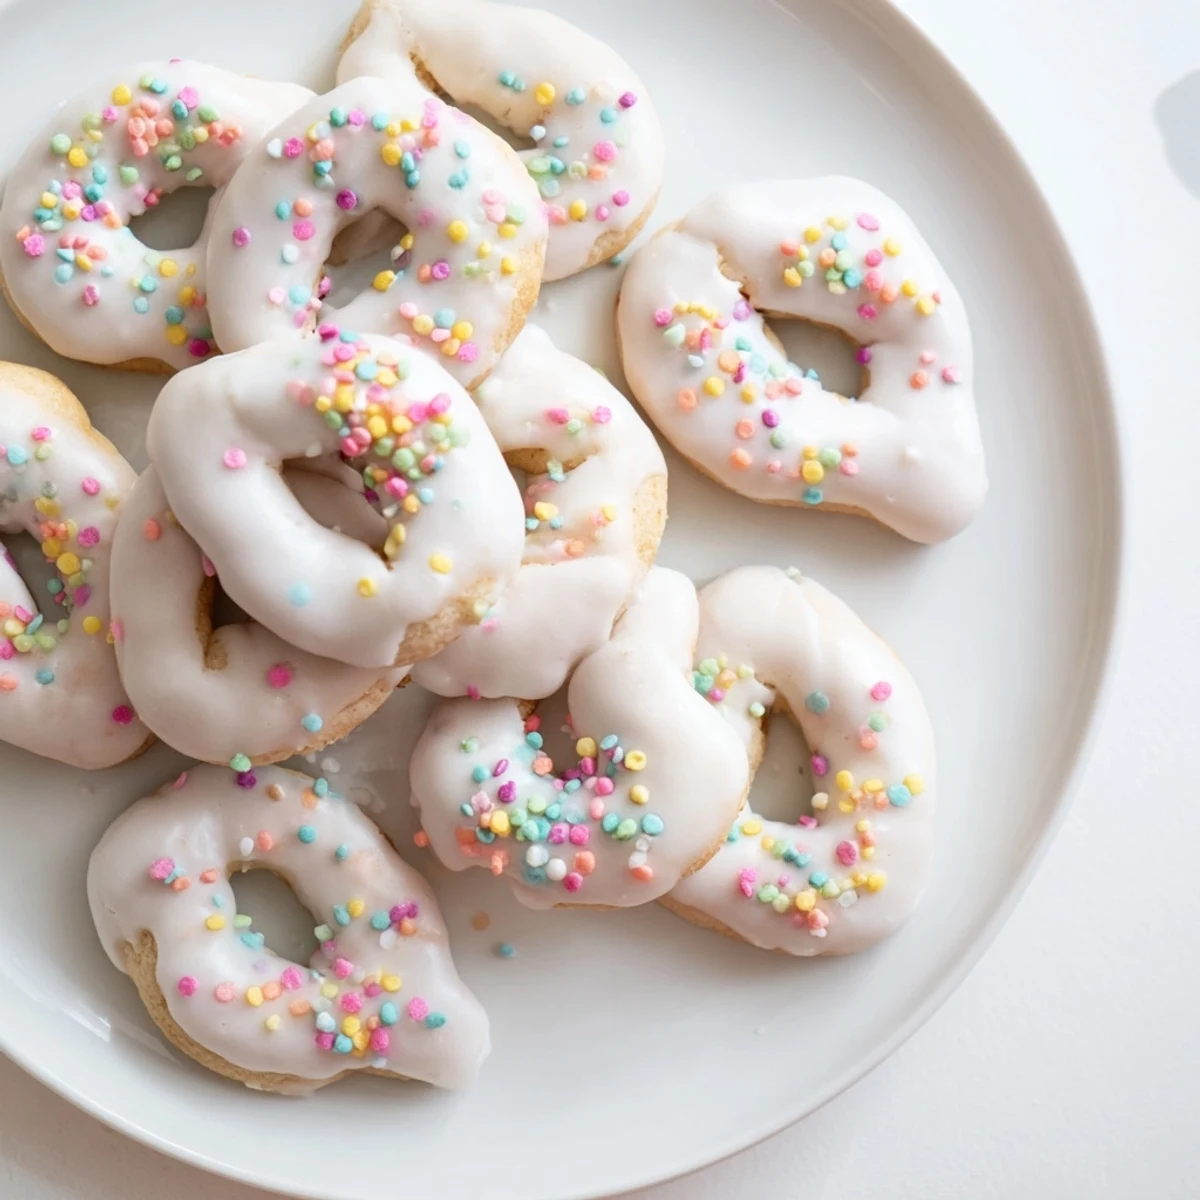
 These tender Italian Easter treats feature a soft, cake-like texture with bright citrus notes from fresh lemon and orange zest. The dough comes together quickly and can be shaped into rings, knots, or simple rounds. After baking to a light golden finish, each cookie receives a generous coating of sweet vanilla glaze that hardens beautifully. The traditional finishing touch involves scattering pastel sprinkles over the wet icing, creating festive treats that capture the joy of spring. These cookies keep well for days, making them ideal for preparing ahead of family gatherings or sharing as gifts during the Easter season.
The kitchen counter was covered in a rainbow of sprinkles when my Nonna first taught me how to shape these cookies. She insisted that Easter treats should bring as much color to the table as the spring flowers bring to the garden. We spent the whole afternoon practicing different knot shapes, eating almost as many cookies as we decorated. Now every time I whisk powdered sugar into that perfectly smooth glaze, I'm back in her sun-drenched kitchen with flour on my apron.
Last year my daughter decided these cookies needed to be glitter bombs and dumped an entire container of silver sprinkles onto one batch. We called them our celebration cookies and delivered them to every neighbor on our block. Something about handing someone a cookie covered in rainbows just makes conversation easier. Three families asked for the recipe before we even made it to the corner.
Ingredients
- All-purpose flour: The backbone that gives these cookies their tender bite without becoming tough
- Baking powder: This little pinch of lift is what makes them pillowy rather than flat
- Unsalted butter: Softened to room temperature so it blends seamlessly into the sugar for that melt-in-your-mouth texture
- Granulated sugar: Just enough sweetness to let the citrus shine through without overpowering
- Large eggs: Bring everything together while adding richness and structure
- Pure vanilla extract: The warm background note that makes everything taste homemade
- Almond extract: Completely optional but adds that authentic Italian bakery flavor
- Lemon and orange zest: The real stars that transform these from ordinary cookies into something special
- Milk: Just enough to bring the dough together into something workable
- Powdered sugar: Creates that beautiful white canvas for your sprinkles to pop against
- Colored sprinkles: The most important ingredient because Easter cookies should be joyful
Instructions
- Preheat your oven to 350°F and line your baking sheets:
- The parchment paper saves you from scrubbing later and ensures these delicate cookies lift right off
- Whisk the flour, baking powder and salt together:
- This step may seem simple but it's what prevents you from biting into a pocket of bitter baking powder later
- Cream the butter and sugar until pale and fluffy:
- Takes about three minutes and creates those tiny air pockets that make cookies melt in your mouth
- Beat in the eggs one at a time:
- Rushing this step is the most common mistake, so let each egg fully incorporate before adding the next
- Add your extracts and citrus zest:
- The kitchen should start smelling amazing right about now
- Gradually mix in the flour mixture:
- Stop as soon as the flour disappears, overworking this dough is what makes cookies tough instead of tender
- Add the milk and check your dough:
- It should be soft and pliable like playdough, not sticky enough to cling to your fingers
- Shape your cookies:
- Ropes, knots, rings, or simple balls all work beautifully, just keep them roughly uniform for even baking
- Bake for 10 to 12 minutes:
- You're looking for barely golden bottoms and tops that still look pale and soft
- Let them cool completely before glazing:
- I learned the hard way that warm cookies make the glaze slide right off
- Whisk your glaze ingredients until smooth:
- Add milk one tablespoon at a time until it reaches the consistency of thin yogurt
- Dip and decorate immediately:
- The sprinkles stick best when the glaze is still wet so work quickly and have fun
 Pin It
 My grandmother kept her special sprinkle collection in mismatched jam jars, each one labeled in her careful handwriting. Opening that cabinet felt like discovering treasure, and she always let me choose which colors we'd use for whatever holiday we were celebrating. The lemon zest would perfume the whole house while we worked, and she'd pretend not to notice how many cookies I'd taste test for quality control.
Shaping Traditions
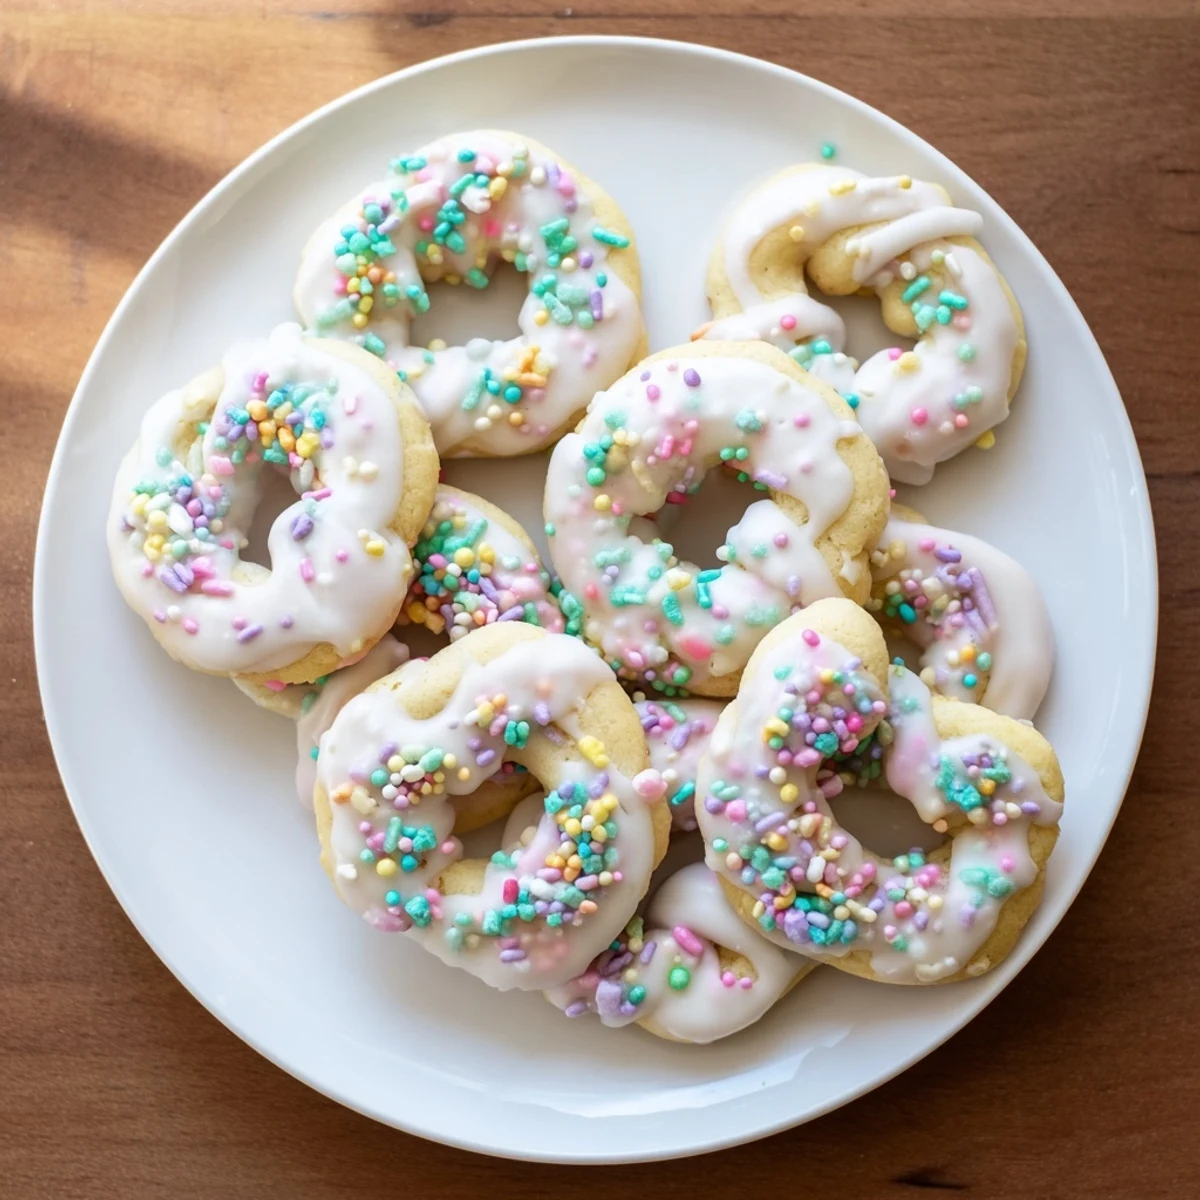
In Italian families, the shape of these cookies often carries meaning. Rings symbolize eternity, while knots represent the complexity of family bonds. I've found that braided ropes are the most forgiving for beginners since any irregularities just look like handmade charm. The most important thing is that your hands are clean and dry before you start shaping, otherwise the dough will stick to everything.
Making The Glaze Just Right
The perfect glaze consistency is thick enough to coat the back of a spoon but thin enough to pour off a fork in a steady stream. Too thick and it looks clumpy, too thin and it drips off the cookie before the sprinkles can adhere. I always sift my powdered sugar first because those tiny lumps will create streaks in your otherwise smooth finish.
Storing And Gifting
These cookies actually improve after a day or two as the glaze softens slightly and the citrus permeates the dough. Stack them between sheets of wax paper in an airtight container, separating each layer so they don't stick together. They freeze beautifully unglazed if you want to get a head start on holiday baking.
- Package them in clear bags tied with pastel ribbons for instant Easter gifts
- If you're transporting them, let the glaze set completely for at least two hours first
- Bring them to room temperature before serving, the flavor is much more pronounced
 Pin It
 May your Easter be filled with as much color and joy as a kitchen counter covered in sprinkles. These cookies have a way of turning ordinary moments into celebrations worth remembering.
Recipe FAQs
- → Can I make the dough ahead of time?
-
Yes, the dough can be prepared up to 24 hours in advance and stored wrapped in the refrigerator. Let it come to room temperature for about 15 minutes before shaping, as cold dough can be slightly firm to work with.
- → What shapes are traditional for these cookies?
-
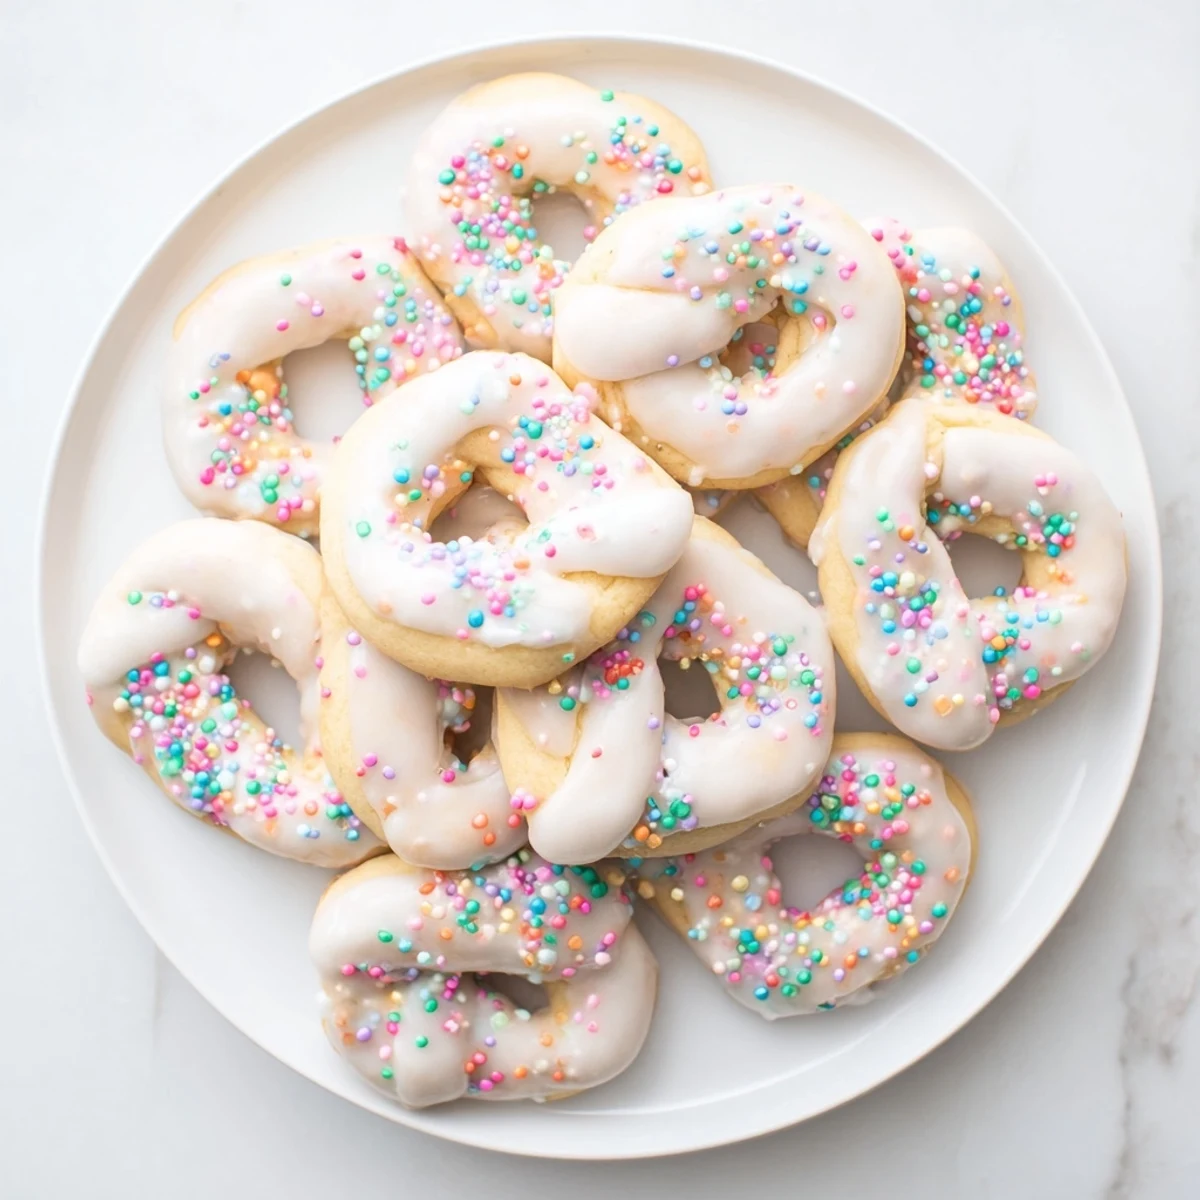
Traditional shapes include rings, knots, or small braids. The most common form is twisting the dough into a ring, symbolizing the cycle of life and rebirth. Simple rounds work beautifully if you prefer an easier approach.
- → Can I freeze these cookies?
-
You can freeze the unbaked dough for up to 3 months. Shape the cookies first, then freeze on a baking sheet before transferring to a container. Bake from frozen, adding 1-2 minutes to the baking time. Once glazed and decorated, freezing is not recommended as the icing becomes sticky.
- → Why use both lemon and orange zest?
-
The combination creates a balanced, bright citrus flavor that's more complex than using just one type. Lemon provides a zesty brightness while orange adds a sweeter, floral note that complements the vanilla glaze perfectly.
- → How do I know when the glaze is the right consistency?
-
The glaze should be smooth and pourable but thick enough to coat the back of a spoon without dripping off immediately. If too thick, add milk one teaspoon at a time. If too thin, whisk in more powdered sugar until you reach the desired texture.
- → Can I omit the almond extract?
-
Absolutely. While almond extract adds a lovely nutty depth that's traditional in many Italian versions, these cookies are delicious with just vanilla and citrus. The flavor will still be authentic and satisfying.
