 Pin It
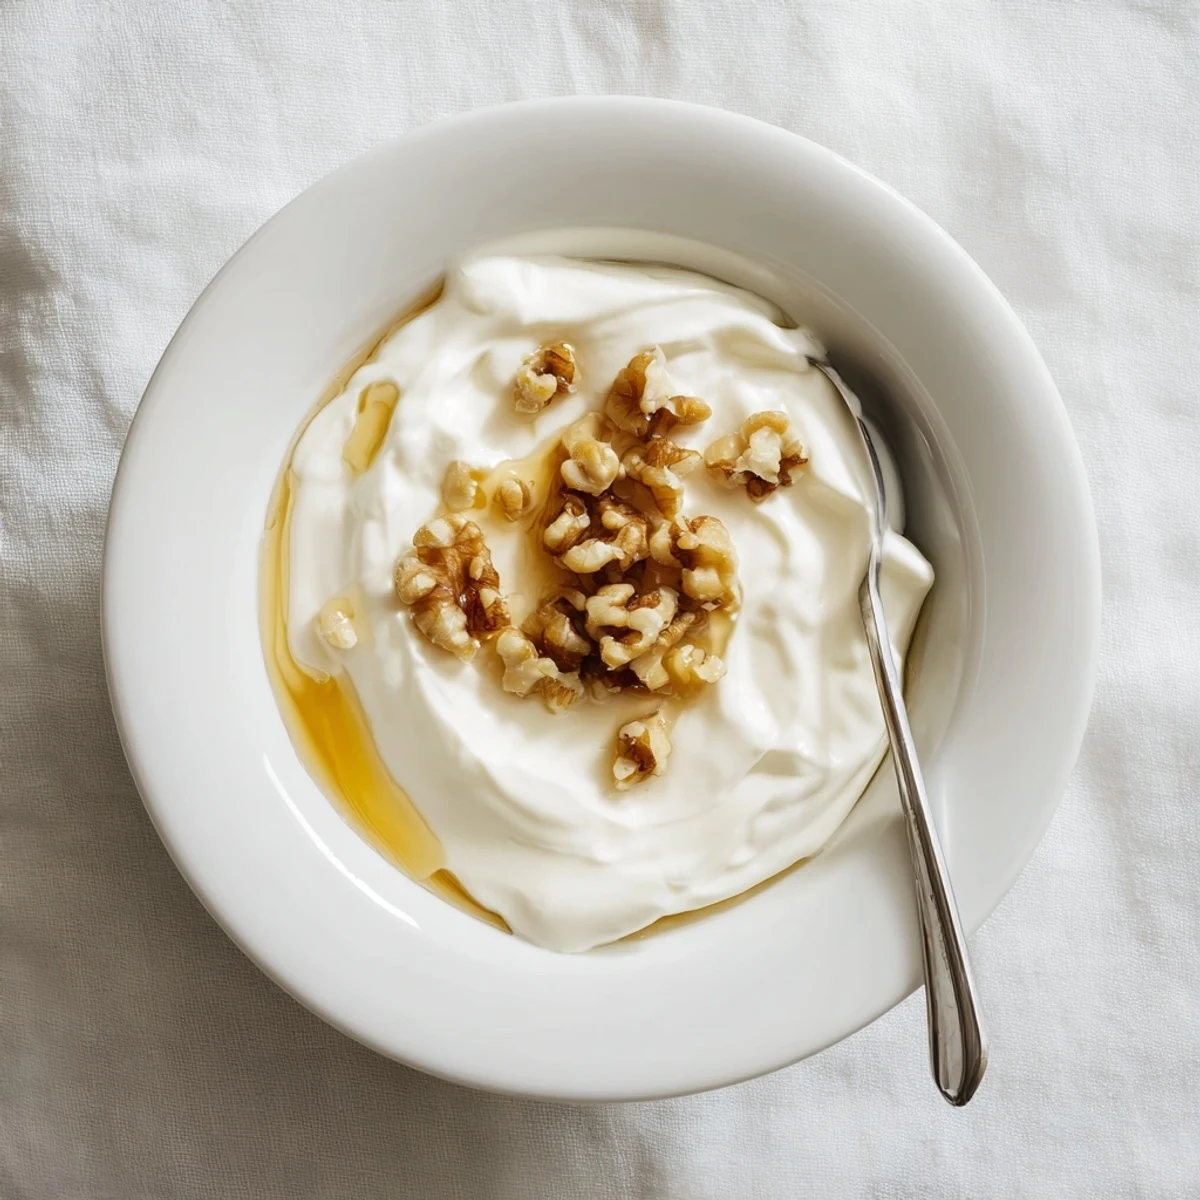
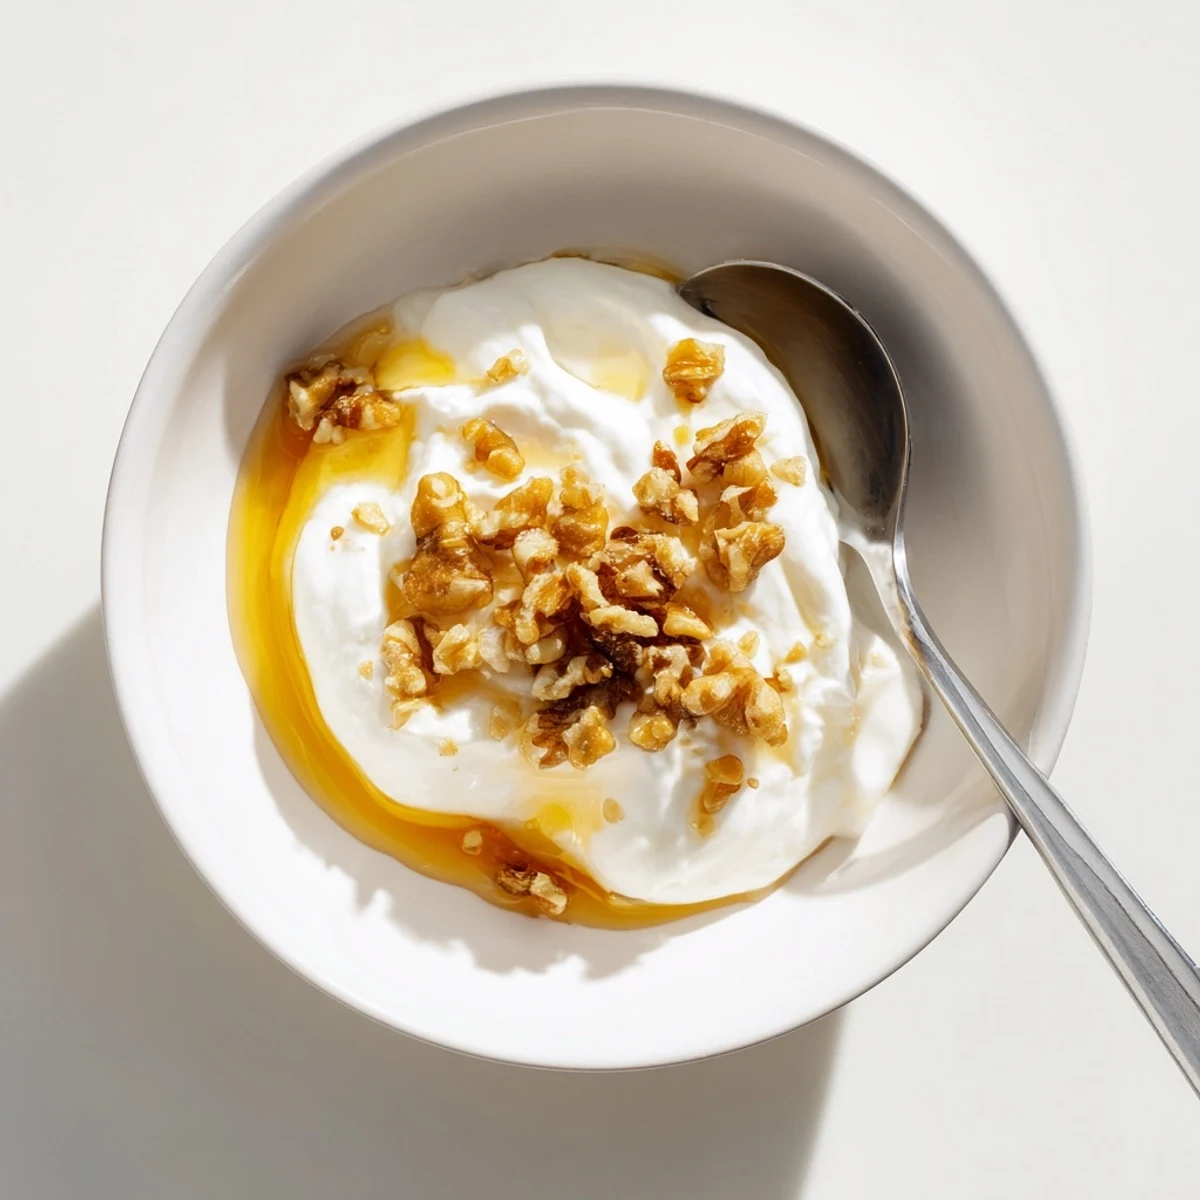
 Create authentic Greek yogurt in your own kitchen with just whole milk and a starter culture. This traditional Mediterranean method produces thick, creamy yogurt through gentle heating, culturing, and straining. The result is a protein-rich, tangy staple that rivals store-bought versions. Use goat or sheep milk for variation, strain longer for extra thickness, or save the whey for smoothies. Perfect topped with honey and nuts, blended into dips, or enjoyed plain.
My first attempt at homemade yogurt happened during a particularly snowy February when I was snowed in for three days straight. The grocery shelves were bare, but I had milk and a lonely container of store-bought yogurt in the fridge. What started as kitchen boredom turned into one of those satisfying kitchen experiments that changes how you eat forever. Now I can’t imagine going back to the watery stuff in plastic tubs.
Last summer I served this at a brunch with fresh honey from a friend’s farm and local peaches, and everyone kept asking where I bought such incredible yogurt. Watching their faces when I told them I made it myself was genuinely satisfying. One friend now makes a batch every Sunday and texts me photos of her variations.
Ingredients
- Whole milk: I’ve tried every milk variety and whole milk gives you that luxurious mouthfeel that makes Greek yogurt worth the extra step
- Plain yogurt starter: Look for those words live active cultures on the container and skip any flavored stuff or your yogurt will taste strangely artificial
Instructions
- Heat the milk properly:
- Watch the thermometer closely because getting it to exactly 82°C destroys any bacteria that might compete with your yogurt cultures
- Cool it down:
- Patience pays off here because rushing the cooling process will kill your starter and you’ll end up with warm milk instead of yogurt
- Make the starter slurry:
- Temper that small amount of yogurt with warm milk first so it blends smoothly without shocking the cultures
- Combine and culture:
- Pour everything into your container, wrap it like a little yogurt burrito in towels, and leave it completely alone in the warmest corner of your kitchen
- Strain for thickness:
- Line your strainer with several layers of cheesecloth because the liquid whey really drains out fast in the first hour
 Pin It
 My mom started making her own yogurt after seeing how much money I was saving, and now she experiments with sheep’s milk from a local farm. It’s become this little ritual we compare notes about during our weekly calls. There’s something deeply grounding about transforming simple milk into something so nourishing.
Getting The Right Temperature
I learned the hard way that milk goes from perfect to scorching in seconds, so stay right there at the stove during the heating phase. The skin that forms on top is totally normal and disappears when you whisk in your starter later. Cooling the milk faster in an ice bath works when you’re impatient but letting it cool naturally gives slightly better results.
Finding The Perfect Warm Spot
My oven with just the light turned on became my secret weapon during winter months. Some people swear by wrapping the container in heating pads but I’ve never found that necessary. The key is keeping it undisturbed because every time you check, you’re letting heat escape and potentially disrupting the culturing process.
Using That Whey
Don’t toss the liquid whey that strains out because it’s packed with protein and probiotics that work wonders in smoothies and bread dough.
- Blend it into morning smoothies for an extra protein boost
- Use it as the liquid in homemade bread for fluffier results
- Add a splash to soups instead of water for deeper flavor
 Pin It
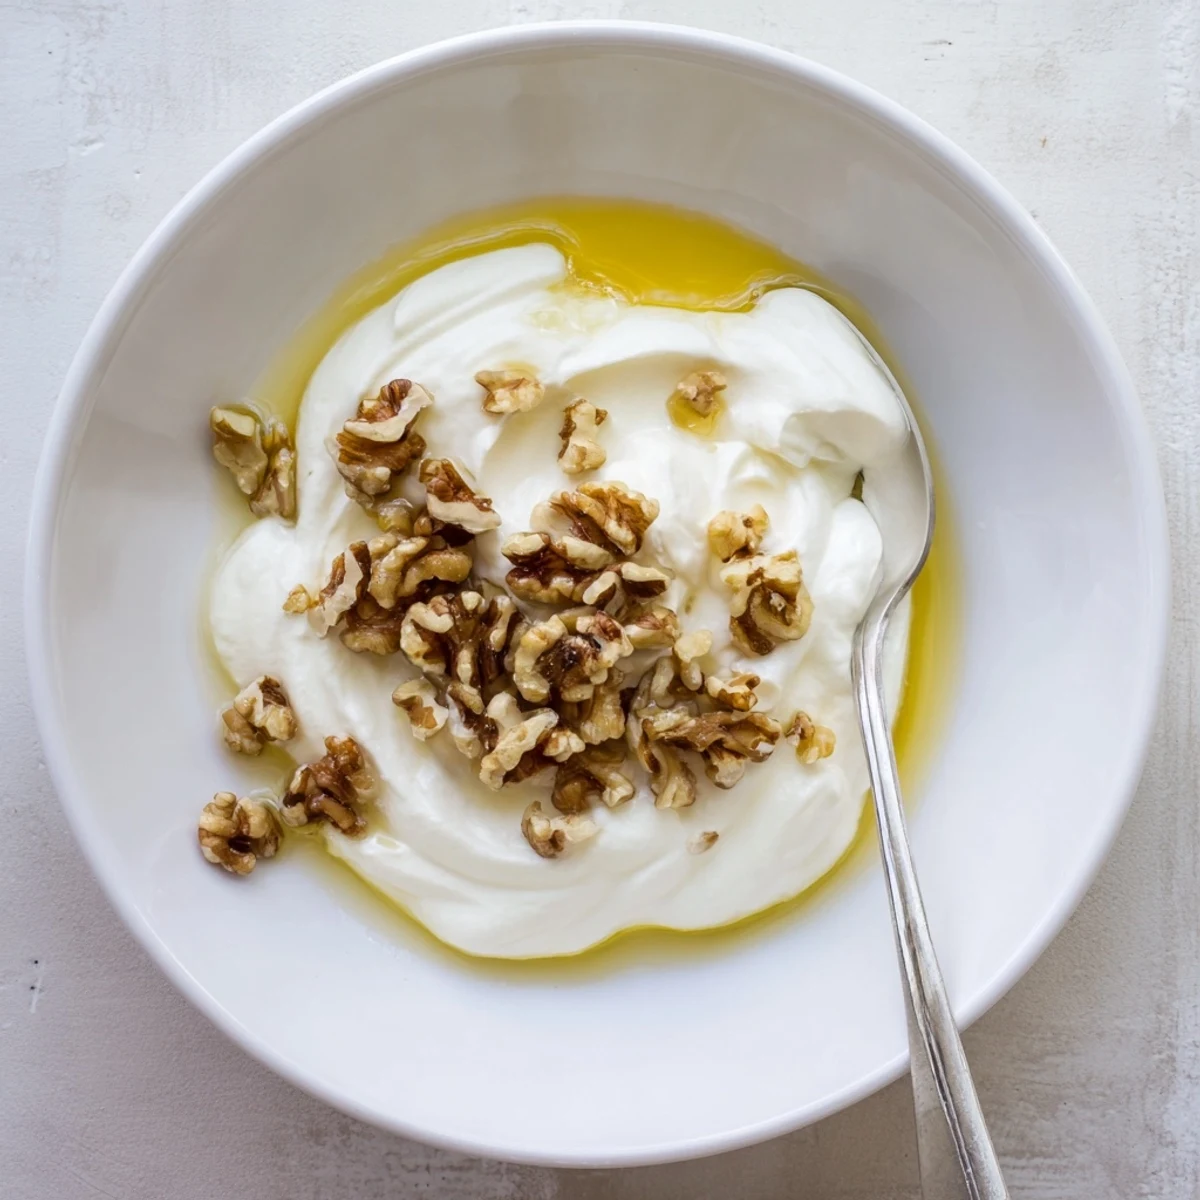
 Once you start making your own Greek yogurt, store-bought versions just taste disappointing in comparison. There’s a quiet pride in serving breakfast you created from scratch.
Recipe FAQs
- → What makes Greek yogurt different from regular yogurt?
-
Greek yogurt undergoes straining to remove whey, resulting in a thicker, creamier texture with higher protein content. The straining process concentrates the yogurt, making it denser and tangier than regular varieties.
- → How long does homemade Greek yogurt last?
-
Properly stored in an airtight container, homemade Greek yogurt keeps fresh in the refrigerator for up to two weeks. Always use clean utensils when serving to prevent contamination and extend shelf life.
- → Can I use non-dairy milk for this method?
-
Yes, dairy-free alternatives work with appropriate vegan starter cultures. Coconut, almond, or soy milk can be cultured, though the texture and flavor profile will differ from traditional Greek yogurt.
- → What can I do with the strained whey?
-
The liquid whey contains protein and beneficial bacteria. Use it in smoothies, baked goods, or as a starter for fermenting other foods. It adds nutrients and subtle tang to various preparations.
- → Why must the milk be heated then cooled?
-
Heating to 82°C denatures milk proteins, allowing them to bond into a thicker structure. Cooling to 43°C creates the ideal environment for live cultures to thrive without being killed by excessive heat.
- → How can I make the yogurt even thicker?
-
Extend straining time in the refrigerator up to 4-6 hours for ultra-thick Greek-style yogurt. Using whole milk also contributes to creaminess, while skimming cream from milk before culturing yields even denser results.
