 Pin It
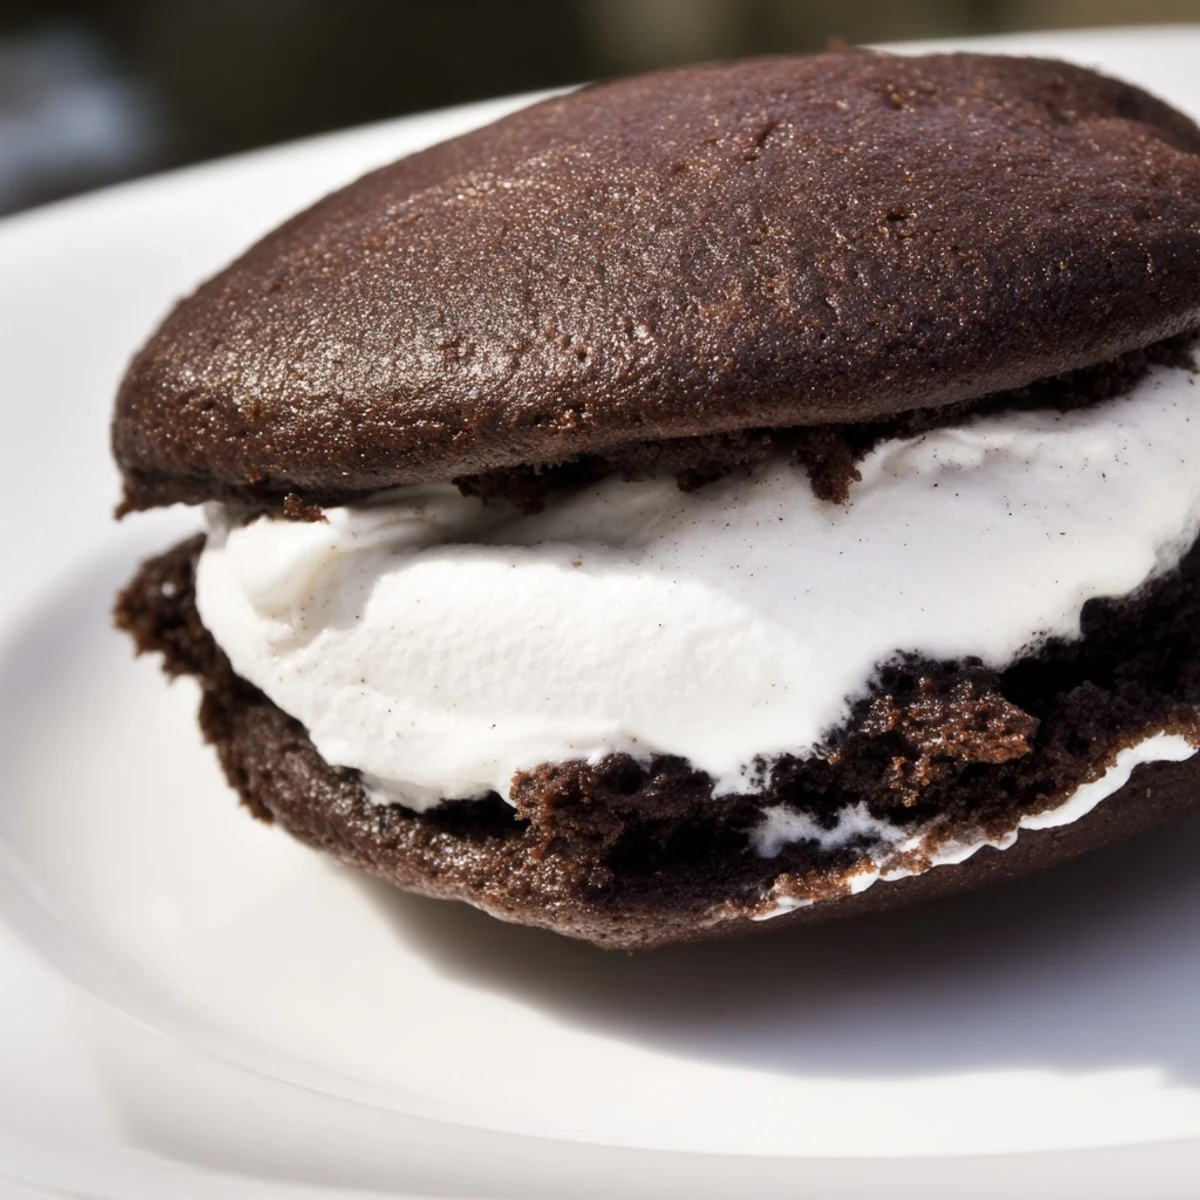
 These beloved chocolate whoopie pies feature soft, cake-like cookies made with rich cocoa and buttermilk, paired with a sweet marshmallow buttercream filling. The cookies bake up tender with a slight bounce when pressed, while the filling stays light and fluffy. Perfect for parties, bake sales, or afternoon treats, these handheld desserts stay fresh for days and can be made ahead. Customizable with peppermint extract, chocolate chips, or sprinkles for festive occasions.
I stumbled upon whoopie pies during a rainy weekend in Maine, where a tiny bakery stacked them sky-high behind glass cases. The owner told me they started as a way to use up leftover cake batter, which somehow made them taste even better.
My sister called me last winter demanding these for her birthday instead of a traditional cake. I made triple batches and we ended up eating half of them standing around the kitchen counter before any even made it to the party plates.
Ingredients
- 2 cups all-purpose flour: The foundation that gives these cookies their cake-like structure without becoming tough
- 1/2 cup unsweetened cocoa powder: Dont skip this—regular cocoa creates that deep chocolate flavor that balances the sweet filling
- 1 teaspoon baking soda: This is what makes the cookies puff into perfect domes while baking
- 1/2 teaspoon salt: Just enough to make the chocolate taste more intense and complex
- 1 cup granulated sugar: Cream this properly with butter and your cookies will have that bakery softness
- 1/2 cup unsalted butter softened: Room temperature is non-negotiable here—cold butter creates flat, dense cookies
- 1 large egg: Bring this to room temperature too so it incorporates smoothly into the batter
- 1 cup buttermilk: The secret ingredient that keeps these tender and adds subtle tang
- 1 teaspoon vanilla extract: Use real extract—the artificial stuff cant hide in this recipe
- 1/2 cup unsalted butter softened (for filling): Beat this longer than you think you need to for silky smooth filling
- 1 1/4 cups powdered sugar: Sift this first or youll end up with tiny lumps in your fluffy filling
- 1 jar marshmallow creme: Let it come to room temperature so it blends seamlessly with the butter
- 1 teaspoon vanilla extract (for filling): This cuts through the sweetness and makes everything taste homemade
- Pinch of salt: Crucial for balancing all that sugar in the filling
Instructions
- Preheat your oven:
- Set it to 350°F and line two baking sheets with parchment paper—this prevents sticking and makes cleanup effortless.
- Whisk the dry ingredients:
- Combine flour, cocoa powder, baking soda, and salt in a medium bowl, breaking up any cocoa clumps with your whisk.
- Cream the butter and sugar:
- Beat them for a full 2 minutes until the mixture turns pale and fluffy—this step is worth the extra effort.
- Add the egg:
- Beat until completely incorporated, then mix in the buttermilk and vanilla until combined.
- Dont panic about the texture:
- The batter will look curdled and strange—this is completely normal and will bake out beautifully.
- Combine everything:
- Gradually fold in the dry ingredients, mixing just until no flour streaks remain.
- Scoop and space:
- Drop 2-tablespoon rounds onto your prepared sheets, leaving 2 inches between them for spreading.
- Bake to perfection:
- Cook for 10-12 minutes until the tops spring back when touched—underbaking is better than overbaking here.
- Cool completely:
- Let them rest on wire racks, because warm cookies will melt your filling right off.
- Make the filling:
- Beat butter until creamy, add sifted powdered sugar, then mix in marshmallow creme, vanilla, and salt until fluffy.
- Assemble your pies:
- Spread filling on half the cookies and top with remaining cookies, pressing gently to distribute the filling.
 Pin It
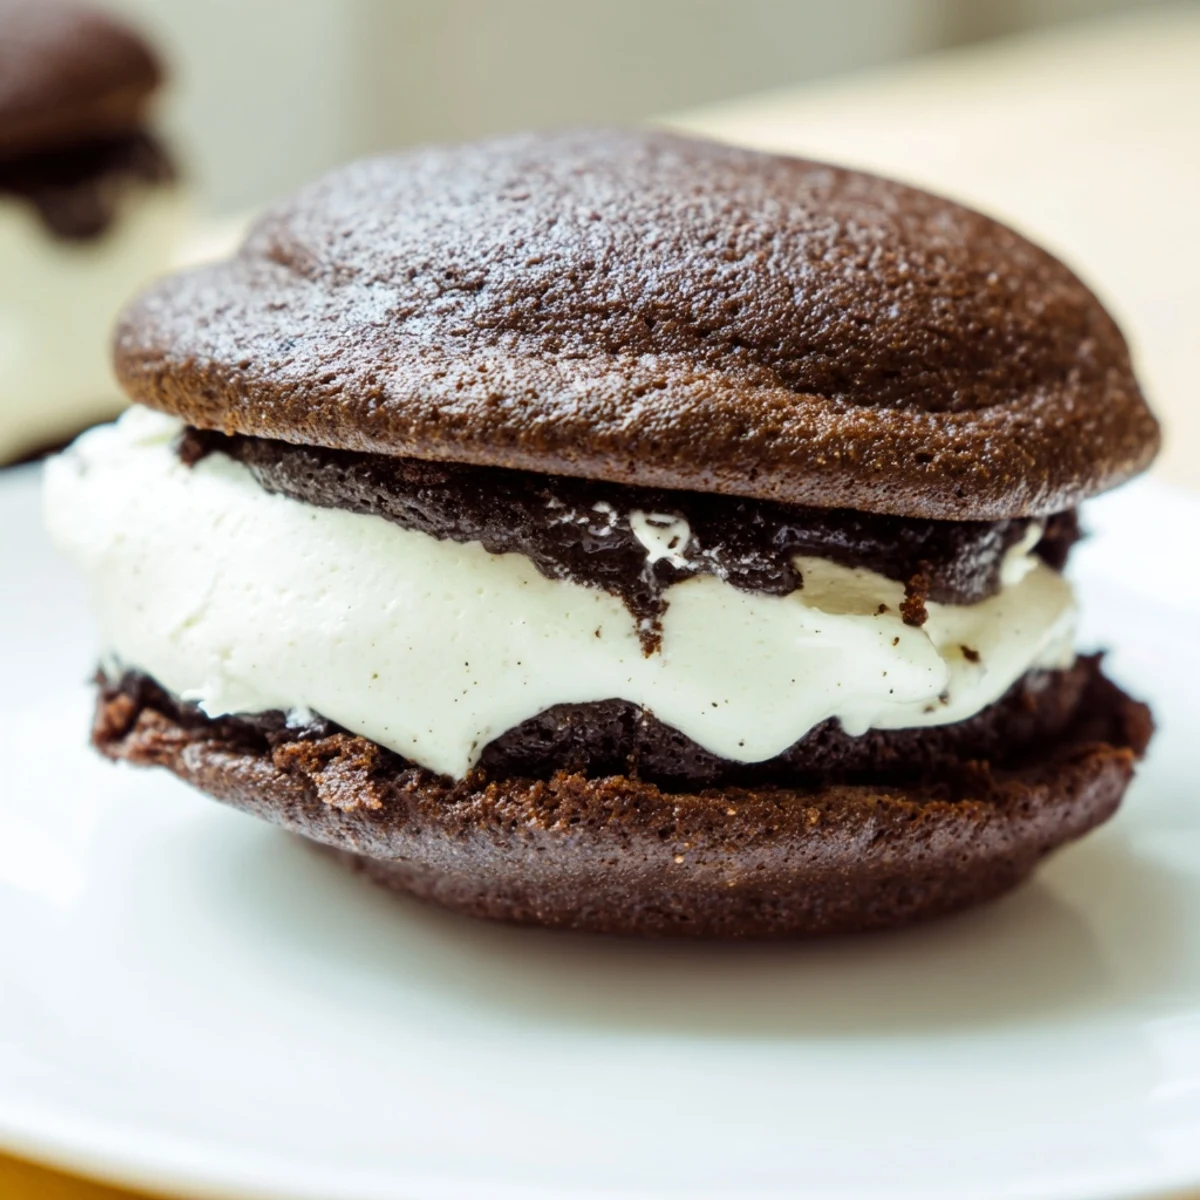
 My neighbor swears these taste better after sitting overnight, though Ive never been able to test that theory in my house. They disappear before the day is over, every single time.
Getting The Cookie Texture Right
The key is scooping uniform portions—use a cookie scoop if you have one, or level tablespoons. Uneven cookies mean some will be dry while others are underbaked. I learned this the hard way when half my batch turned into hockey pucks while the rest were perfectly soft.
Filling Variations I Love
Sometimes I swap half the powdered sugar for cream cheese to cut the sweetness. Other times I add peppermint extract during winter holidays or fold in crushed candy canes. The classic vanilla marshmallow filling though, its perfect for a reason and never lets me down.
Storage And Make-Ahead Tips
Whoopie pies actually improve after a few hours in the fridge, which makes them perfect for party planning. The cookie softens slightly and absorbs some filling moisture. Wrap them individually if stacking, or theyll stick together and tear apart.
- Freeze unfilled cookies for up to 3 months in freezer bags
- Butter-based fillings stay fresh longer than cream cheese versions
- Let frozen cookies thaw completely before filling or theyll get soggy
 Pin It
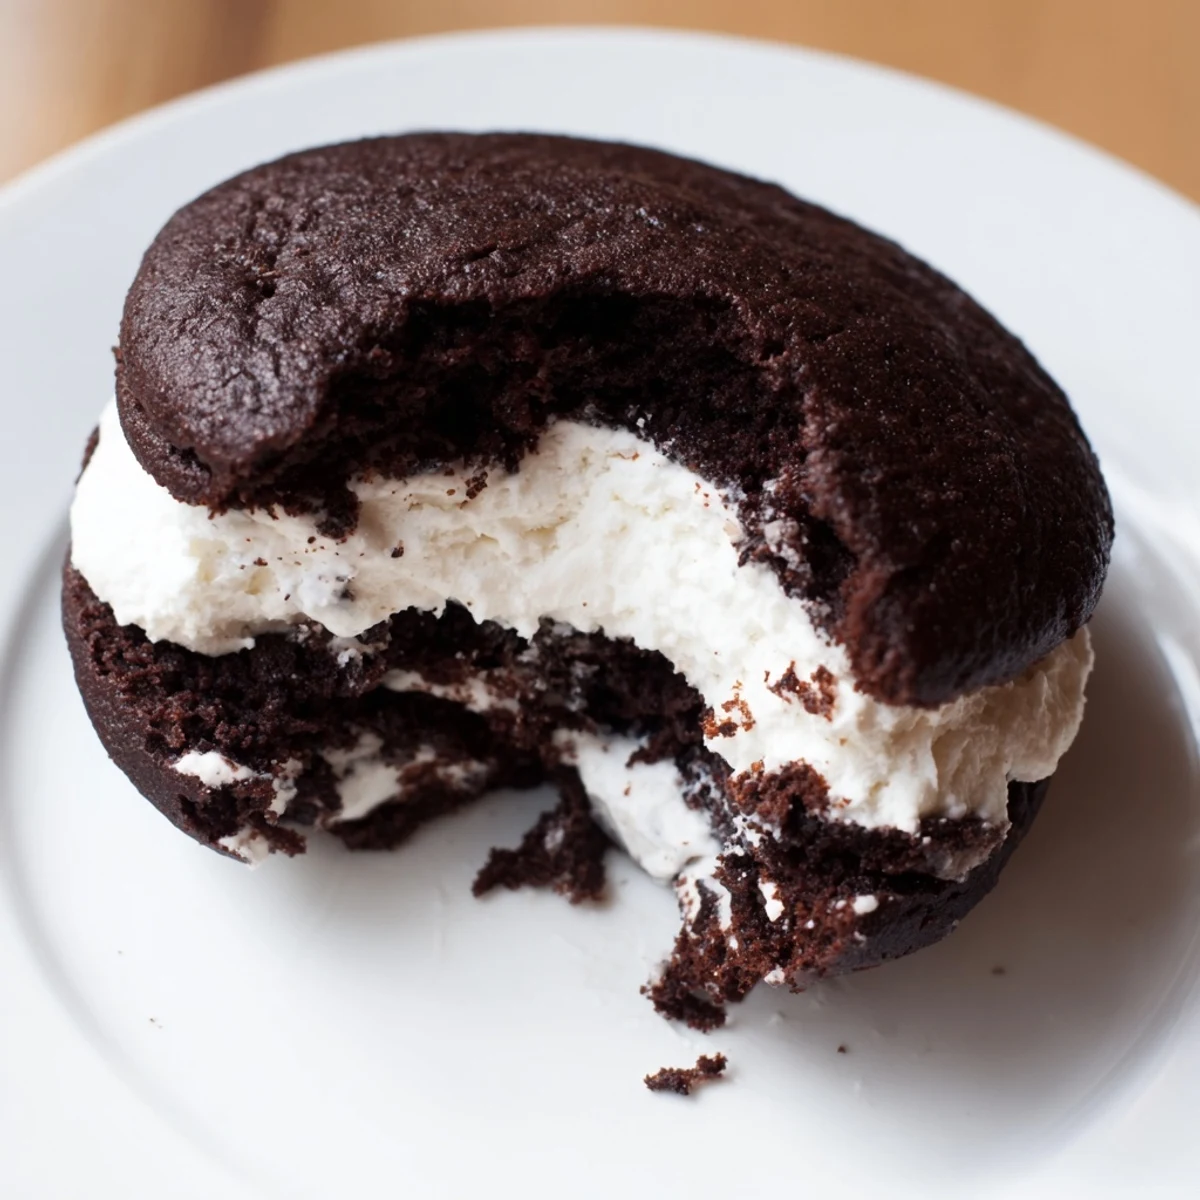
 There is something genuinely joyful about biting into a whoopie pie, that first squish of marshmallow between chocolate cake-like cookies. Make them for someone you love, or just keep them all for yourself—I wont tell.
Recipe FAQs
- → What makes whoopie pies different from regular cookies?
-
Whoopie pies have a soft, cake-like texture from the buttermilk and baking soda, unlike crisp cookies. The batter is dropped onto baking sheets and spreads into rounded domes that spring back when touched, creating the perfect base for sandwich filling.
- → Can I make whoopie pies ahead of time?
-
Yes! The unfilled cookies freeze beautifully for up to 3 months. Thaw completely at room temperature, then fill with freshly made marshmallow buttercream. Assembled whoopie pies keep well in an airtight container for 3 days at room temperature.
- → What can I use instead of marshmallow creme?
-
You can make homemade marshmallow frosting using egg whites, corn syrup, and sugar, or substitute with a Swiss meringue buttercream for a lighter texture. For a creamier filling, use equal parts softened cream cheese and butter mixed with powdered sugar and vanilla.
- → Why did my cookie batter look curdled?
-
This is completely normal! When buttermilk meets the butter and egg mixture, the batter may appear separated or curdled. Once you add the dry ingredients and mix, everything comes together smoothly. The curdling doesn't affect the final texture.
- → How do I get perfectly round whoopie pies?
-
Use a cookie scoop (about 2 tablespoons) for consistent size and shape. Drop the batter onto lined baking sheets, leaving 2 inches between each mound. The cookies will spread slightly during baking but maintain their domed shape. Avoid over-mixing the batter for best results.
- → What's the best way to store whoopie pies?
-
Store assembled whoopie pies in an airtight container at room temperature for up to 3 days. For longer storage, keep unfilled cookies in the freezer and fill as needed. The filling can be refrigerated for up to a week; bring to room temperature before using.
