 Pin It
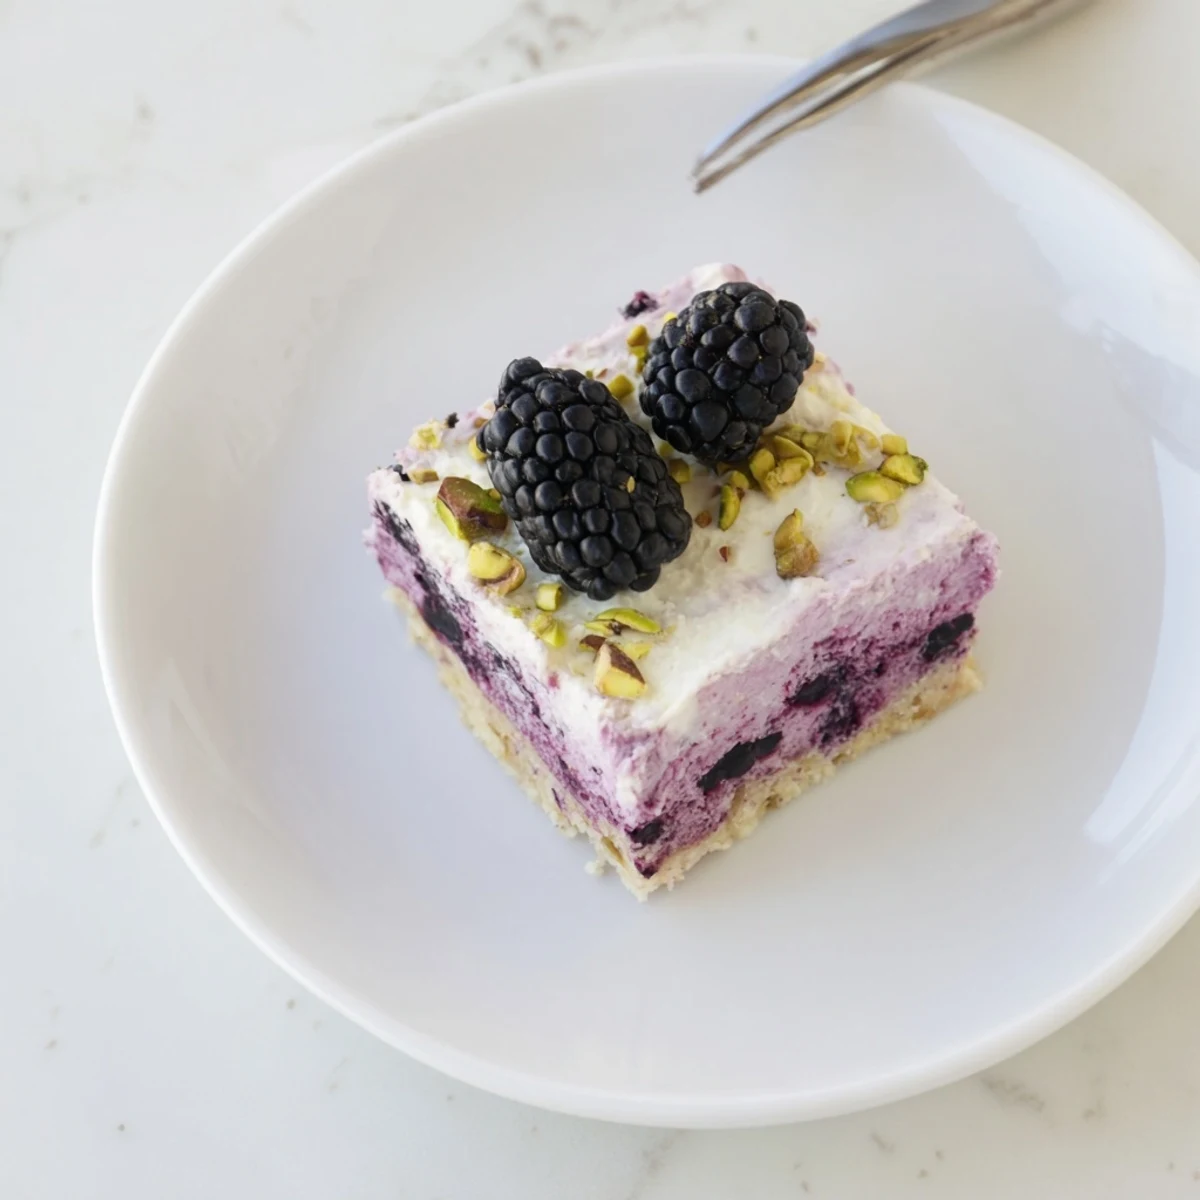
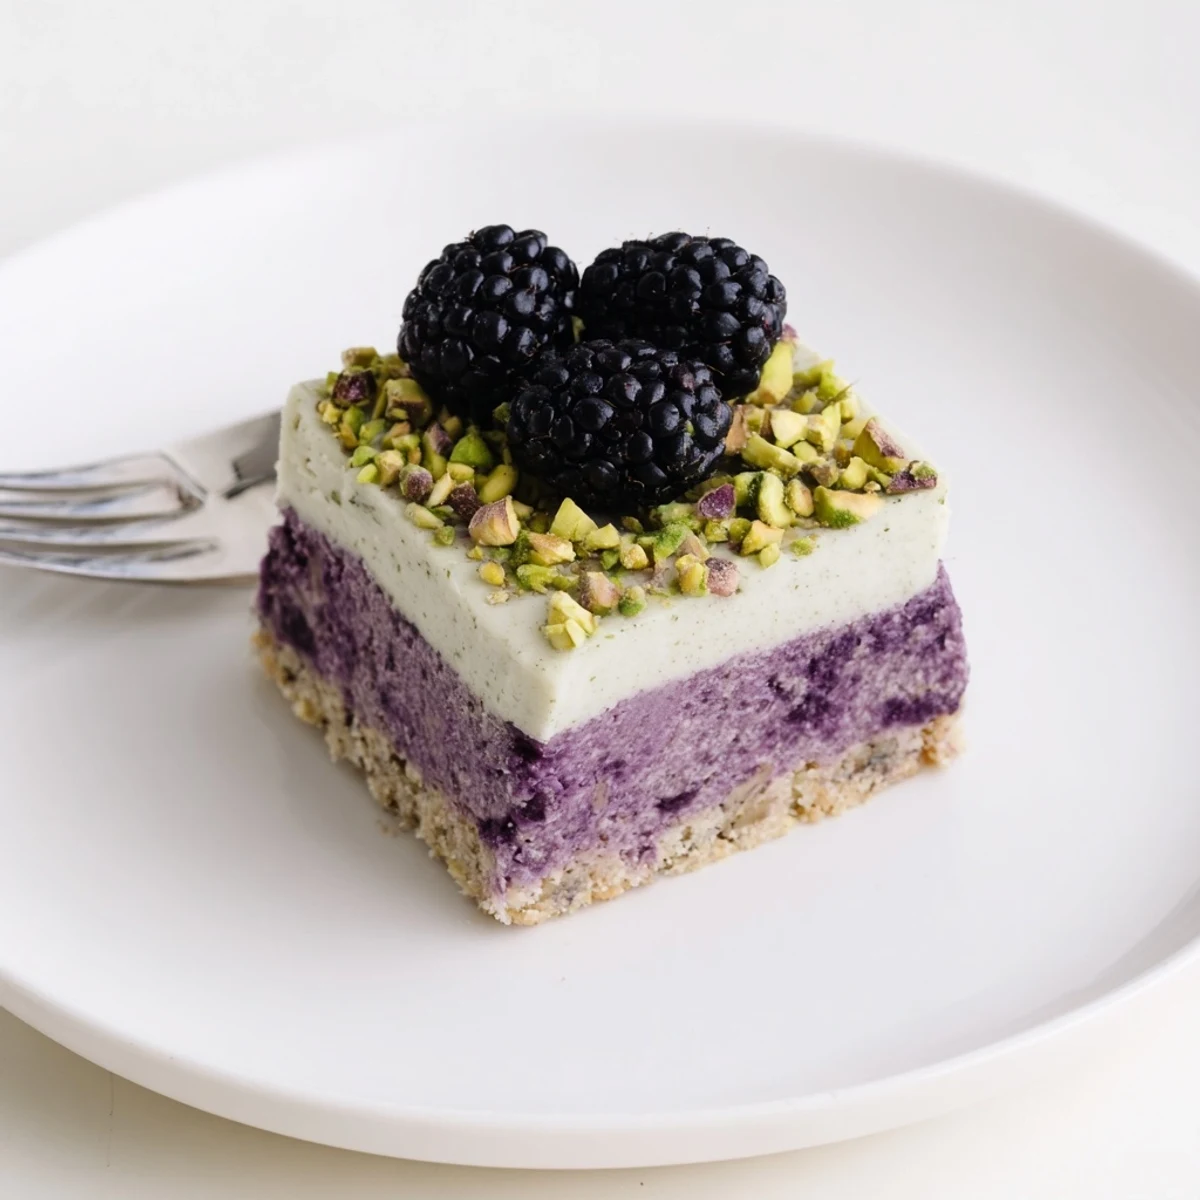
 These stunning layered bars combine three irresistible elements: a nutty pistachio shortbread crust, a vibrant tangy blackberry filling, and a velvety cream cheese topping. Each bite delivers buttery crunch, bright fruit notes, and rich creaminess that creates the perfect balance of flavors and textures.
Ideal for summer entertaining, these bars require just 25 minutes of active preparation before chilling until set. The contrast between the earthy pistachios and tart berries makes these bars uniquely sophisticated yet approachable enough for casual gatherings.
Serve them chilled, garnished with extra pistachios and fresh blackberries for an impressive presentation that tastes even better than it looks.
The first time I made these bars, my kitchen smelled like buttery heaven and I ended up eating the crumbs straight from the food processor bowl. These three layered beauties came about because I wanted something that felt fancy but didn't require pastry school training. The combination of tangy blackberry swirled through creamy cheesecake sitting on a nutty crust still makes me weak in the knees every summer.
I brought these to a Fourth of July party last year and watched three different people ask for the recipe. My friend Sarah actually called me the next day because she couldn't stop thinking about them. There's something about that berry and cream cheese combo that makes people slightly obsessed.
Ingredients
- Shelled unsalted pistachios: Grinding these nuts creates a crust that's naturally buttery and slightly more complex than a standard shortbread base
- All-purpose flour: This gives structure to the nutty crust so it holds up beneath the heavy layers
- Granulated sugar: Sweetens each layer appropriately without overpowering the tart berries
- Salt: Just enough to make all the flavors pop and contrast with the sweet elements
- Cold unsalted butter: Keep this ice cold because it creates that perfect crumbly texture in the crust
- Fresh blackberries: Frozen works but fresh gives you those gorgeous purple streaks and brighter flavor
- Lemon juice: This little acid trick cuts through all the richness and wakes up the berry flavor
- Cornstarch: Essential for turning juicy berries into a spreadable layer that won't make your crust soggy
- Cream cheese: Make sure this is completely softened or you'll end up with lumpy cheesecake layer
- Egg: This binds the cream cheese layer and gives it that smooth set texture
- Vanilla extract: Rounds out all the flavors and adds that classic dessert taste
Instructions
- Get your oven ready:
- Preheat to 350°F and line your square pan with parchment letting the paper hang over two opposite sides for easy lifting later
- Make the pistachio crust:
- Pulse the nuts in your food processor until they're finely ground then add flour sugar and salt and pulse again. Add cold butter and keep pulsing until everything looks like wet sand. Press this firmly into your pan and bake 12 to 15 minutes until it smells nutty and looks golden
- Cook the blackberries:
- Throw berries sugar and lemon into a small pot and mash them as they heat up over medium. Once they're juicy and breaking down whisk your cornstarch into a tablespoon of water and stir it in. Let this bubble for a minute or two until it thickens nicely then set it aside to cool
- Whip up the cream cheese layer:
- Beat the softened cream cheese and sugar until completely smooth with no lumps remaining. Add your egg and vanilla and mix just until combined
- Layer everything:
- Spread that cooled blackberry mixture over your baked crust then pour the cream cheese filling on top. Use an offset spatula or the back of a spoon to gently smooth it out
- Bake and chill:
- Bake for 20 to 22 minutes until the center barely jiggles when you shake the pan. Cool completely then refrigerate for at least two hours because these cut so much cleaner when they're cold
 Pin It
 These became my go-to contribution for every potluck after my sister requested them for her birthday instead of a cake. Something about cutting them into neat little squares and stacking them on a platter feels so satisfying and special.
Making These Ahead
You can prepare these bars up to two days in advance and keep them tightly covered in the refrigerator. The flavors actually meld together beautifully overnight making them taste even better on day two.
Getting Clean Slices
Run your knife under hot water and wipe it dry between every few cuts for those picture perfect edges. A hot knife cuts through cold cheesecake like butter and leaves the prettiest layers exposed.
Serving Ideas
These bars are rich enough to stand alone but a dollop of lightly sweetened whipped cream never hurt anyone. I love serving them with afternoon coffee or as the grand finale to a summer dinner party.
- Dust the top with powdered sugar right before serving for extra elegance
- Try swapping the blackberries for raspberries or blueberries depending on the season
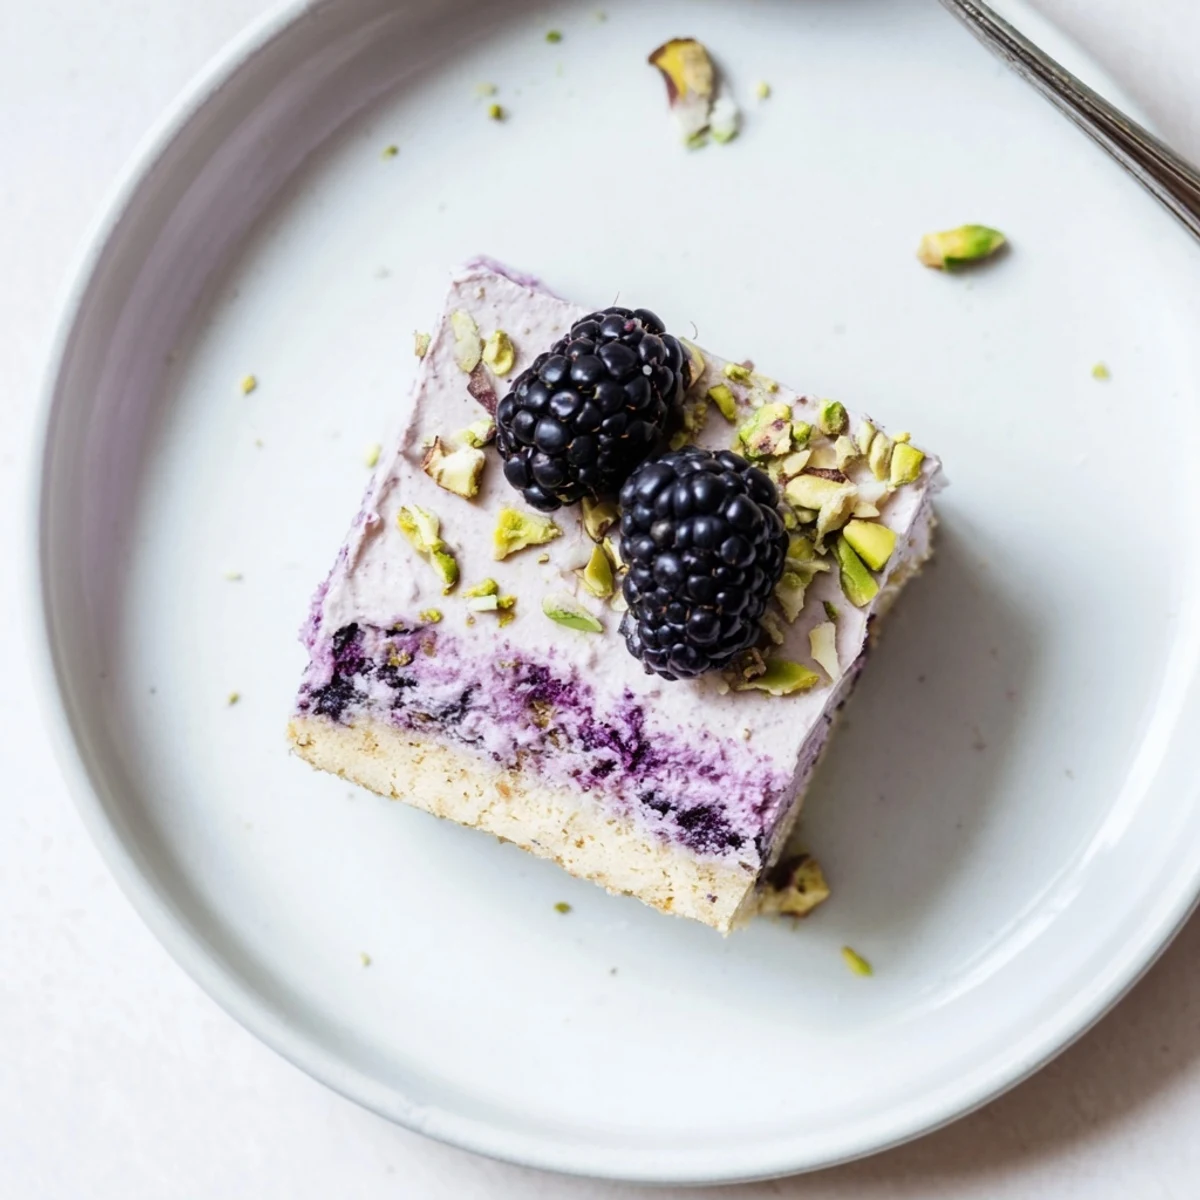
- Individual portions look stunning on small dessert plates with a fresh berry garnish
 Pin It
 There's something deeply satisfying about lifting that parchment paper and revealing perfect rows of purple and cream bars you made yourself. Enjoy every bite.
Recipe FAQs
- → Can I make these bars ahead of time?
-
Absolutely. These bars actually improve when made a day ahead, allowing the flavors to meld together. Store them in the refrigerator for up to 3 days, or freeze individually wrapped portions for up to 2 months. Thaw overnight in the refrigerator before serving.
- → What's the best way to achieve clean cuts?
-
For picture-perfect bars, chill them thoroughly—at least 4 hours or overnight. Use a sharp knife dipped in hot water, wiping it clean between cuts. Run the knife through once without sawing, then lift straight out. The hot water helps create smooth edges through the creamy layers.
- → Can I use frozen blackberries?
-
Yes, frozen blackberries work beautifully. Thaw them completely and drain any excess liquid before cooking. You may need to cook the compote slightly longer to evaporate extra moisture. One advantage of frozen berries is they're available year-round and often more budget-friendly than fresh.
- → How do I know when the bars are done baking?
-
The bars are ready when the edges are set and the center has just a slight wobble—similar to cheesecake. The surface should appear matte rather than shiny or wet. Remember they continue cooking as they cool, so removing them while slightly underbaked prevents a dry, crumbly texture.
- → Can I substitute the pistachios?
-
For nut-free bars, replace pistachios with equal parts sunflower seeds or pumpkin seeds for a similar crunch. Alternatively, increase the flour to 1 1/4 cups and add 1/4 cup cornmeal for texture. Almonds or walnuts also work well if you only need to avoid pistachios specifically.
- → Why did my crust turn out soggy?
-
A soggy crust usually means the blackberry layer was too liquid when added, or the crust wasn't baked long enough initially. Ensure the compote thickens enough to coat a spoon, and bake the crust until golden—this creates a barrier that prevents moisture from seeping through. The refrigeration step is also crucial for proper structure.
