 Pin It
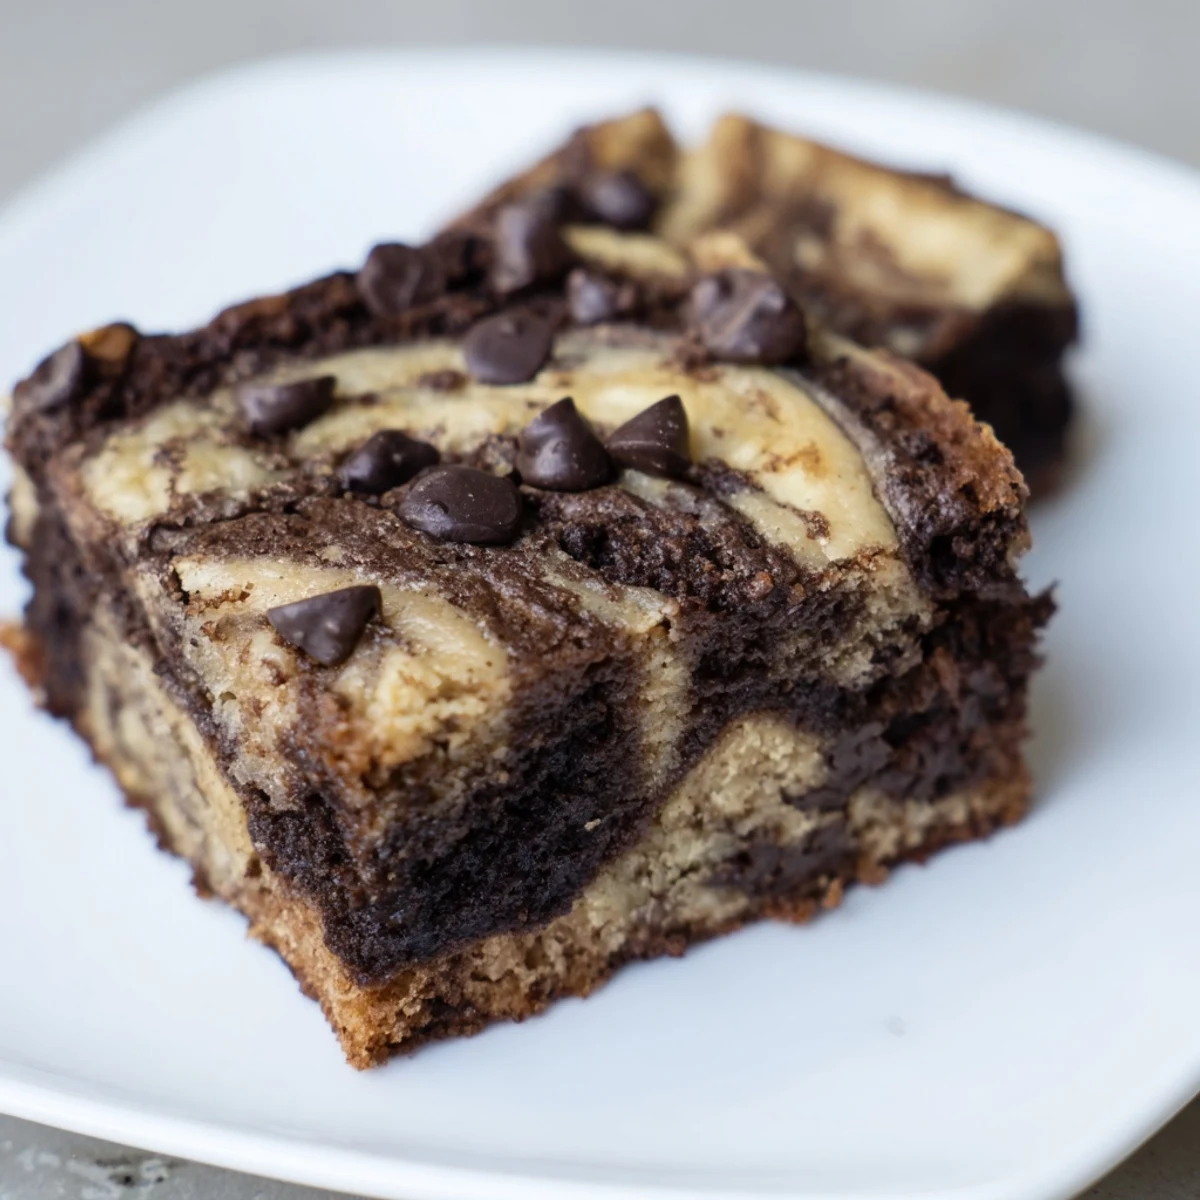
 These indulgent bars combine the best of both worlds—rich, fudgy brownie layers swirled with sweet banana bread batter. The marbled texture creates pockets of chocolatey goodness alongside moist, banana-infused sections. Perfect for potlucks, bake sales, or whenever you crave something that satisfies both chocolate and banana bread cravings. Simple preparation involves making two separate batters, layering them in a pan, and swirling with a knife for that signature marble effect. Ready in under an hour with basic pantry ingredients.
The kitchen smelled like an impossible choice that Sunday afternoon when I couldn't decide between baking my grandmother's banana bread or my go-to fudgy brownies. Three overripe bananas sat on the counter, but my chocolate craving was undeniable. Why not both? I grabbed two bowls and started experimenting, crossing my fingers that the textures would play nice together in the oven.
My roommate walked in mid-swirl and asked what kind of chemistry experiment was happening on the counter. When I pulled them from the oven 30 minutes later, the marbled pattern looked like something from a bakery window. We ate them warm, standing over the pan with forks, debating whether the banana or chocolate parts were better. That pan disappeared faster than anything I've ever baked.
Ingredients
- 1 cup ripe bananas, mashed: About 2 medium bananas with plenty of brown spots for natural sweetness and moisture
- 1/2 cup granulated sugar: Balances the bananas without making them too sweet
- 1/3 cup unsalted butter, melted: Creates a tender crumb in the banana layer
- 1 large egg: Structure and richness for the banana batter
- 1 tsp vanilla extract: Amplifies the banana's natural fragrance
- 1 cup all-purpose flour: The foundation for a cake-like banana bread texture
- 1/2 tsp baking powder: Gives the banana layer its gentle lift
- 1/4 tsp baking soda: Reacts with the acidic bananas for extra rise
- 1/4 tsp salt: Enhances all the flavors
- 1/2 cup unsalted butter, melted: Creates that dense, fudgy brownie texture we all crave
- 3/4 cup granulated sugar: Forms that crackly brownie top
- 2 large eggs: Essential for the chewy brownie structure
- 1 tsp vanilla extract: Deepens the chocolate flavor profile
- 1/3 cup unsweetened cocoa powder: Intense chocolate flavor without the sweetness
- 1/2 cup all-purpose flour: Just enough to hold everything together while keeping it fudgy
- 1/4 tsp salt: Makes chocolate taste more like chocolate
- 1/2 cup semi-sweet chocolate chips: Melty pockets of chocolate throughout the brownie layer
Instructions
- Preheat and prep your pan:
- Heat your oven to 350°F and line an 8x8-inch baking pan with parchment paper, letting the edges hang over like a little sling for easy lifting later.
- Mix the banana batter:
- In a medium bowl, mash those ripe bananas until they're practically smooth, then whisk in the sugar, melted butter, egg, and vanilla until everything's incorporated.
- Combine the banana dry ingredients:
- Add the flour, baking powder, baking soda, and salt to your banana mixture, folding gently until you no longer see dry streaks.
- Whisk the brownie base:
- In a separate bowl, beat the melted butter and sugar together until glossy, then whisk in the eggs and vanilla until the mixture looks silky smooth.
- Build the brownie layer:
- Sift in the cocoa powder, flour, and salt, stirring until just combined, then fold in the chocolate chips until they're evenly distributed.
- Layer the batters:
- Spread half the banana batter in your prepared pan, pour all the brownie batter on top, then dollop the remaining banana batter over the chocolate layer.
- Create the swirl:
- Run a knife or skewer through the batters in a figure-eight pattern, but don't overdo it or you'll lose the distinct layers.
- Bake to perfection:
- Slide into the oven for 28 to 32 minutes, checking for a toothpick that comes out with a few moist crumbs attached.
- Cool completely:
- Let the bars cool completely in the pan before using those parchment paper handles to lift them out for slicing.
 Pin It
 I brought a batch to my sister's book club meeting and suddenly became the designated dessert person for every gathering. The best part was watching people's faces when they realized it wasn't just brownies or banana bread, but this magical hybrid they'd never considered before.
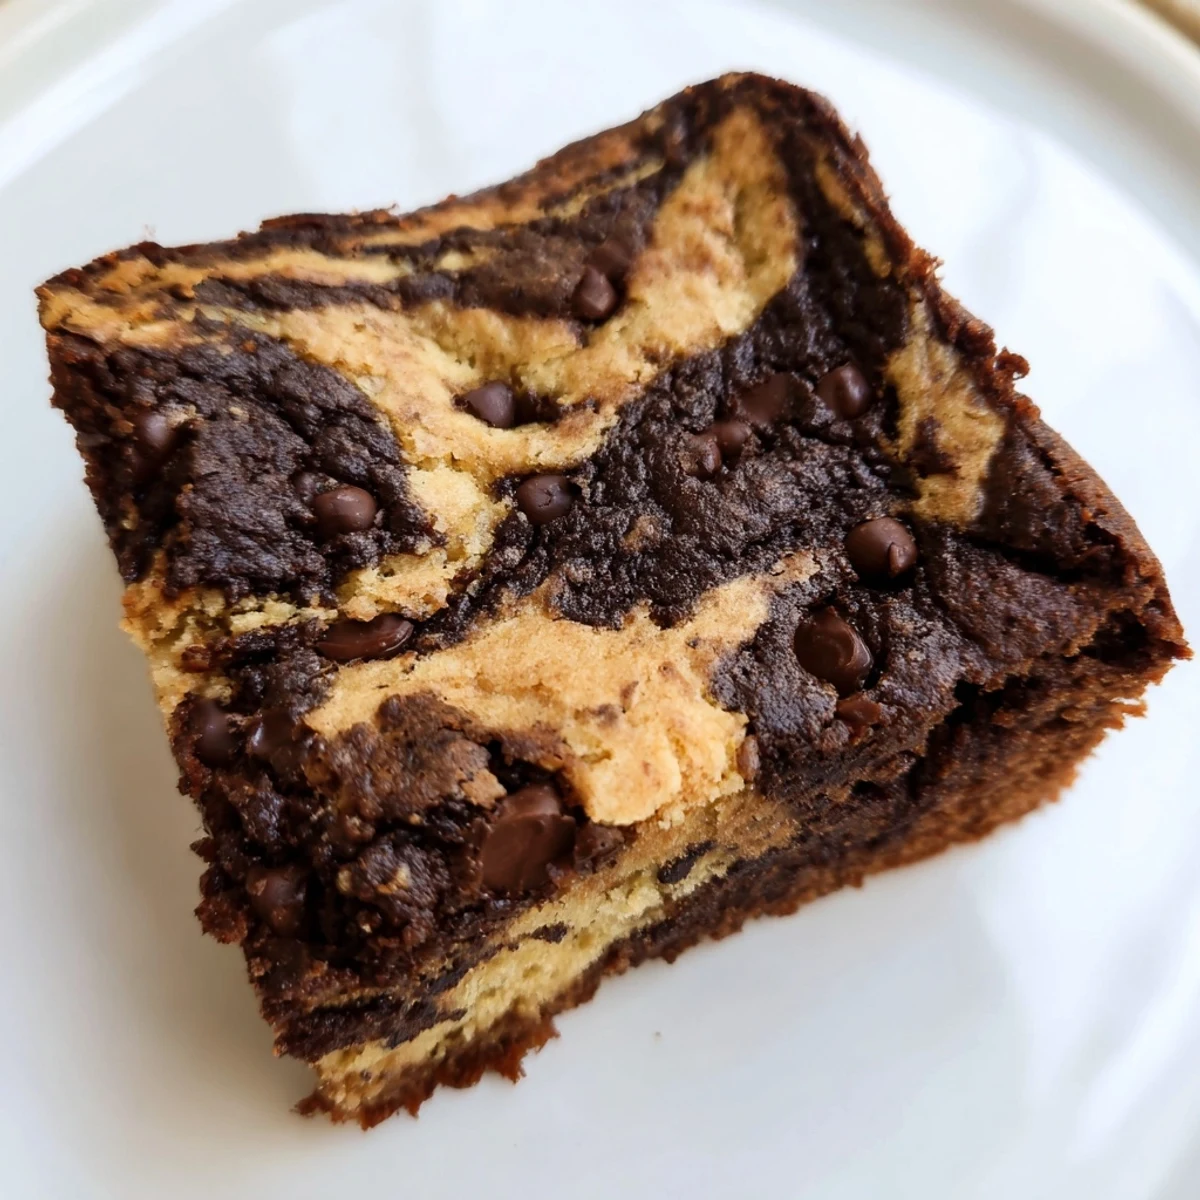
Getting the Marble Just Right
The key to that gorgeous marble pattern is working with warm batters that flow easily but still hold their shape. If your banana batter feels too stiff, let it sit for a few minutes to warm up before swirling. A simple figure-eight motion with your knife creates those beautiful ribbons without over-mixing the layers together.
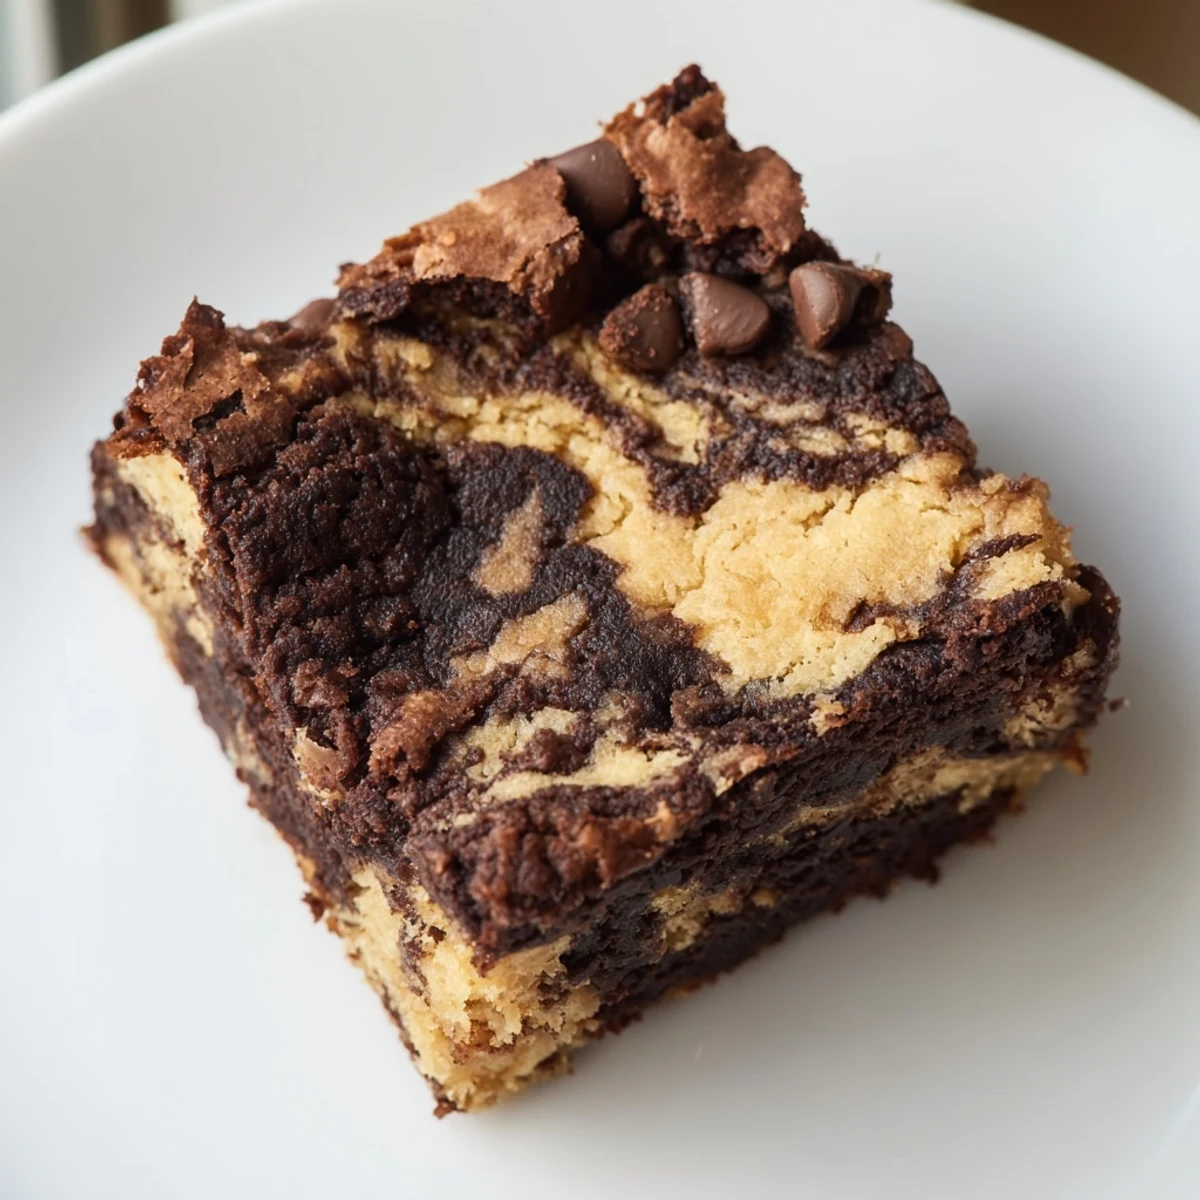
The Fudginess Factor
Testing for doneness requires a light touch here, you want to pull these from the oven while they still feel slightly underbaked. The banana layer will continue cooking from residual heat, and that slight underbaked quality is what gives the brownie layer its irresistible texture. Trust the moist crumbs test over a clean toothpick.
Make-Ahead Magic
These bars actually taste better on day two when the flavors have had time to mingle and the texture has settled into something extraordinary. Wrap the cooled bars tightly in plastic and they'll keep at room temperature for three days, or freeze them individually for those emergency dessert moments.
- Warm individual bars for 10 seconds in the microwave for that fresh-baked experience
- Sprinkle flaky sea salt over the top before baking for a sophisticated touch
- Store with a piece of bread to keep them extra moist if keeping longer than two days
 Pin It
 These bars turned my indecision into one of my most requested recipes, proof that sometimes the best discoveries come from simply refusing to choose between two good things.
Recipe FAQs
- → Can I use frozen bananas?
-
Yes, frozen bananas work perfectly for these bars. Thaw them completely and drain any excess liquid before mashing. Frozen bananas actually tend to be sweeter and mash more easily than fresh ones.
- → How do I know when they're done baking?
-
Insert a toothpick near the center—if it comes out with a few moist crumbs but not wet batter, they're ready. The edges should be set but the center might still look slightly soft. They'll continue cooking as they cool.
- → Can I make these ahead of time?
-
Absolutely. These bars actually taste better the next day as flavors meld. Store in an airtight container at room temperature for up to 3 days, or refrigerate for up to a week. They also freeze well for up to 3 months.
- → What's the best way to get the marble effect?
-
Use a butter knife or skewer to gently swirl through the layered batters in a figure-8 or S-pattern motion. Don't over-swirl or you'll lose the distinct marble pattern—just 2-3 gentle passes through the batter is perfect.
- → Can I make these gluten-free?
-
Yes, substitute the all-purpose flour with a 1:1 gluten-free flour blend that includes xanthan gum. The texture will be slightly different but still delicious. Ensure your baking powder and other ingredients are certified gluten-free.
- → Why did my bars turn out dry?
-
Overbaking is the most common culprit. Check them at the 28-minute mark and remove from oven when moist crumbs appear on a toothpick. Using overripe bananas also ensures maximum moisture in the banana bread layer.
